leaf icon
leaf icon
leaf icon
calendar icon
Gardens To Visit
caret icon
Visit a PHS garden or landscape to help build stronger social connections with your community.
For Neighborhoods
caret icon
Explore programs that create healthy, livable environments and increase access to fresh food.
For Gardeners
caret icon
About Us
caret icon
Get to know our story, become a part of our staff, or see what is in the news with PHS.
The Flower Show

How to Transplant Seedlings Outside This Spring

May 21, 2026

leaf icon seasonal tips

leaf icon gardening projects

leaf icon plant care

eli 1796

By Sally McCabe, Associate Director of Community Education at PHS 

Watching a tiny seed develop its first set of true leaves on a sunny windowsill brings a unique sense of pride. But once spring warms the soil in our Zone 7 gardens, you face one of the most important moments in a plant’s life: transplanting seedlings outdoors. 

Successfully transplanting seedlings requires more than simply moving a plant from a tray into the ground. It’s a delicate transition from the controlled comfort of indoors to the unpredictable conditions of the garden. Whether you’re growing heirloom tomatoes, native flowers, or pollinator-friendly perennials, these steps will help your home-started seedlings thrive.

Choosing the Best Nursery Plants and Seedlings 

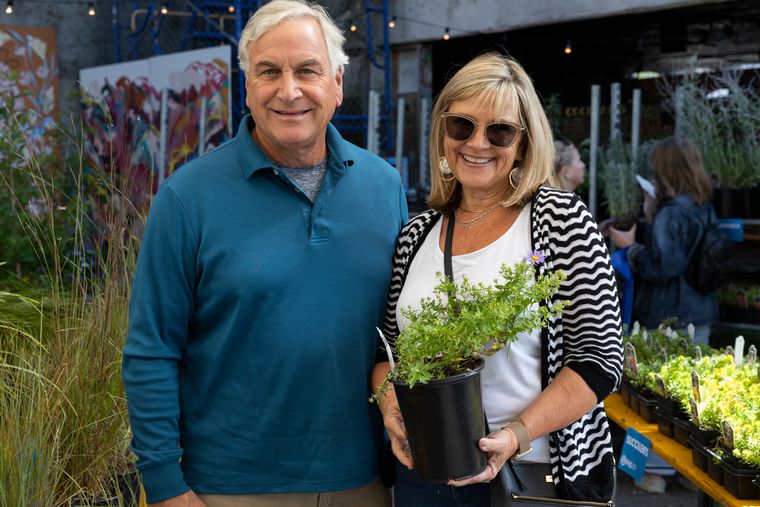
While starting from seed offers the most variety, you might find yourself supplementing your garden with "starts" from a local nursery or a community plant sale. Selecting the right plant at the store is just as important as nurturing one at home.  

Avoid selecting the tallest plants on the shelf. “Leggy” seedlings often struggled to get enough light in the greenhouse, resulting in weak stems and stressed growth. Instead, look for plants that are: 

  • Compact and bushy  
  • Deep green in color  
  • Free from pests or leaf damage  
  • Well-rooted but not root-bound  
  • In bud rather than full bloom  

Take a moment to inspect the undersides of leaves for aphids, whiteflies, or other hitchhiking pests. If roots are thickly circling the bottom of the pot, the plant may already be root-bound and slower to establish after planting. 

It’s also best to skip plants already covered in flowers. While they may look impressive at the garden center, flowering requires energy. A seedling with buds instead of blooms will focus on establishing strong roots once planted in your garden. 

eli 1778
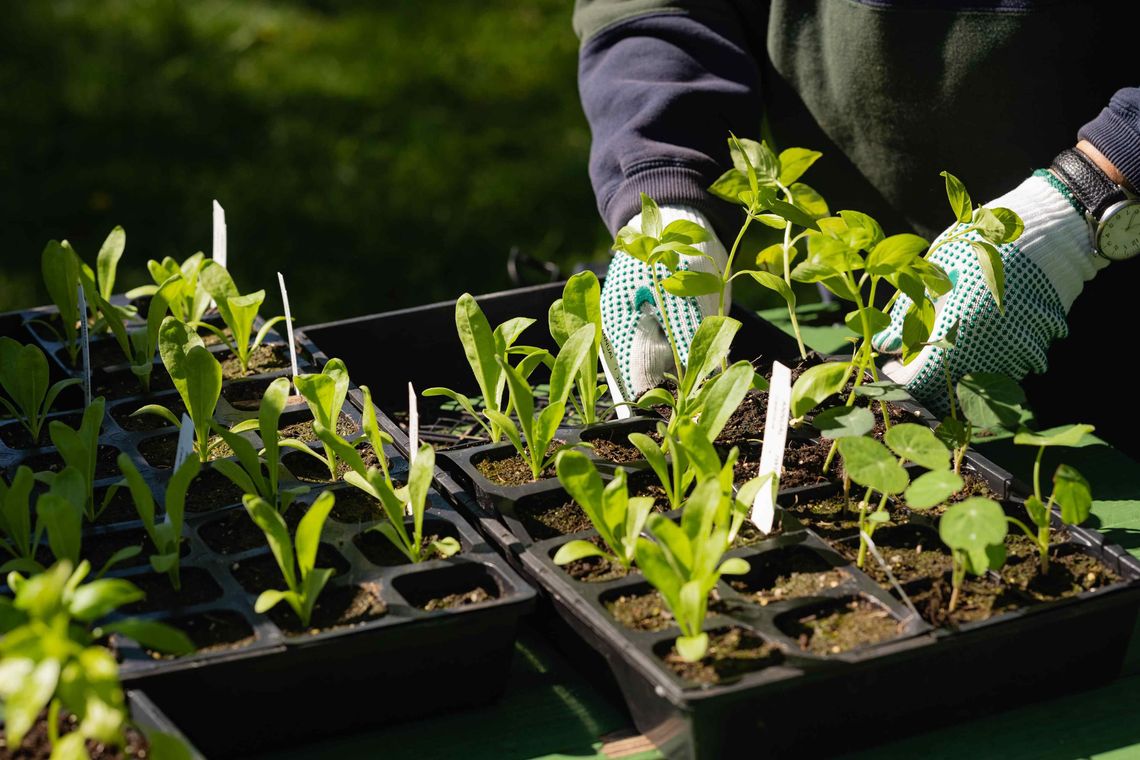
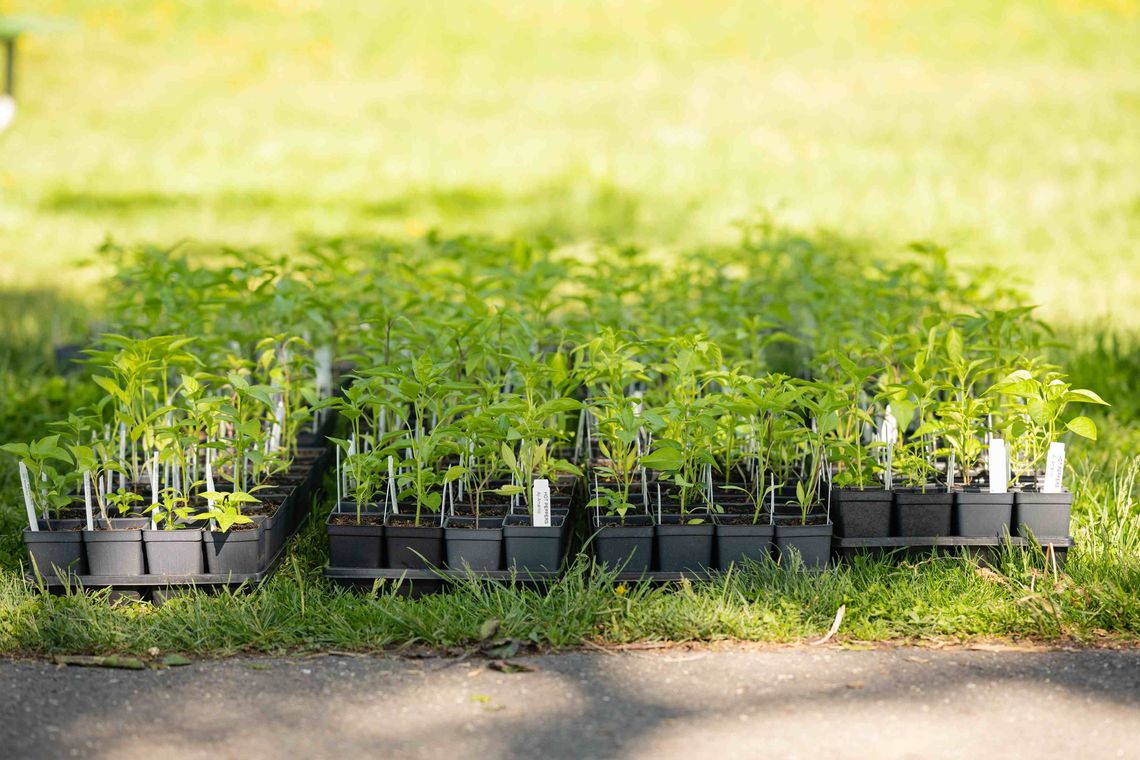
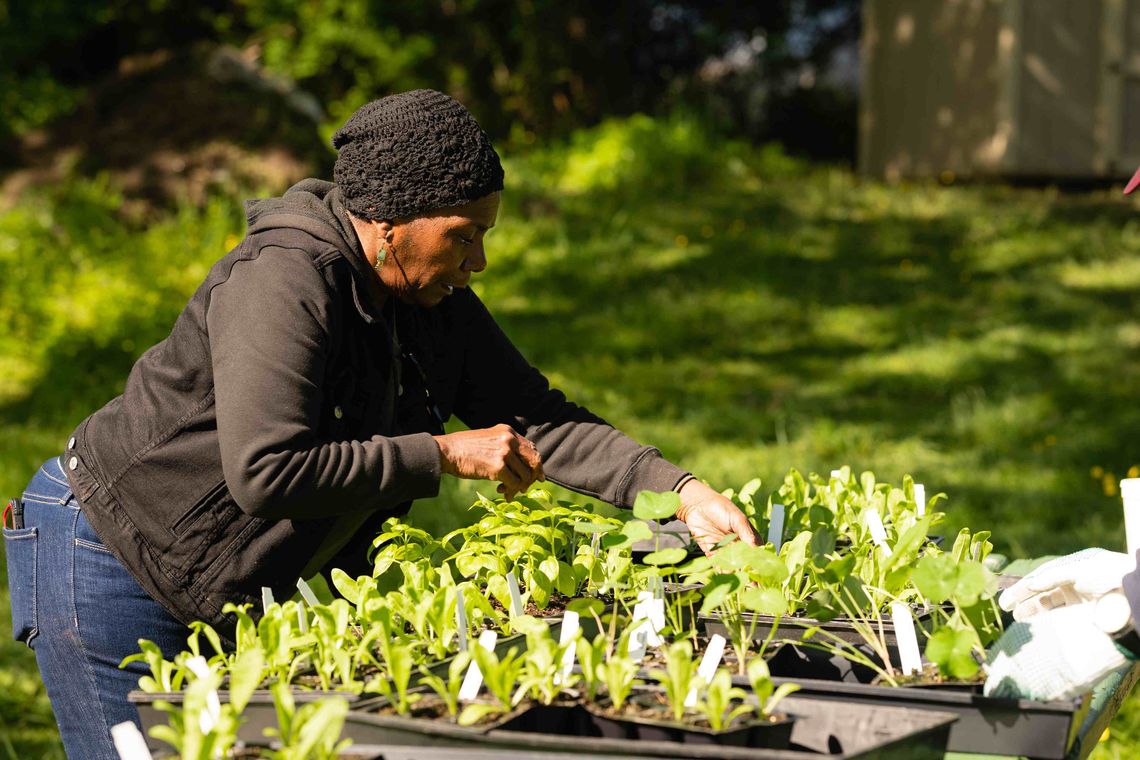
Hardening off helps seedlings gradually adjust to outdoor sun, wind, and temperature changes before transplanting into the garden.

How to Harden Off Seedlings Before Transplanting 

Before transplanting seedlings outdoors, they need time to adjust to life beyond the windowsill. Indoor-grown plants are accustomed to stable temperatures, gentle watering, and filtered light. Sudden exposure to direct sun, wind, and fluctuating temperatures can cause transplant shock, leaf scorch, or even plant loss. 

To prevent this, begin the process of hardening off seedlings about one week before planting. Start by placing seedlings outdoors in a protected, shady area for just a couple of hours on the first day. Gradually increase both the amount of sunlight and time spent outside each day. 

Real life rarely allows for the perfect hardening-off schedule, so don’t stress if the timing isn’t exact. The goal is to help your seedlings slowly adapt to outdoor conditions. By the end of the week, they should be ready to handle a full day outside and, if temperatures stay above freezing, a night outdoors as well.
What to Do If the Weather Delays Planting 

Spring gardening in the Mid-Atlantic often requires flexibility. Heavy rain, cold nights, or lingering wet soil can delay transplanting even when your seedlings are ready. 

If seedlings stay too long in their trays, they can become root-bound, causing stress that makes plants more vulnerable to pests and disease. If planting must be delayed for more than a week, consider “potting up” seedlings into slightly larger containers with fresh potting mix. This gives roots more space and helps pause stress while you wait for better conditions. 

During this holding period: 

  • Continue watering consistently  
  • Feed seedlings with a diluted organic fertilizer  
  • Avoid overcrowding plants indoors  
  • Use a small fan to improve airflow and strengthen stems  

Good air circulation is especially important for preventing damping off (a common, often fatal, horticultural disease) and fungal problems.

Keep growing with confidence. Join upcoming Know to Grow webinars for expert seasonal gardening advice.

When to Transplant Seedlings Outdoors 

In zone 7, the average last frost date typically falls around mid-April. However, experienced gardeners rely more on the 10-day forecast than the calendar alone. 

Cool-season plants like broccoli, kale, lettuce, and pansies tolerate chilly temperatures and can often be planted earlier. Warm-season crops such as tomatoes, peppers, basil, and eggplant should wait until nighttime temperatures consistently stay above 50°F. 

To reduce transplant stress, choose an overcast day for planting or transplant seedlings in the late afternoon. This gives plants time to recover overnight before facing intense midday sun. 

How to Prepare Garden Soil for Seedlings and Transplant Seedlings Outdoors 

Before the seedlings leave their trays, prepare the garden bed. Avoid heavy tilling, as it disrupts the delicate soil microbiome. Instead, use a garden fork to gently loosen the earth and incorporate a few inches of high-quality compost

Water your seedlings thoroughly about two hours before moving them. A moist root ball stays together more easily and suffers significantly less root hair damage than a dry one. As you handle the plants, remember the golden rule: never pick up a seedling by its stem. Squeezing the stem can crush the plant's vascular system. Instead, gently cradle the root ball or lift the plant by a sturdy leaf. 

For most plants, set them at the same depth they occupied in their starter tray. Tomatoes remain a notable exception; they benefit from deep planting. Burying the stem up to the first set of leaves encourages the growth of extra roots, creating a more vigorous and drought-resistant plant. 

Watering and Caring for Newly Transplanted Seedlings 

Once the seedling sits in the ground, firm the soil around it gently with your fingers to eliminate air pockets that could dry out the roots. The first 48 hours following this move determines the plant's success. Give each transplant a generous drink of water immediately after planting to settle the soil. 

If a surprise cold snap or high-wind event appears in the forecast, protect your hard work with cloches or recycled containers to create a temporary greenhouse effect. Additionally, spread a light layer of straw or shredded leaf mulch around the base of the plants. This mulch regulates soil temperature, suppresses weeds, and retains the moisture your young plants need to establish deep, healthy roots.

eli 1765
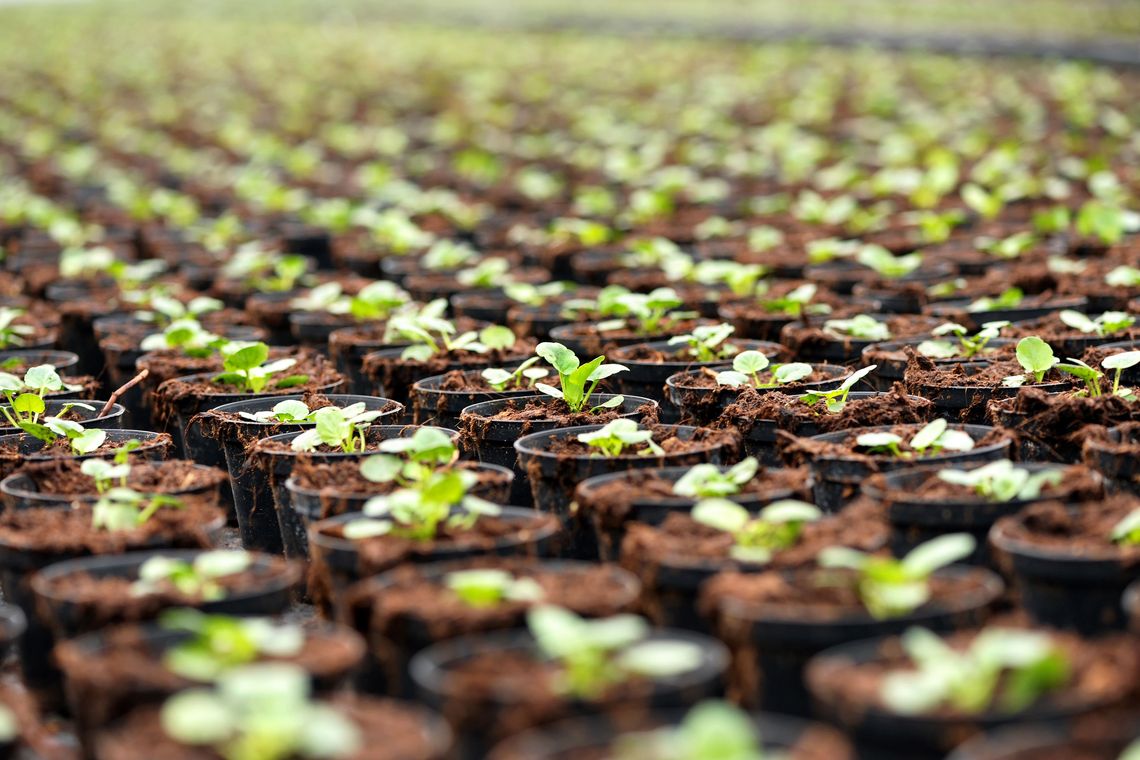
Starting plants from seed rewards gardeners with unique varieties, stronger connections to the growing process, and a healthier, more resilient garden.

The Rewards of Starting Plants from Seed and Transplanting Seedlings 

Starting your own seedlings offers more than just cost savings. It allows you to cultivate varieties you will never find at a big-box store, including rare heirloom vegetables specifically adapted to our local climate. By mastering the art of the transplant and knowing how to pivot when the spring weather turns, you take full control of your garden’s success. Each seedling you successfully transition represents a win for both your backyard and our local ecosystem, contributing to a greener, more vibrant community.