close icon
leaf icon
leaf icon
leaf icon
calendar icon
Gardens To Visit
caret icon
Visit a PHS garden or landscape to help build stronger social connections with your community.
For Neighborhoods
caret icon
Explore programs that create healthy, livable environments and increase access to fresh food.
For Gardeners
caret icon
Engage with PHS on gardening, whether you’re an expert or a beginner.
About Us
caret icon
Get to know our story, become a part of our staff, or see what is in the news with PHS.
The Flower Show

How to Prepare Your Garden Soil in the Fall for Spring Planting

October 26, 2023

leaf icon gardening

leaf icon planting

computing 3795962 1280

By Sally McCabe, PHS Associate Director of Community Education

Far too many people think that gardening starts in the spring. But if you’d like to hit the ground running in the spring, now is the time to get all the hard work done. Dealing with garden and soil infrastructure now and over the winter mean that spring is for planting and not playing catch-up. 

soil 766281 1280
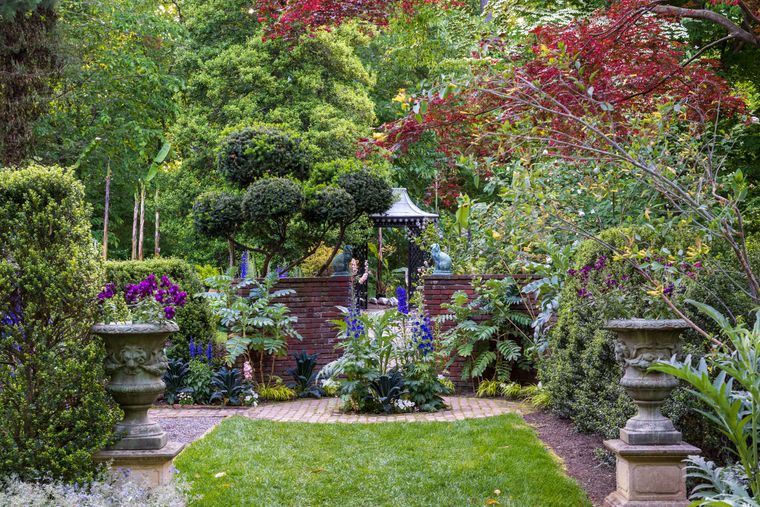
Fall is the best time to prepare your garden’s soil for next spring.

Why Fall is the Ideal Time for Garden Preparation 

The best time to prepare your spring soil is, of course, in the fall. Face it -- spring rains and mud are a major impediment when your psyche is screaming to get out there and get some seeds in the ground. So, let’s invest some time now when the soil is still workable! Let's do our pre-winter cleanup, get a soil test, interpret the soil test, and add the recommendations as well as lots of organic matter like compost, turn the soil over lightly, and retire for the winter -- or at least until we can't stand not being a garden anymore and feel the need to go out and dig. 

pexels max rahubovskiy 8092395
Evaluate your garden’s needs during the fall.

Step 1: Conduct a Garden Assessment 

Before you do anything physical, a simple first step is to do an assessment on paper with a pencil and pad in hand. Post-frost is the best time to do this because the garden is pretty much laid bare in all its glory and all its flaws. As you make your assessment, consider what worked, what didn’t work, and any changes to the layout or infrastructure of your garden. Do beds need to be moved or repaired? Do chronically muddy spots need to be built up? Could perennial crops be moved to a better location? It’s much easier to shuffle things around on paper than to move the same rocks three times. 

garbage can 5398348 1280
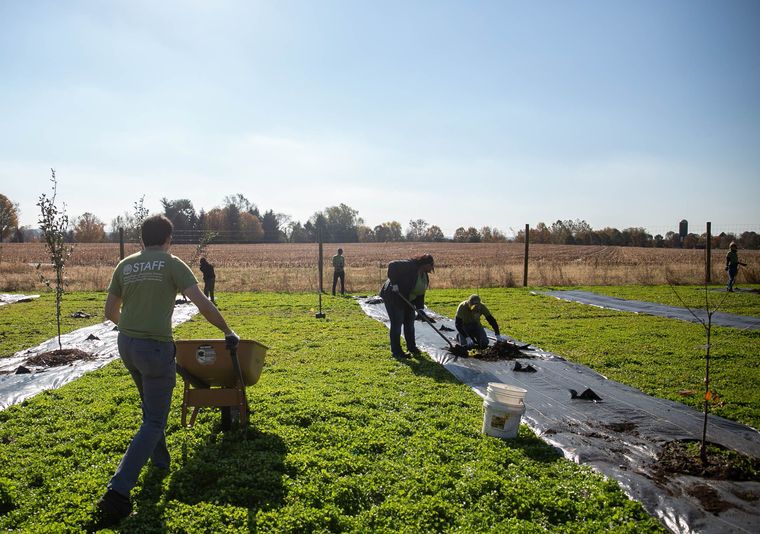
Fall is the perfect time to get rid of weeds and other debris in your garden.

Step 2: Initiate the Garden Cleanup 

With your assessment complete, you can start with your cleanup. Getting rid of weeds that have gone to seed and plants that are ragged and diseased should be the first few steps. Let’s go through the garden with a trash bag and get rid of all that stuff that will cause us problems in the spring. This trash bag can go into the landfill or somewhere far from the garden where seeds and germs can't spread themselves onto crops. 

ermelinda martin bu 9glqe8ui unsplash
Choose which soil is best suited for your garden.

Step 3: Choose Between No-Till and Turning the Soil 

Now comes the decision of no-till vs turn the soil. If you are already digging up potatoes or root crops, the decision is made for you. But if not, this step offers a chance to try your hand at a much more natural way of preparing your soil. Because all the action under the soil being done by worms and other tiny but mighty creatures can be disturbed by so much turning, using a gentler method of loosening up the soil and introducing organic matter offers much more overall benefit. 

I personally find digging to be very meditative, especially once you work up a rhythm. But I’m willing to compromise. This year I will be using a spading fork, sticking it into the soil, leaning on the handle and gently popping up rough chunks of garden. Using that same technique, I work my way all around the edges of the bed, then I do a couple of jabs down the middle for good measure. I’m not breaking up the big chunks, merely lifting them a little so that air and compost can work their way under them in the next step. 

pexels greta hoffman 7728397
Testing your soil in the fall will ensure its results sooner.

Step 4: Conduct a Soil Test 

While we’re doing all this digging, now is a good time to take a soil test. Doing a soil test during this time of year gives you plenty of time to get the results back and make the recommended additions of lime or other slow-release fertilizer so that winter precipitation and expansion and contraction caused by freeze-thaw action can work these additives down into the soil, along with any organic matter you may choose to add. 

pexels наталья севрук 18466415
Covering soil with compost will ensure that your soil is not exposed to bad weather conditions.

Step 5: Add Organic Matter and Compost 

Once you have loosened up the soil without breaking it down into crumbs, it’s time to cover the whole surface with compost, leaf mold, or plain shredded leaves. If you have a compost bin, you can clean that out and dump it onto the soil as well. I usually put on two to three inches, because naked soil is a bad thing. Leaving soil uncovered exposes the ground to heavy winter rains that compact the surface, sunshine that causes new weeds to germinate despite it being winter, and drying winds that blow away the fine crumbs of fresh dug soil. Once you’ve added your compost layer, you can rake everything pretty and stand back to admire the view. 

All these preparations mean that come spring, or even that warm week in the middle of February, all that remains is the fine tuning, and of course, planting seeds! 

Want to learn more? Sign up for PHS's monthly newsletter for more gardening tips and tricks.