A gorgeous, healthy garden is something to be proud of and worth capturing. Whether you are snapping photos to share with friends or documenting your gardening journey, a few simple photography tips can make a big difference.
The good news is that you do not need fancy equipment to take beautiful garden photos. With a smartphone, good timing, and a thoughtful approach, you can showcase your garden at its very best.
Below, we have gathered beginner-friendly tips, along with expert insights from professional photographer Rob Cardillo and PHS Multimedia Design Lead Morgan Horell, to help you take photos you will be proud to share.
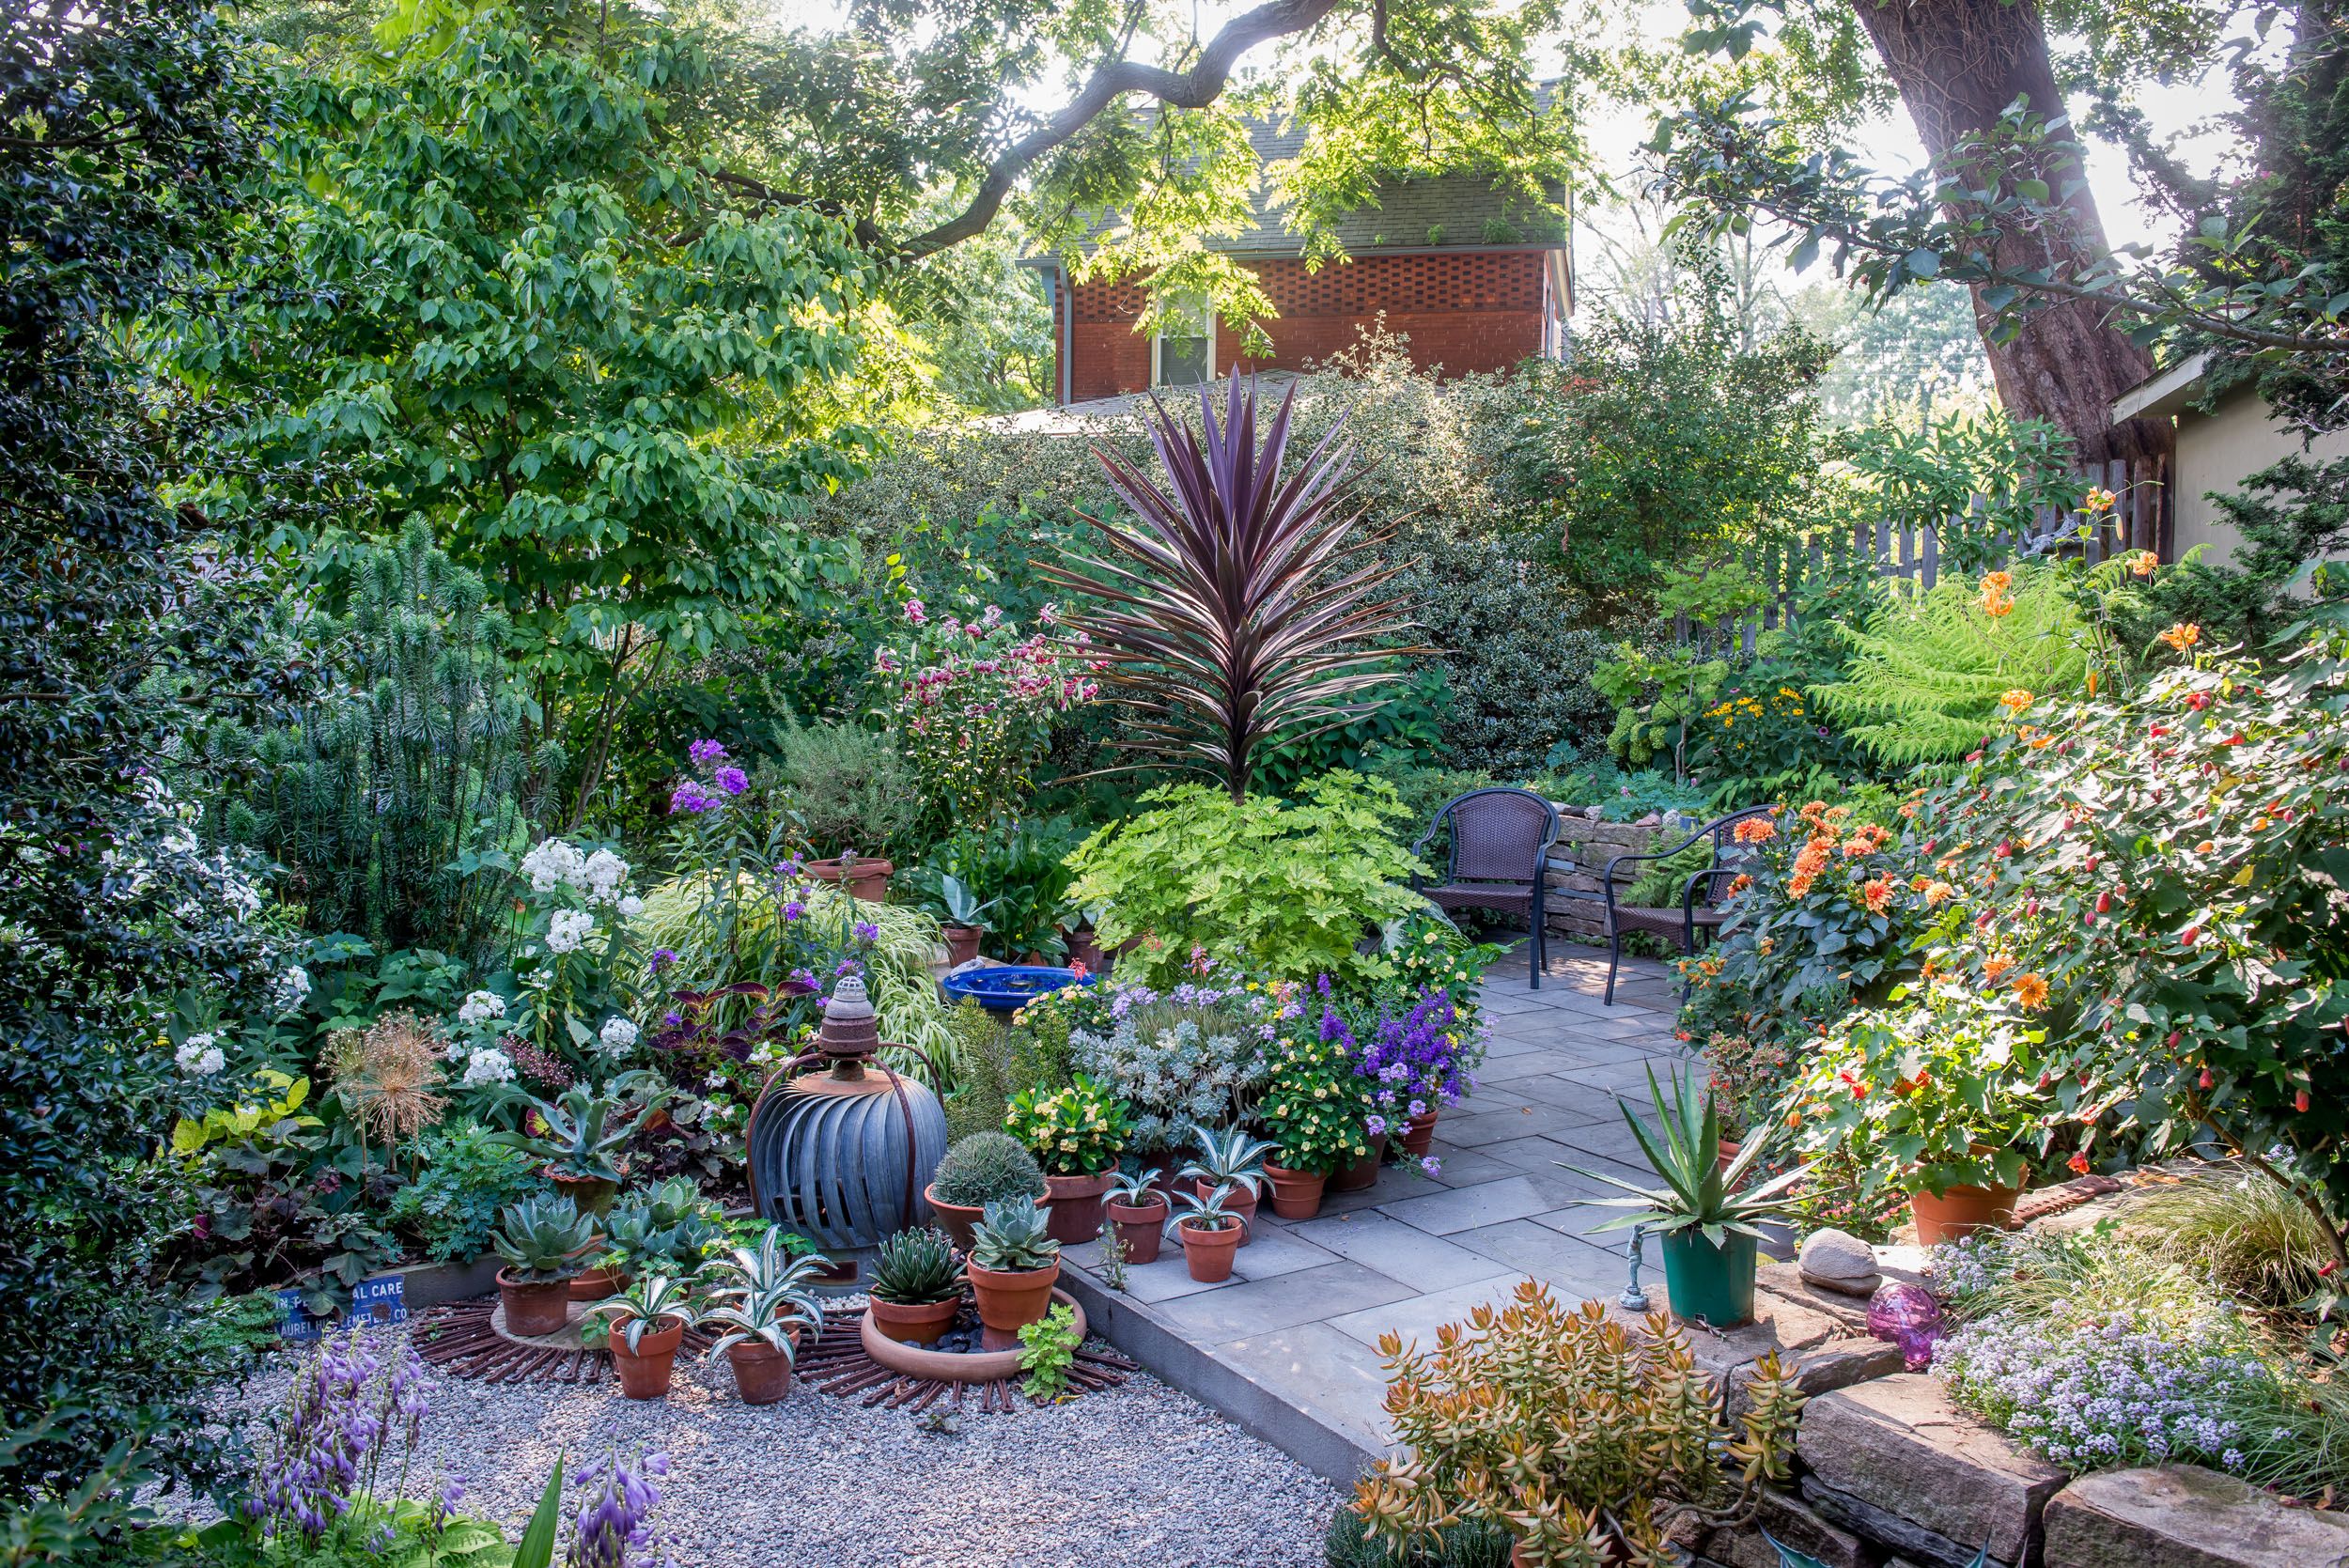
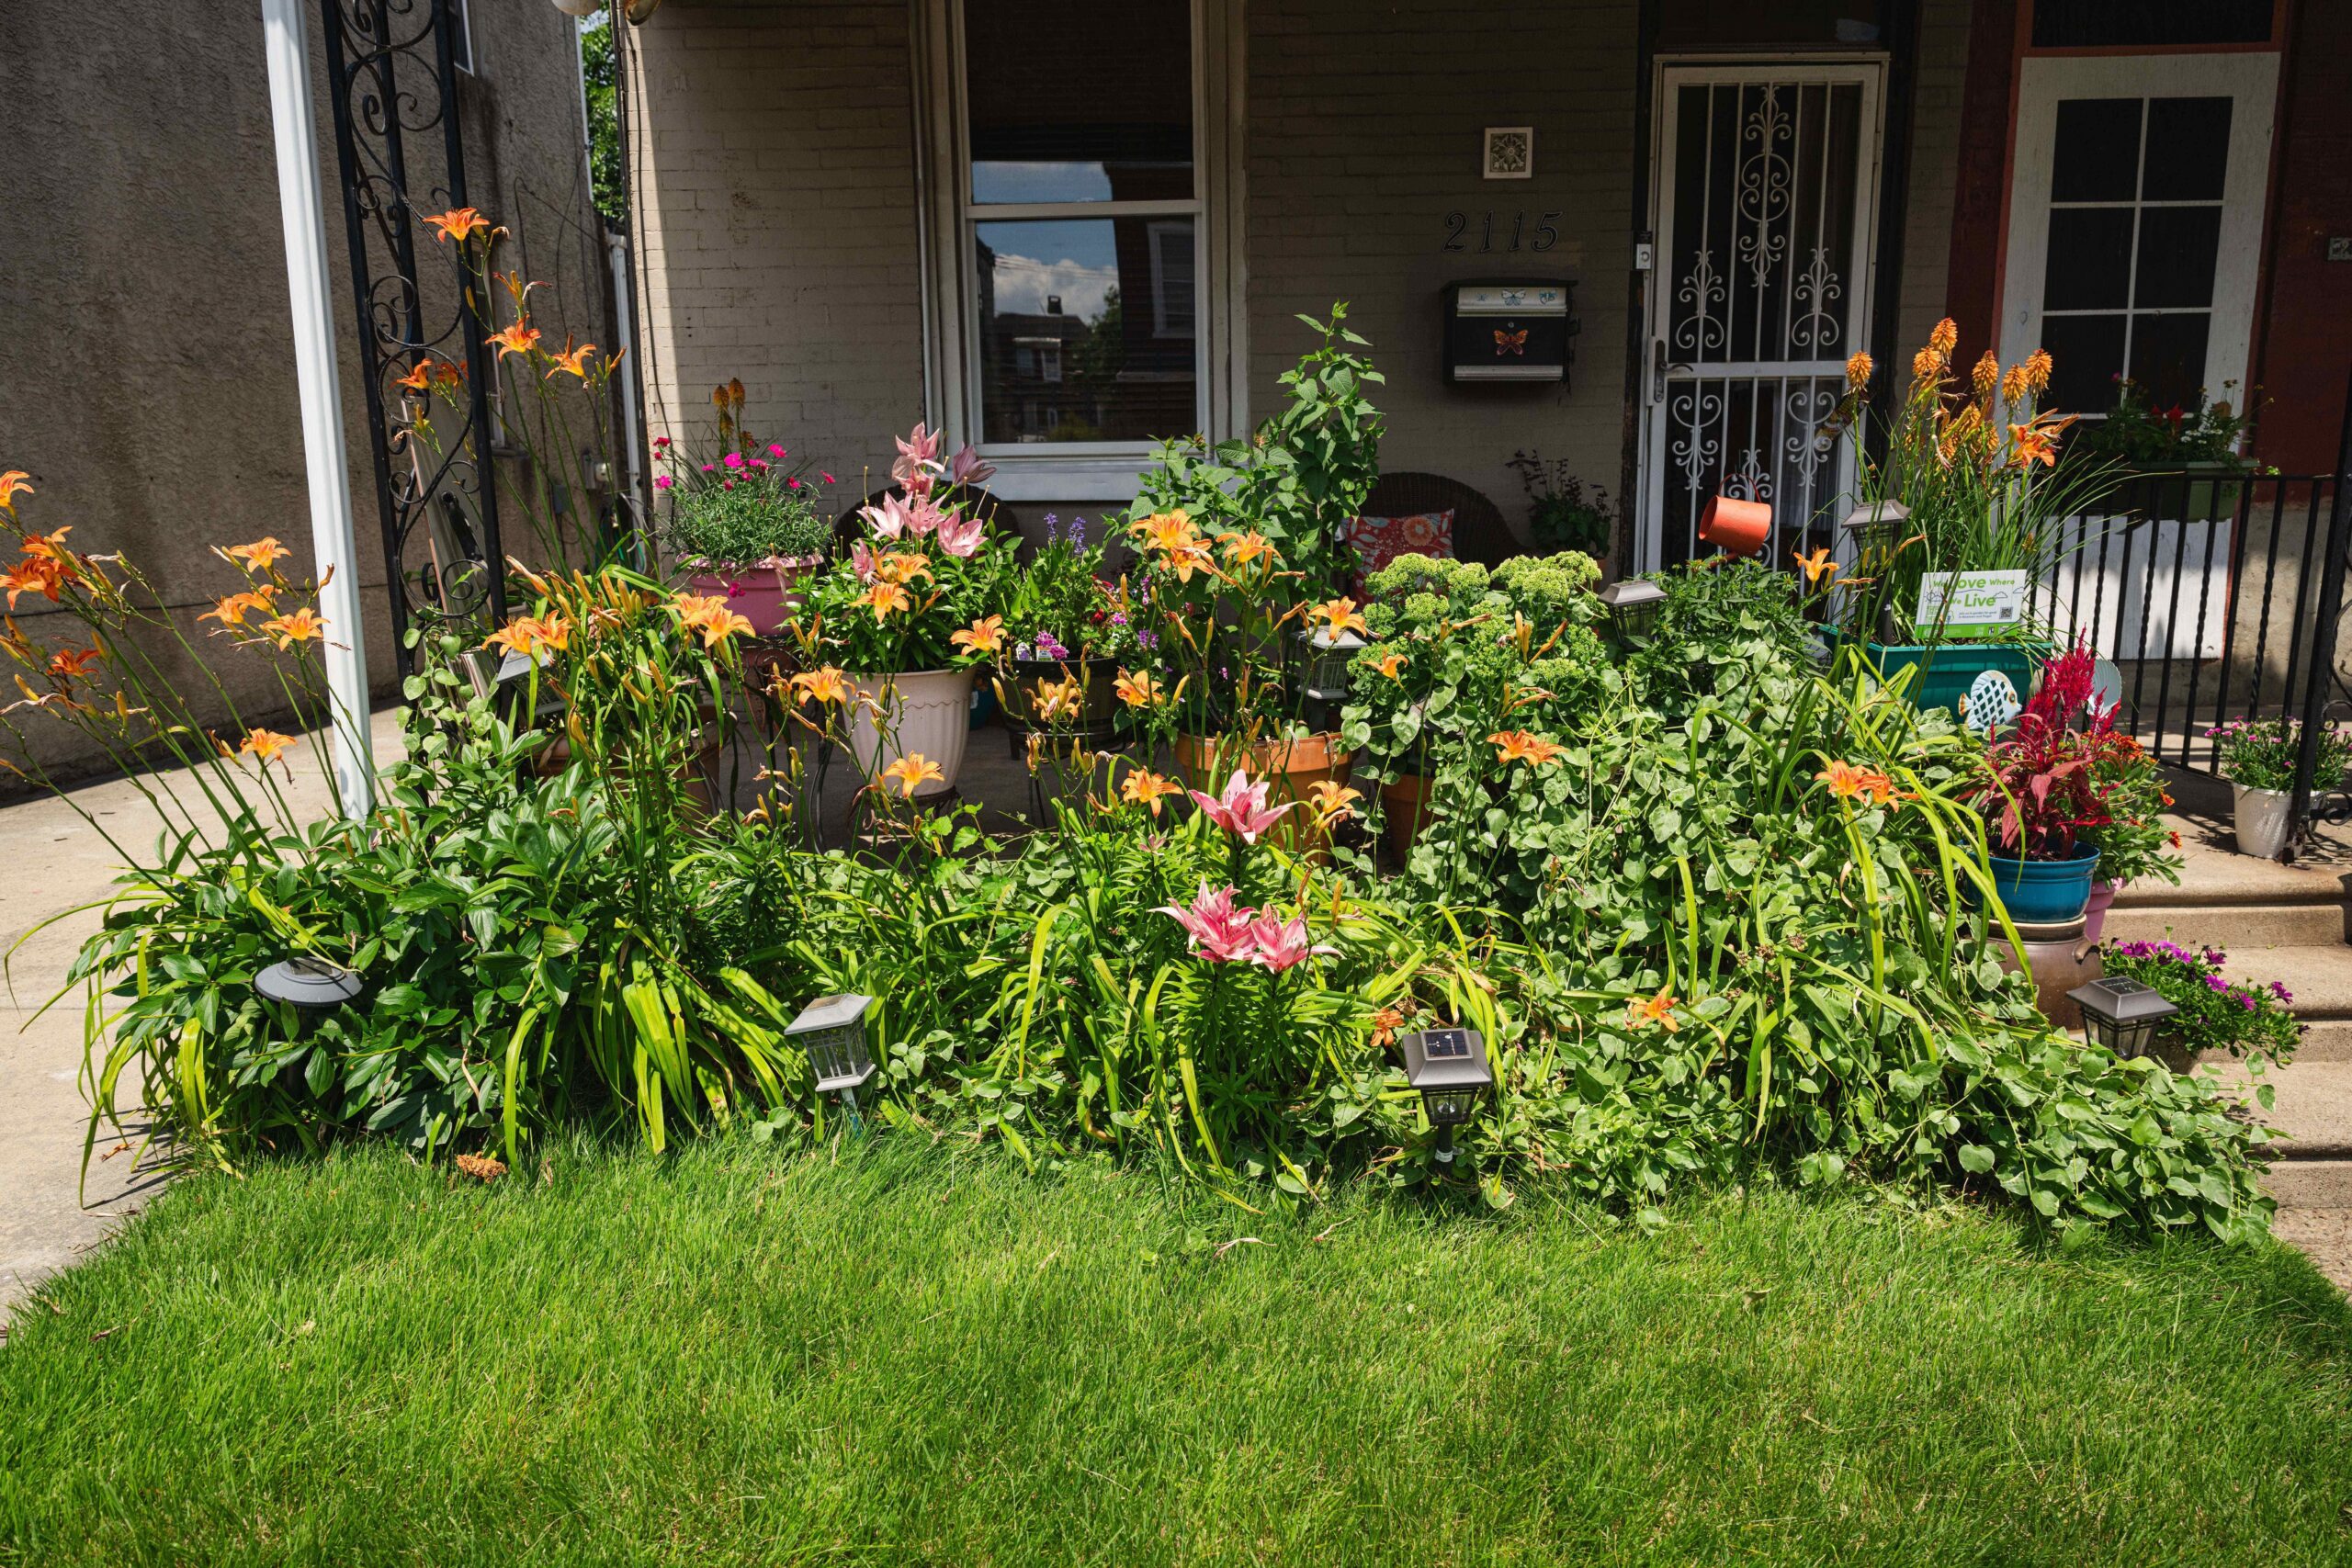
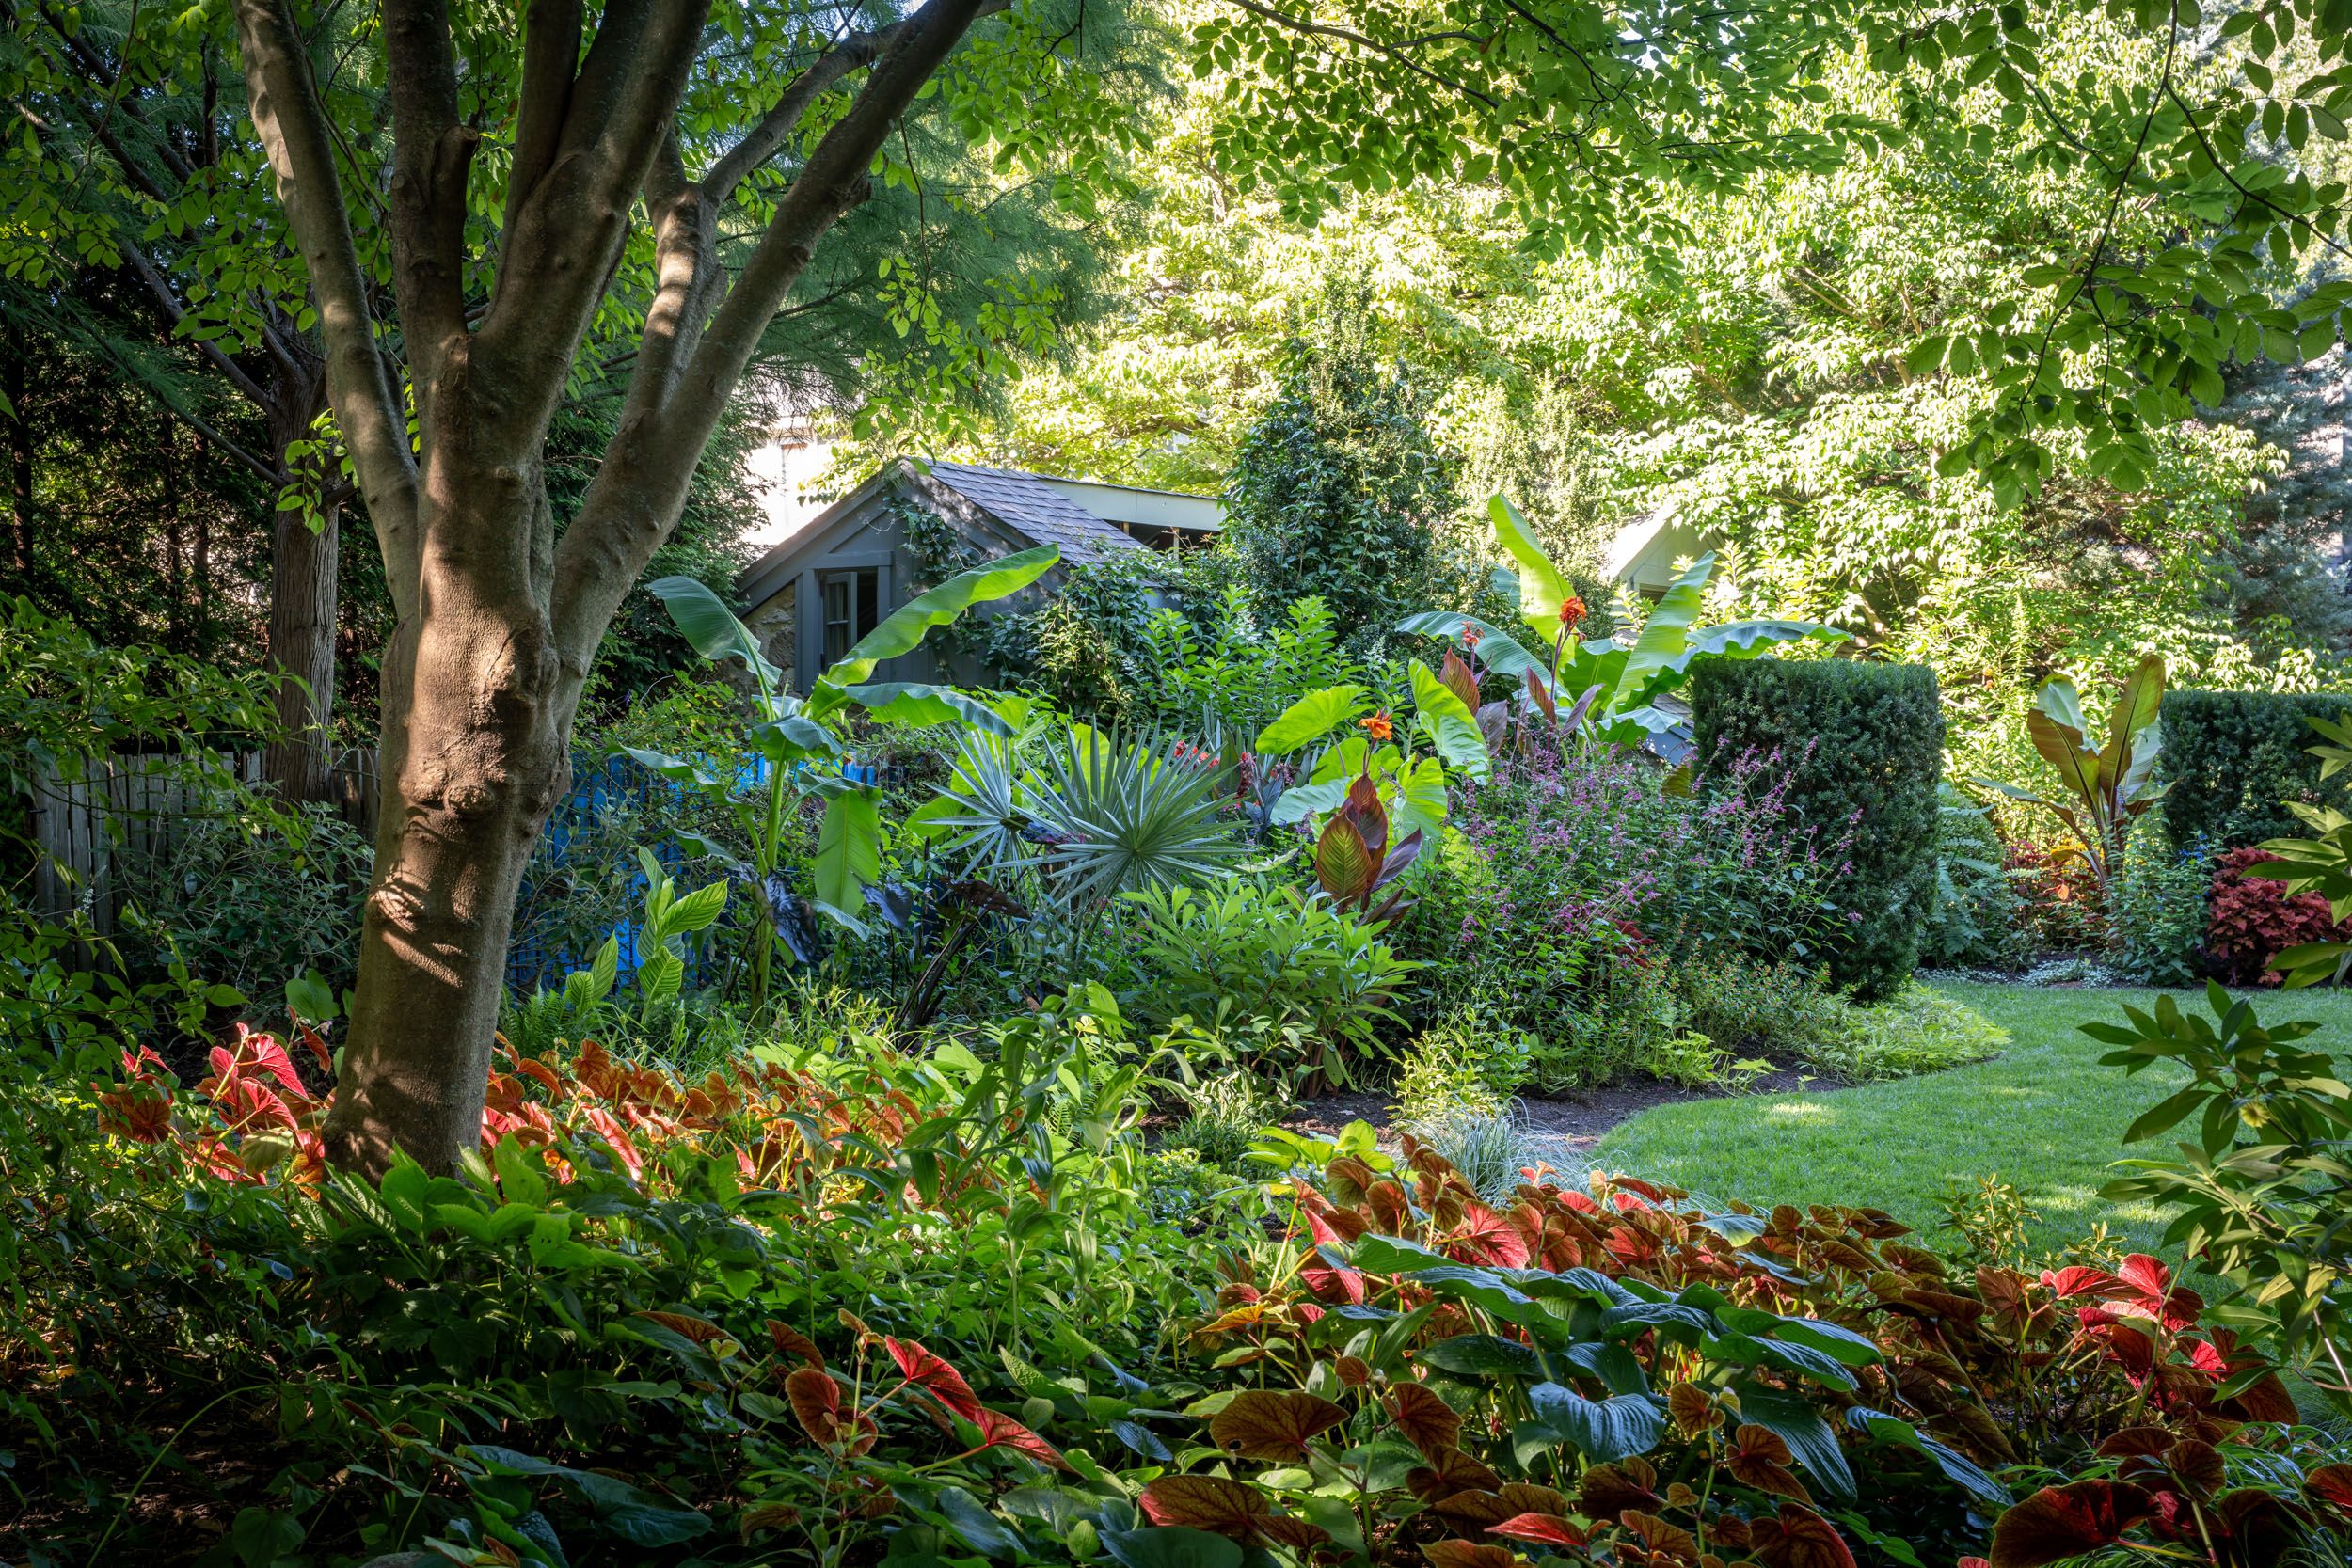
A tidy, thoughtfully styled garden creates a cleaner, more visually appealing photo and helps your plants take center stage. Shown here: Adam Levine/Tom Borkowski's garden. Photo credit: Rob Cardillo
1. Start with a Garden That’s Photo-Ready
Before you pick up your camera, take a few minutes to prep your space. A clean, well-maintained garden will always photograph better. As professional photographer Rob Cardillo explains, “a well-groomed garden is the foundation of a great photo,” which starts with a bit of simple upkeep. Focus on:
Mowing the lawn, if needed
Deadheading spent blooms
Removing dead or struggling plants
Tidying tools, hoses, and empty pots
Minimizing bare or unplanted areas by styling the space, try placing a container, adding a small table or seating, or grouping pots to create a more finished, intentional look
Think of this step as staging your garden. A little effort beforehand can dramatically improve the final image.
Photo credit: Rob Cardillo
2. Use Natural Light for Better Garden Photos
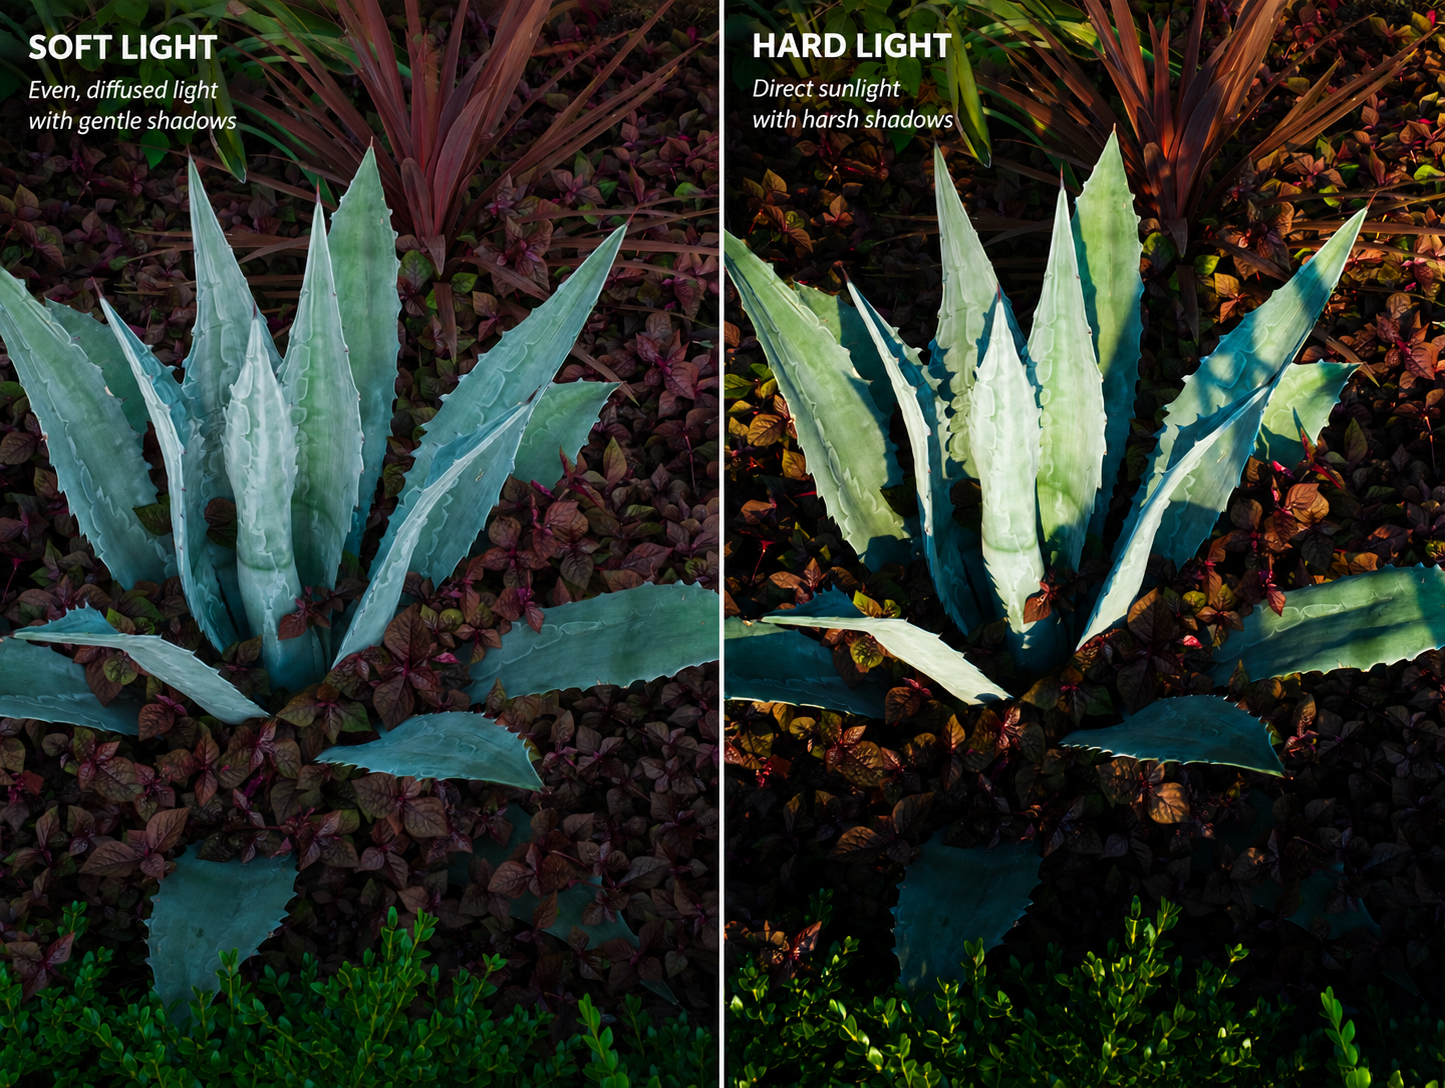
Lighting plays a major role in how your garden looks in photos. Bright, harsh sunlight can create strong shadows and wash out color, while softer light brings out detail and texture. Rob recommends shooting when “the light is soft and even, like on an overcast day or near sunrise or sunset.” Morgan adds that periods of indirect sunlight tend to make everything look softer in the best way.
For the best lighting results, aim to photograph your garden during:
Early morning
Late afternoon or early evening
Bright but overcast conditions
Try to avoid midday sun on a clear day, when contrast is strongest and hardest to manage.
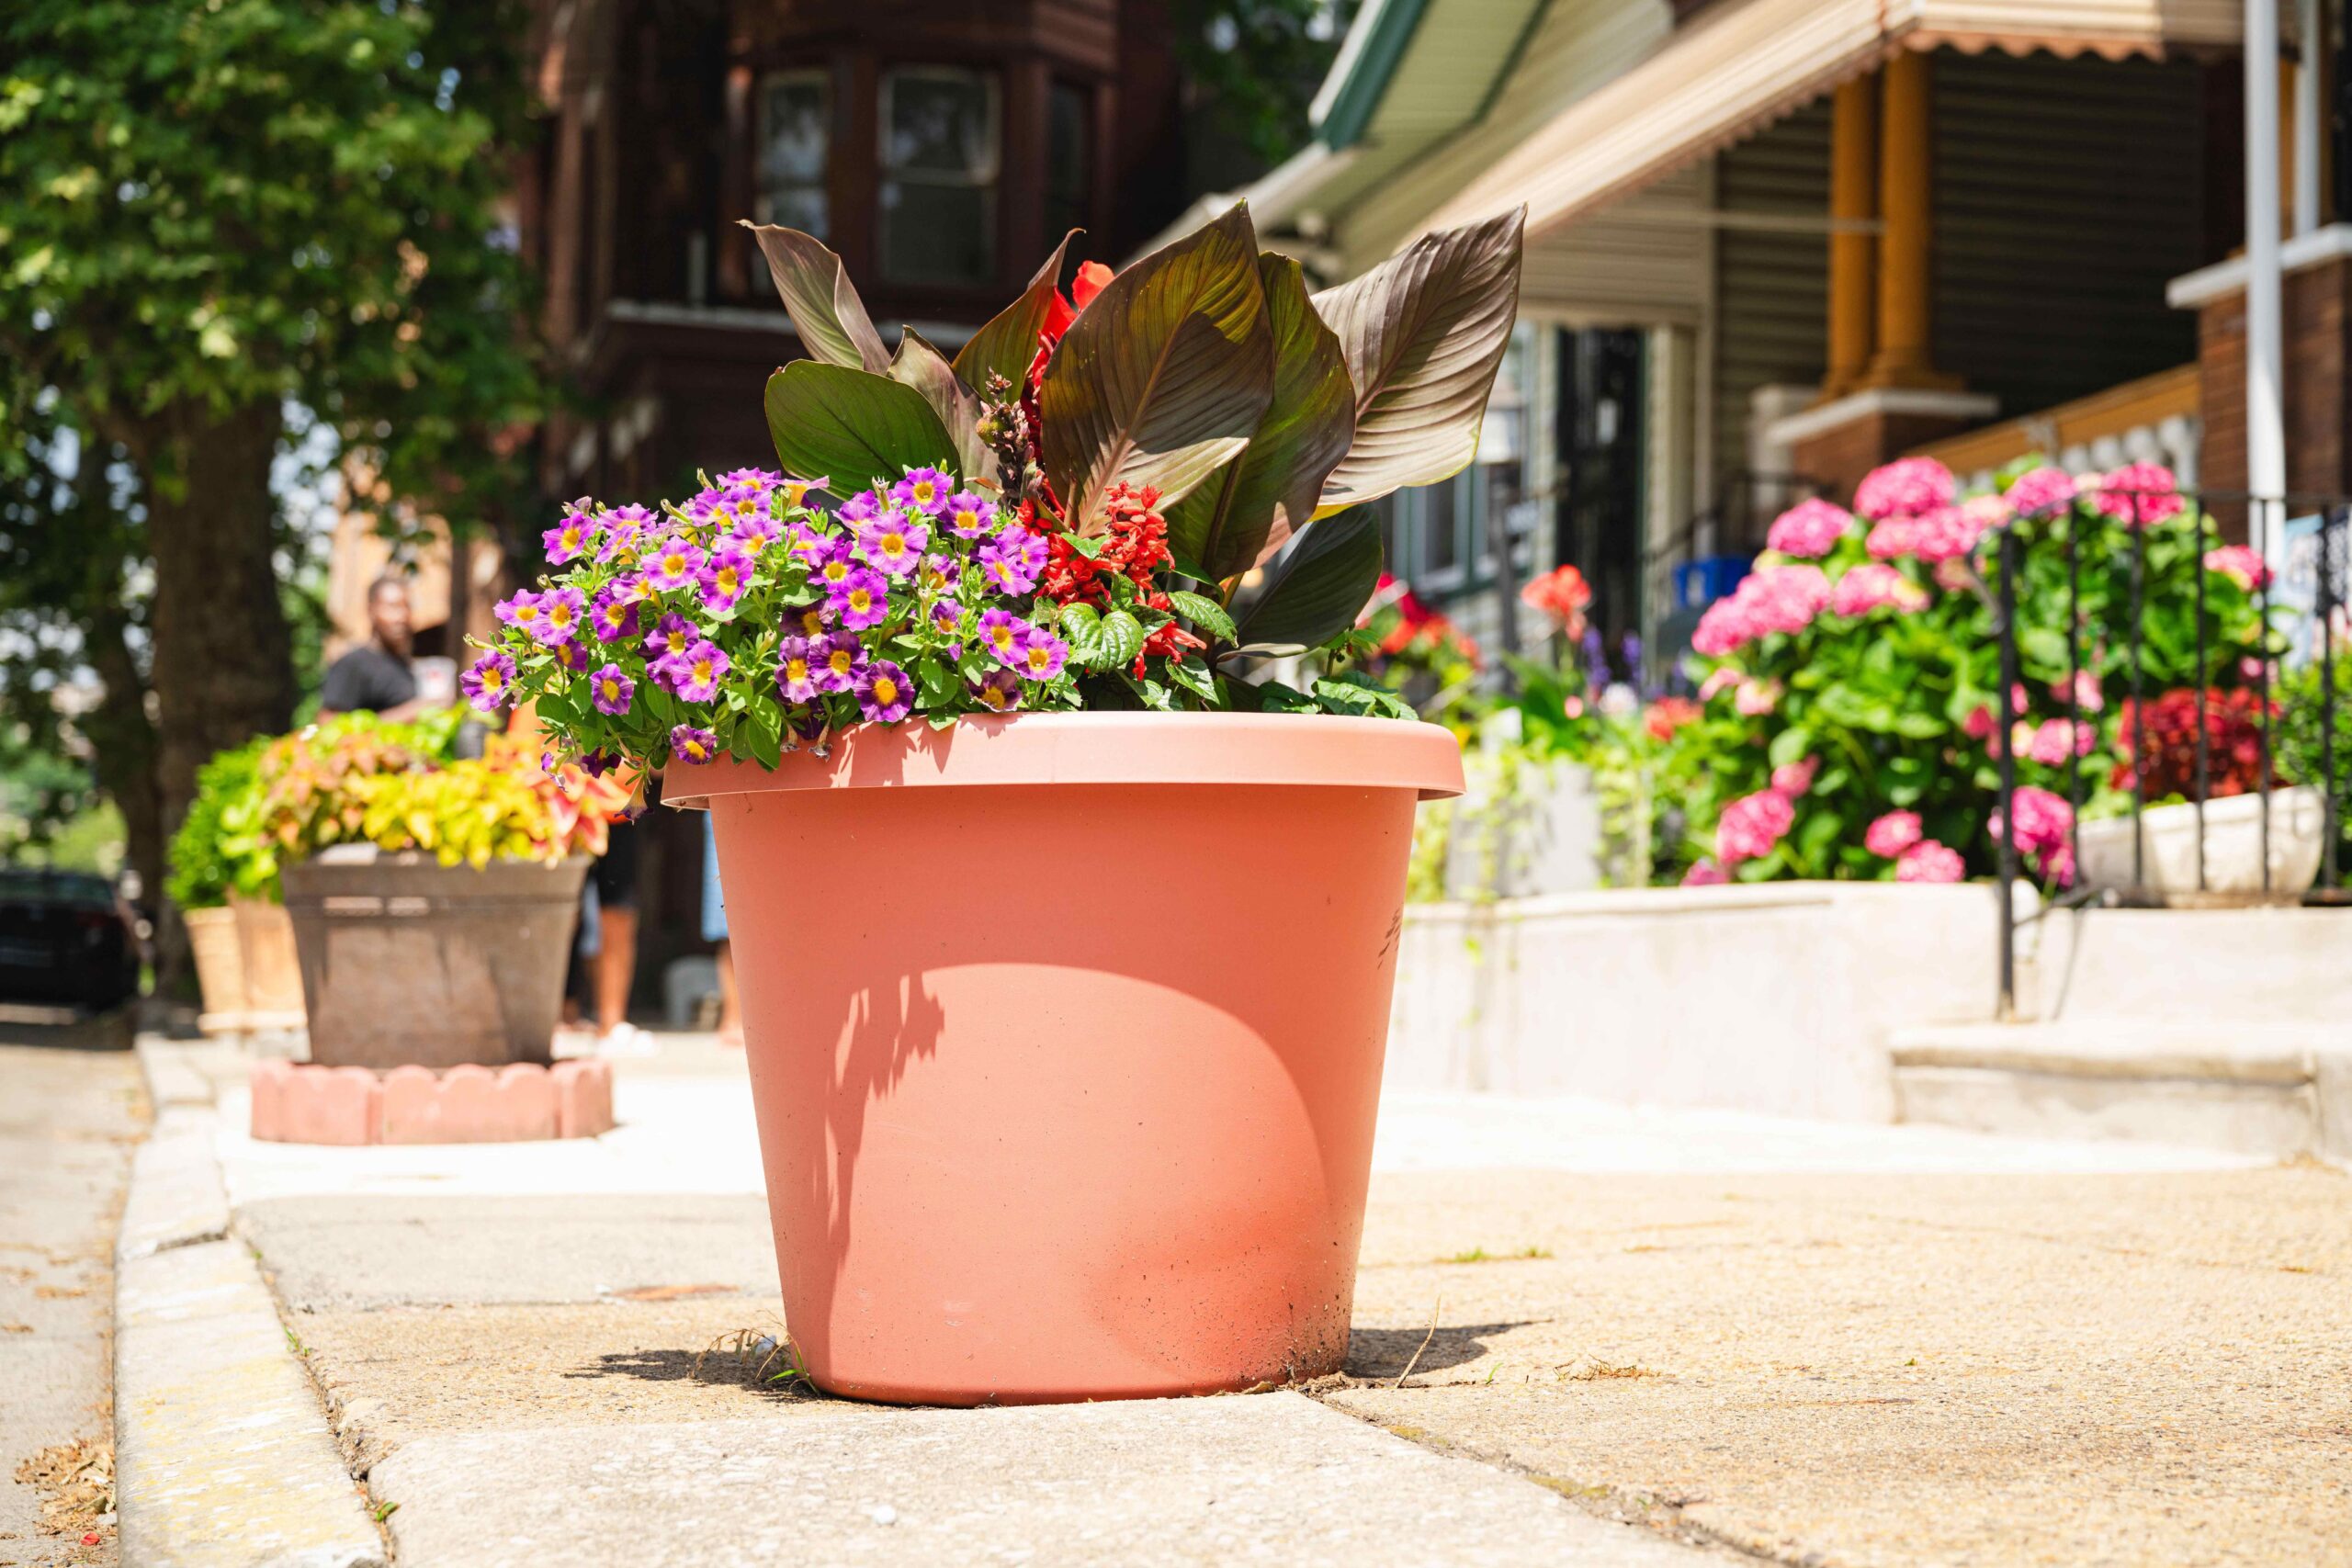
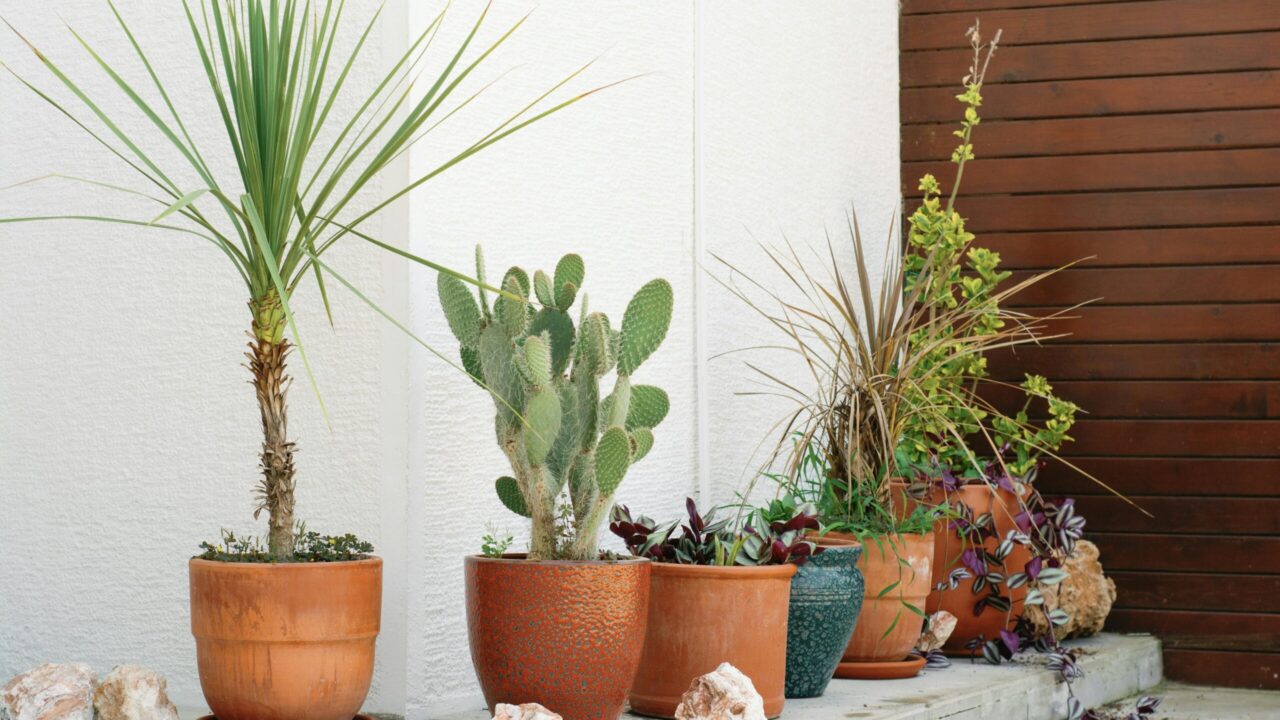
A single container or standout feature can create a strong focal point and give your garden photo a clear sense of purpose. Photo credit: Morgan Horell
3. Find a Clear Focal Point in Your Garden Photos
Strong photos start with a clear subject. Without one, the image can feel busy or unfocused. Morgan suggests thinking about the points of interest in your garden and choosing one to highlight. Good focal points might include:
A standout flower or grouping
A beautiful container or planter
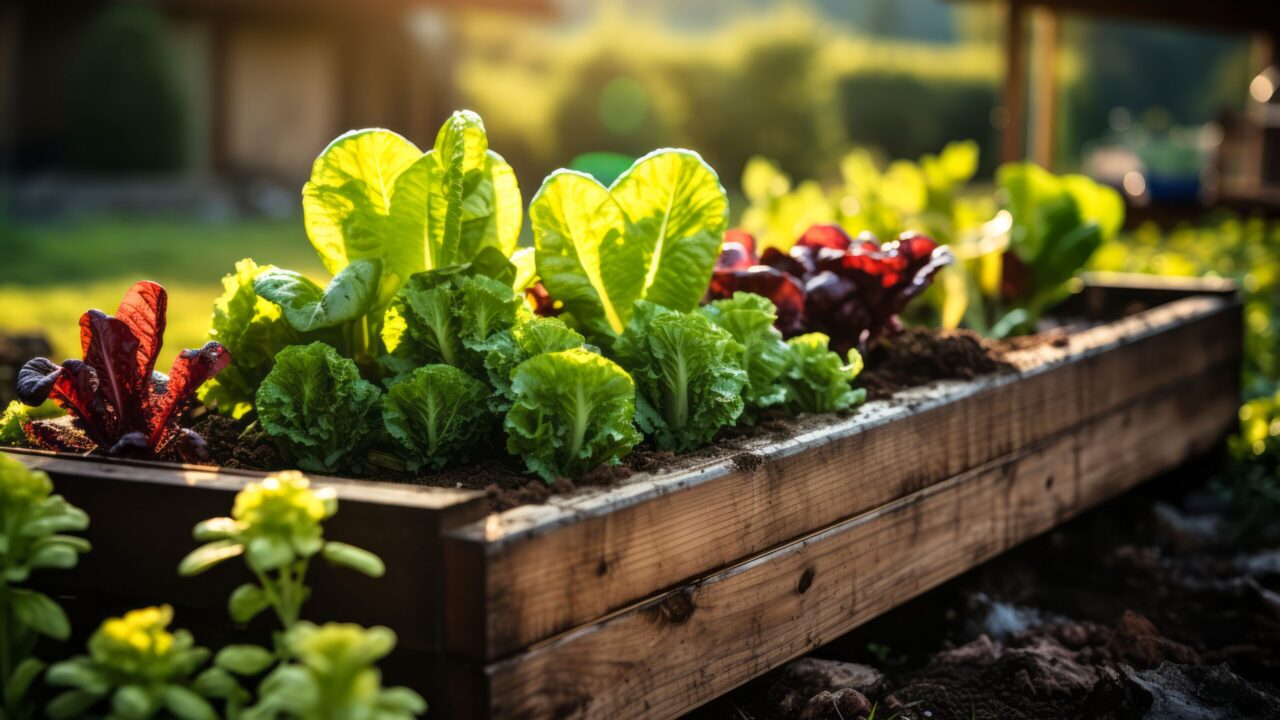
A productive vegetable bed
A pathway, trellis, or design feature
Once you identify your focal point, frame your shot so it naturally draws the viewer’s eye to it.
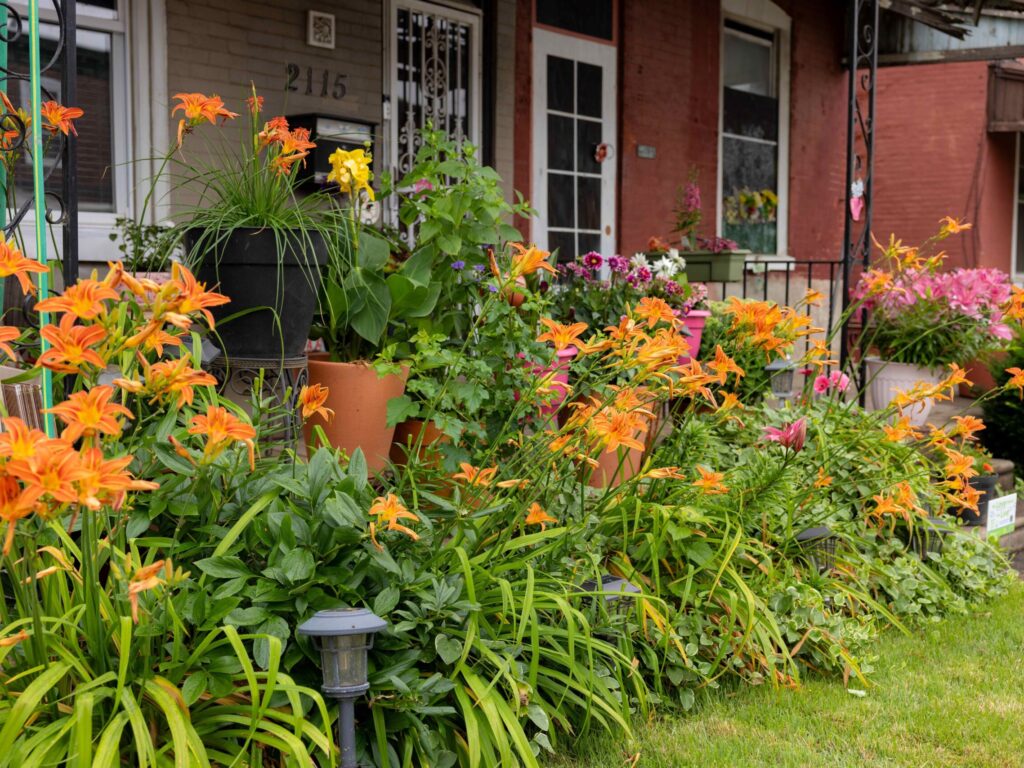
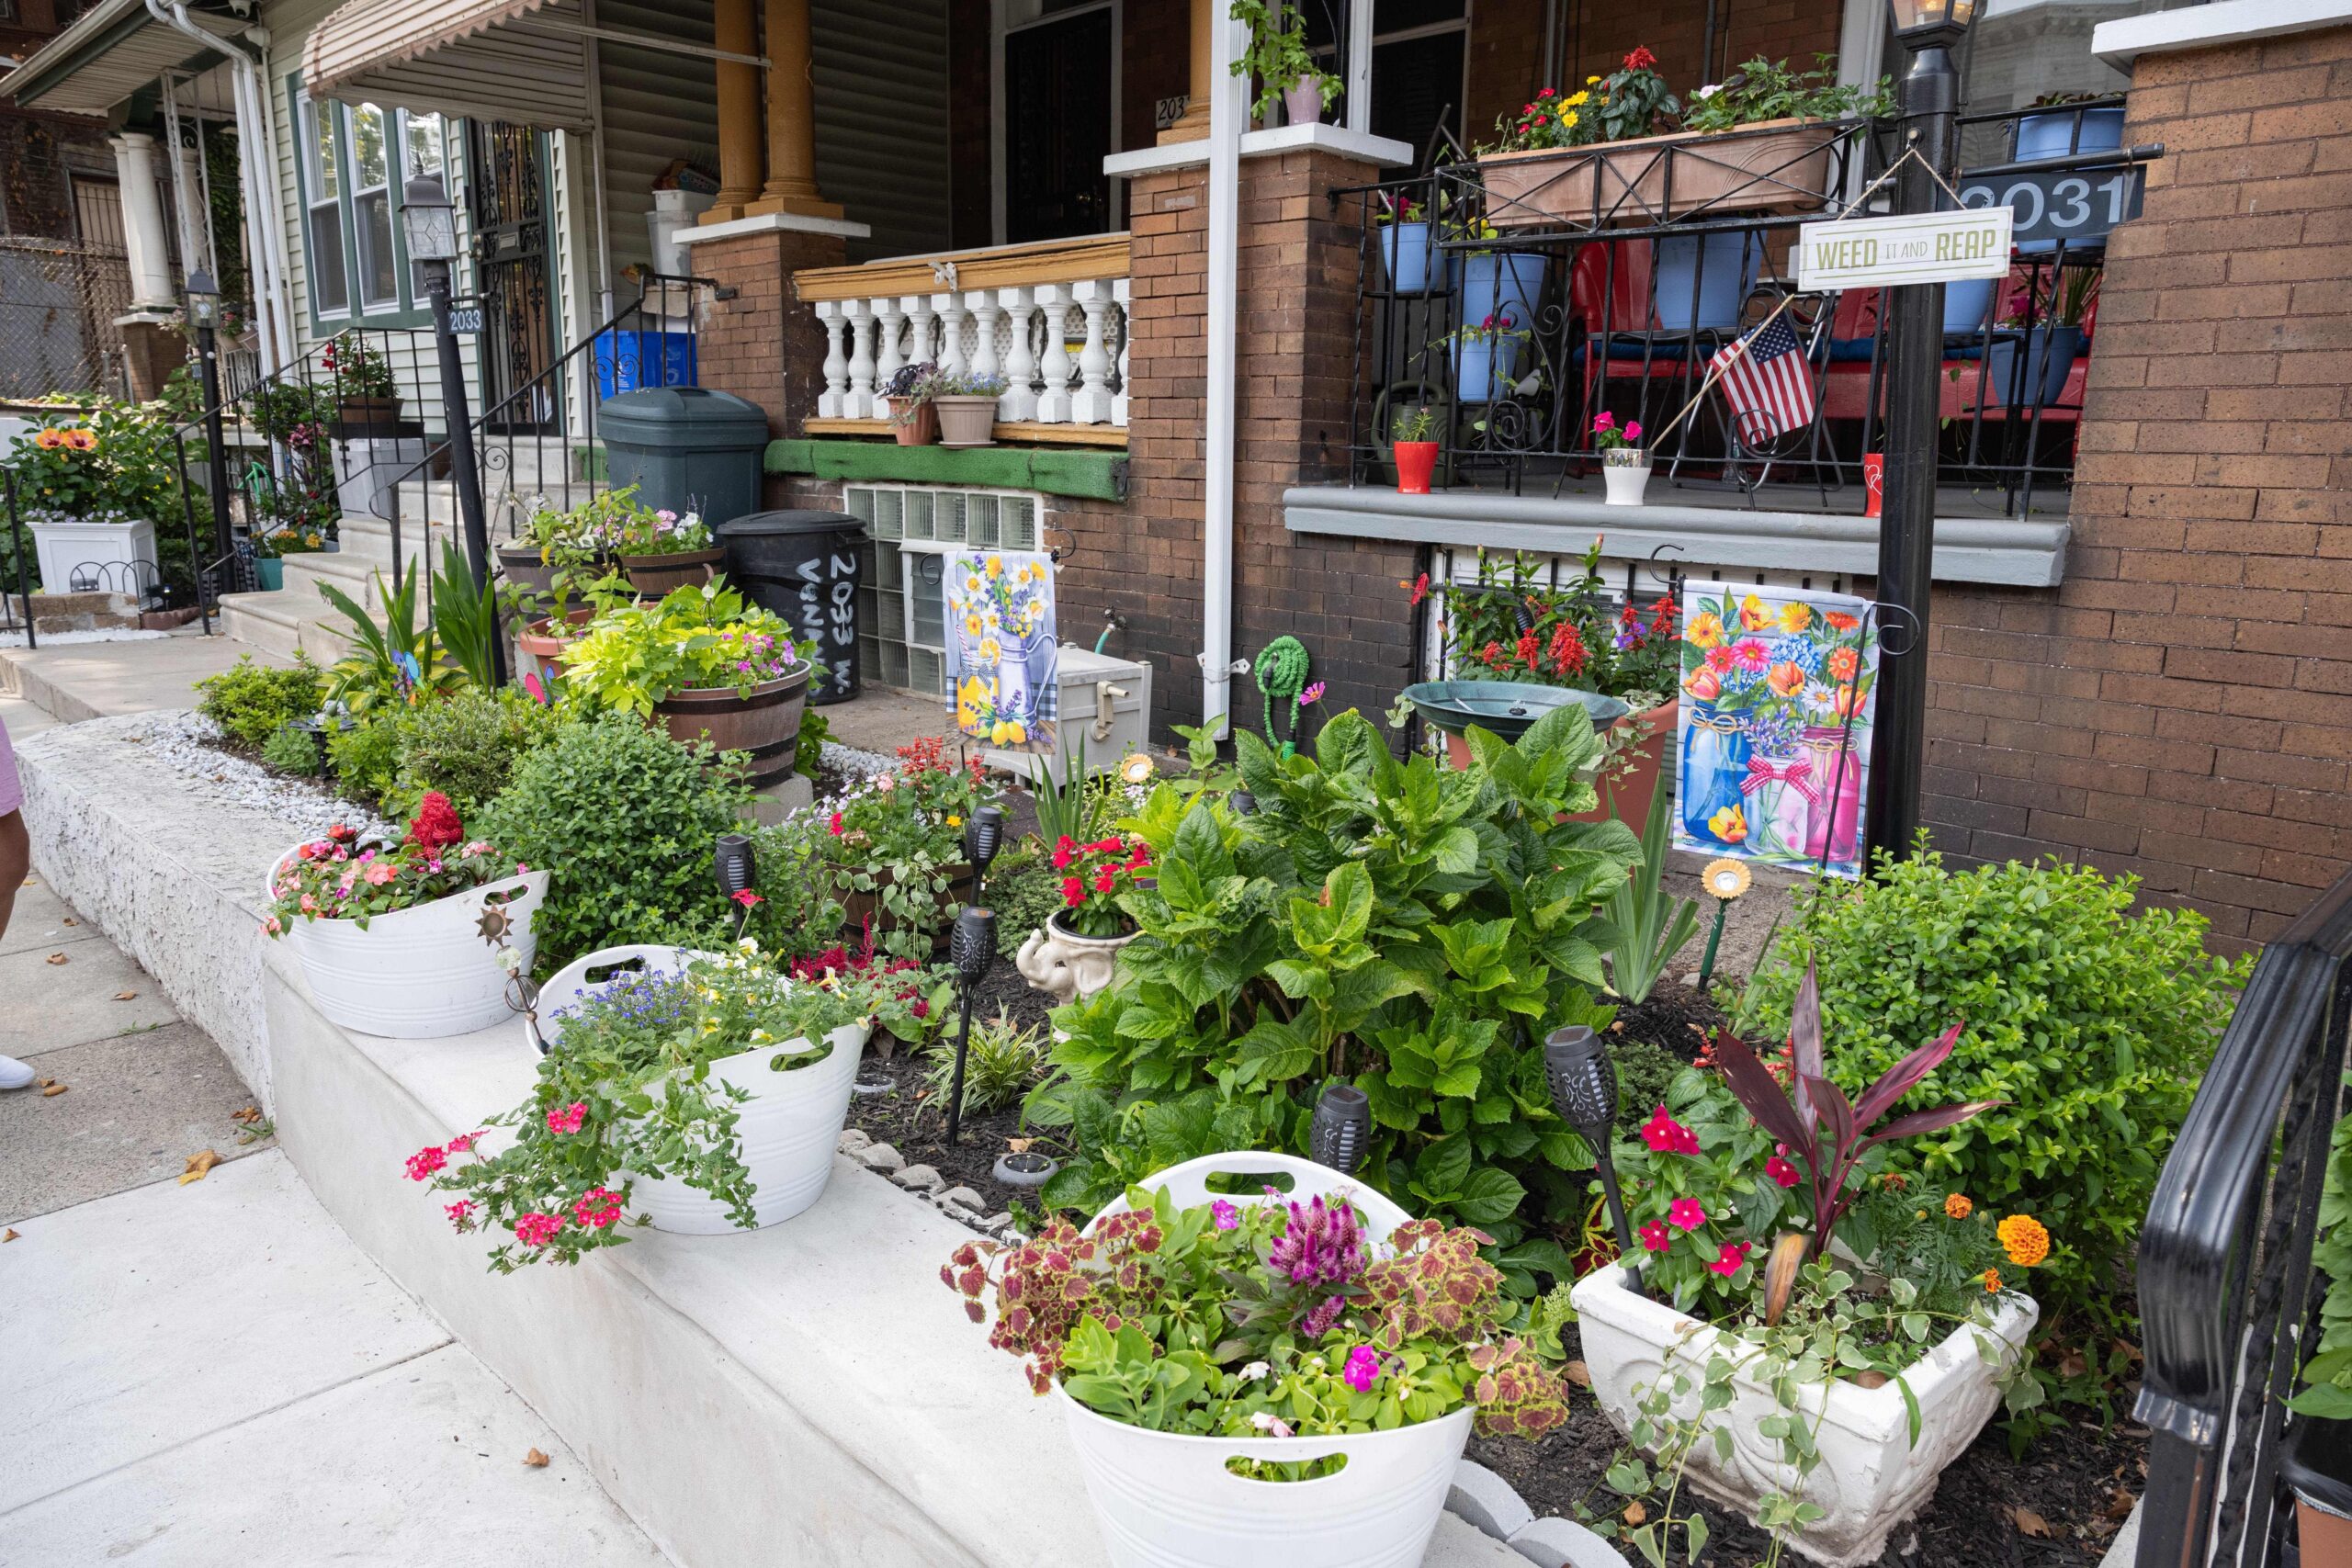
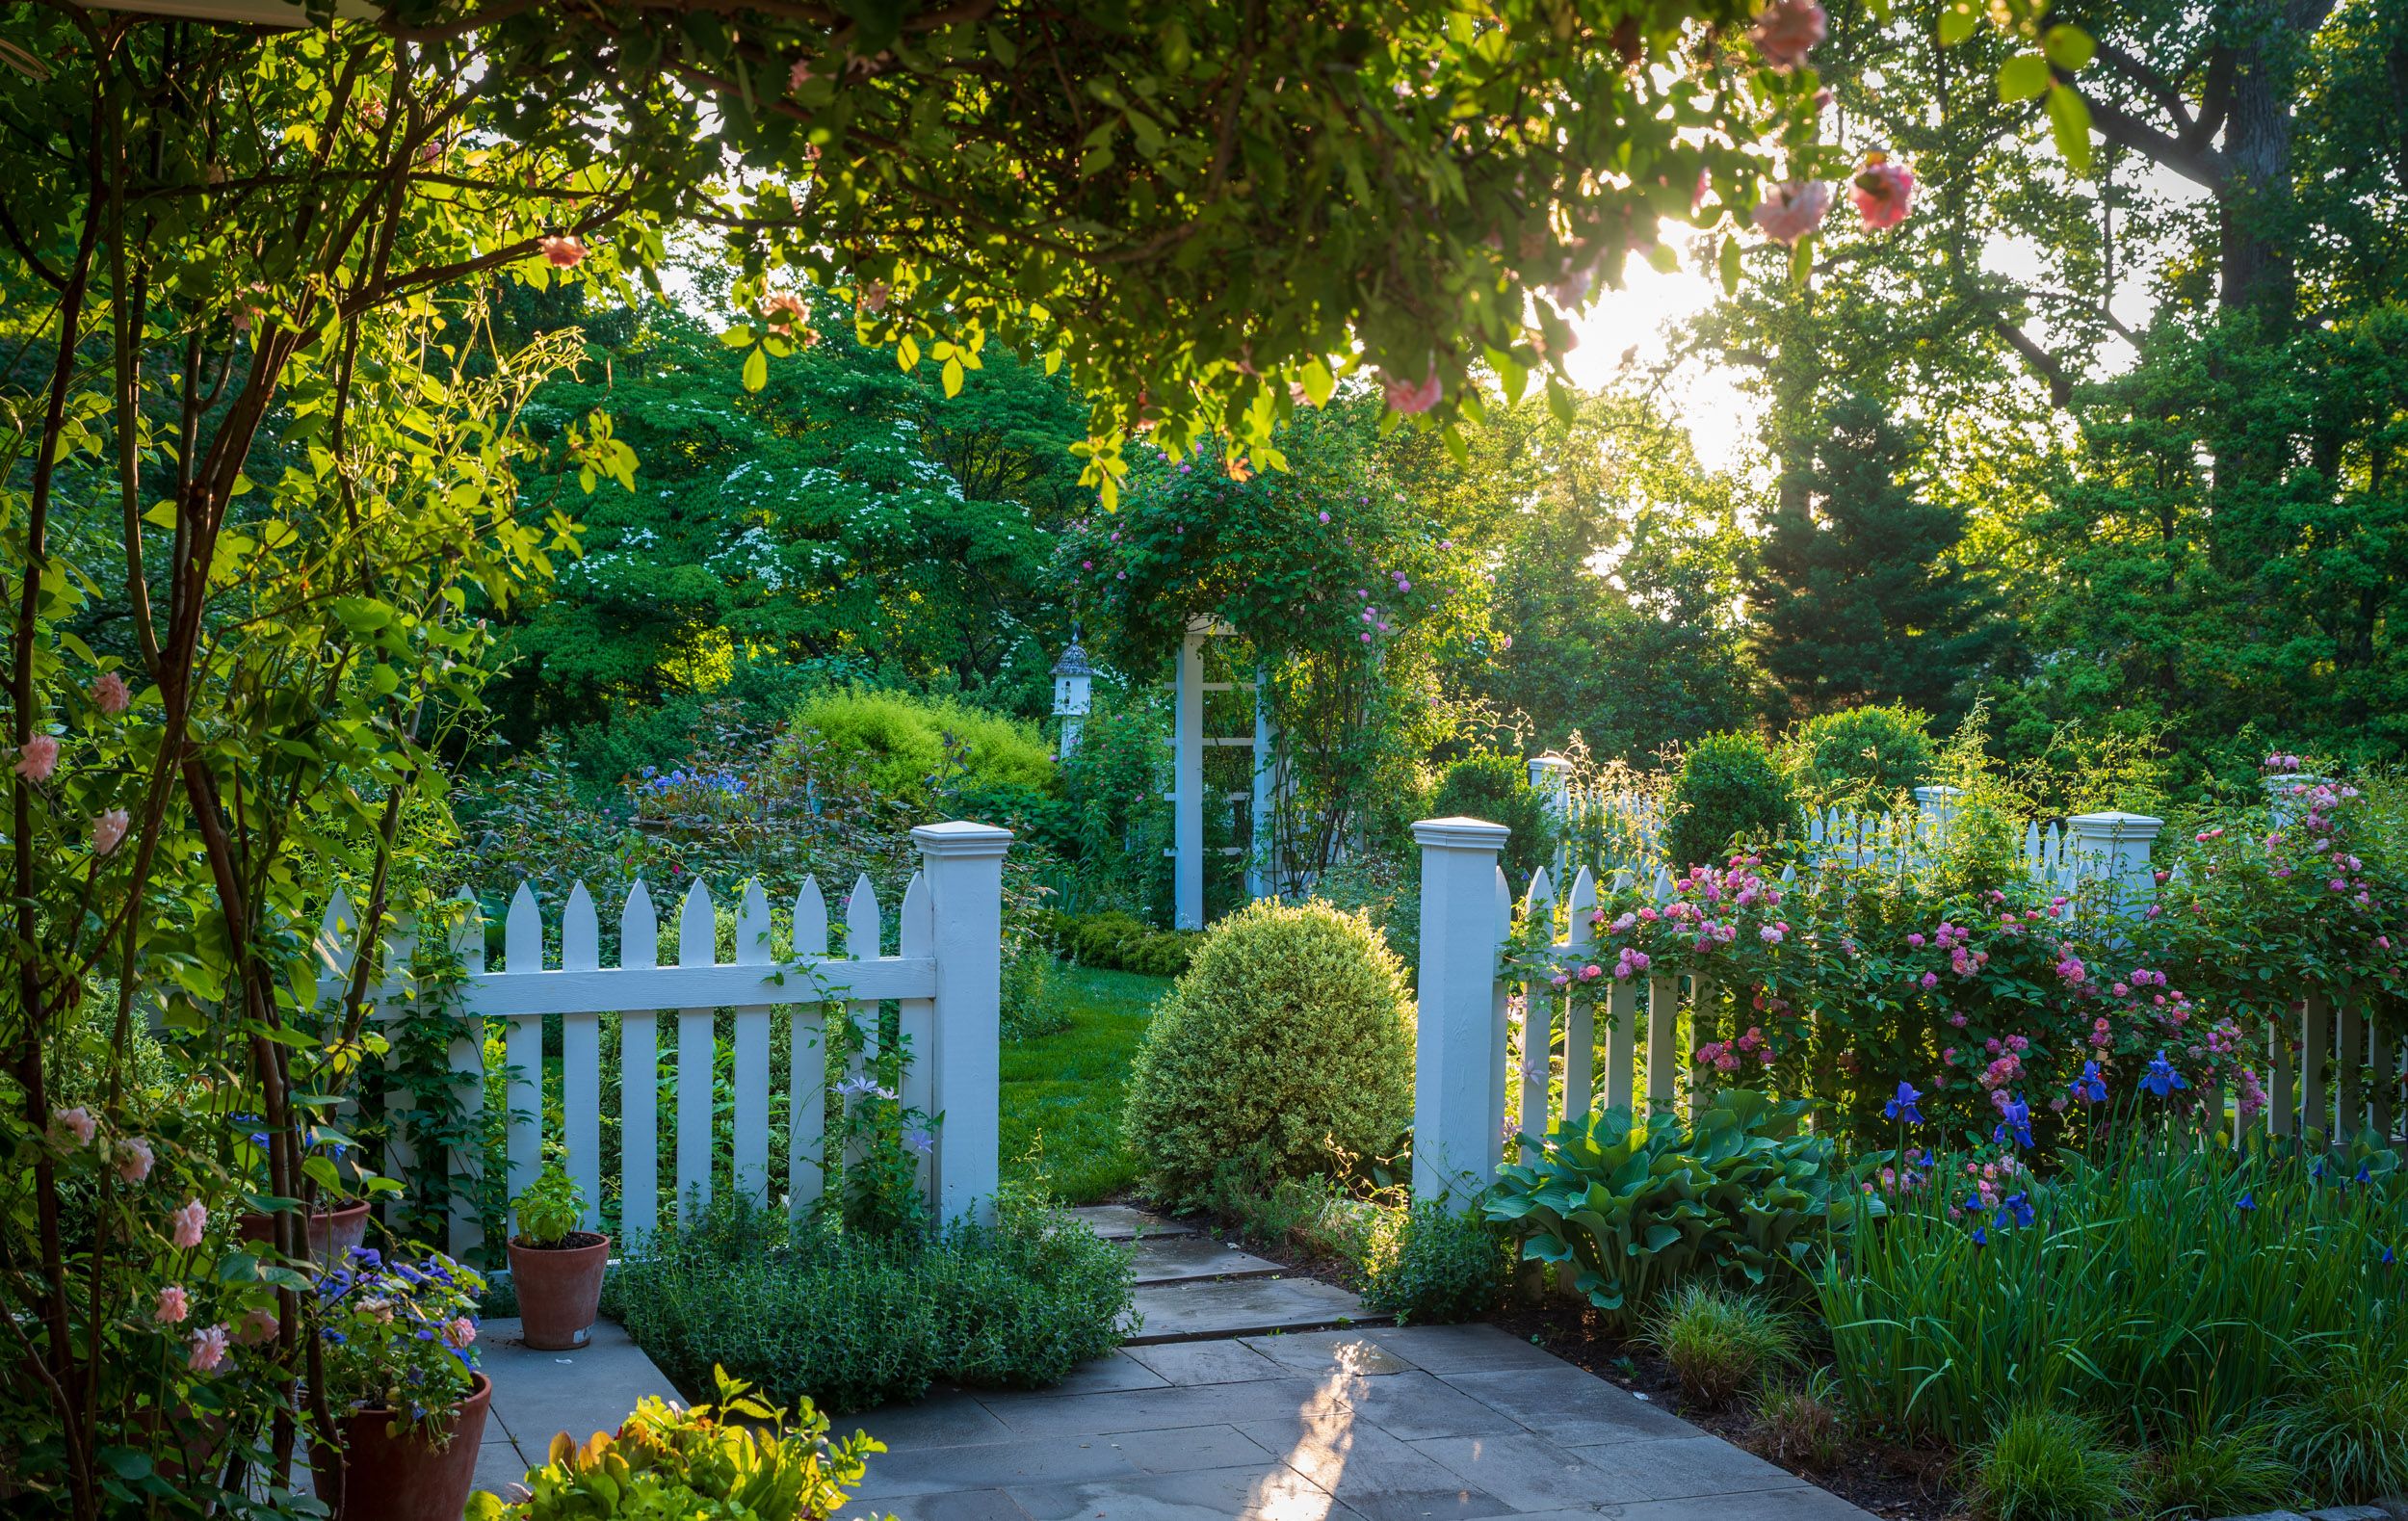
A clean, uncluttered background helps the beauty of a front garden stand out at its best. Photo credit: Morgan Horell
4. Watch Your Background in Garden Photography
Even a beautiful subject can lose impact if the background is cluttered. Taking a moment to check what is behind your focal point can make a big difference. Rob advises gardeners to look for “distractions lurking in the background,” such as:
Parked cars
Garden hoses
Tools or empty pots
Play equipment or furniture
If something feels distracting, try moving it, hiding it, or adjusting your angle to simplify the scene.
A slightly elevated angle can reveal the full structure of your garden, offering a fresh perspective. Photo credit: Morgan Horell
5. Experiment with Angles for More Dynamic Garden Photos
Changing your perspective can completely transform a photo. Instead of taking every picture from eye level, explore your space from different viewpoints. Rob encourages photographers to move around once they find a promising angle, while Morgan suggests trying a mix of perspectives, such as:
Getting lower to be on the same level as your container or plant bed
Stepping back to capture the full garden
Photographing from above using a window or a step ladder
Small shifts in position often lead to more dynamic and interesting images.
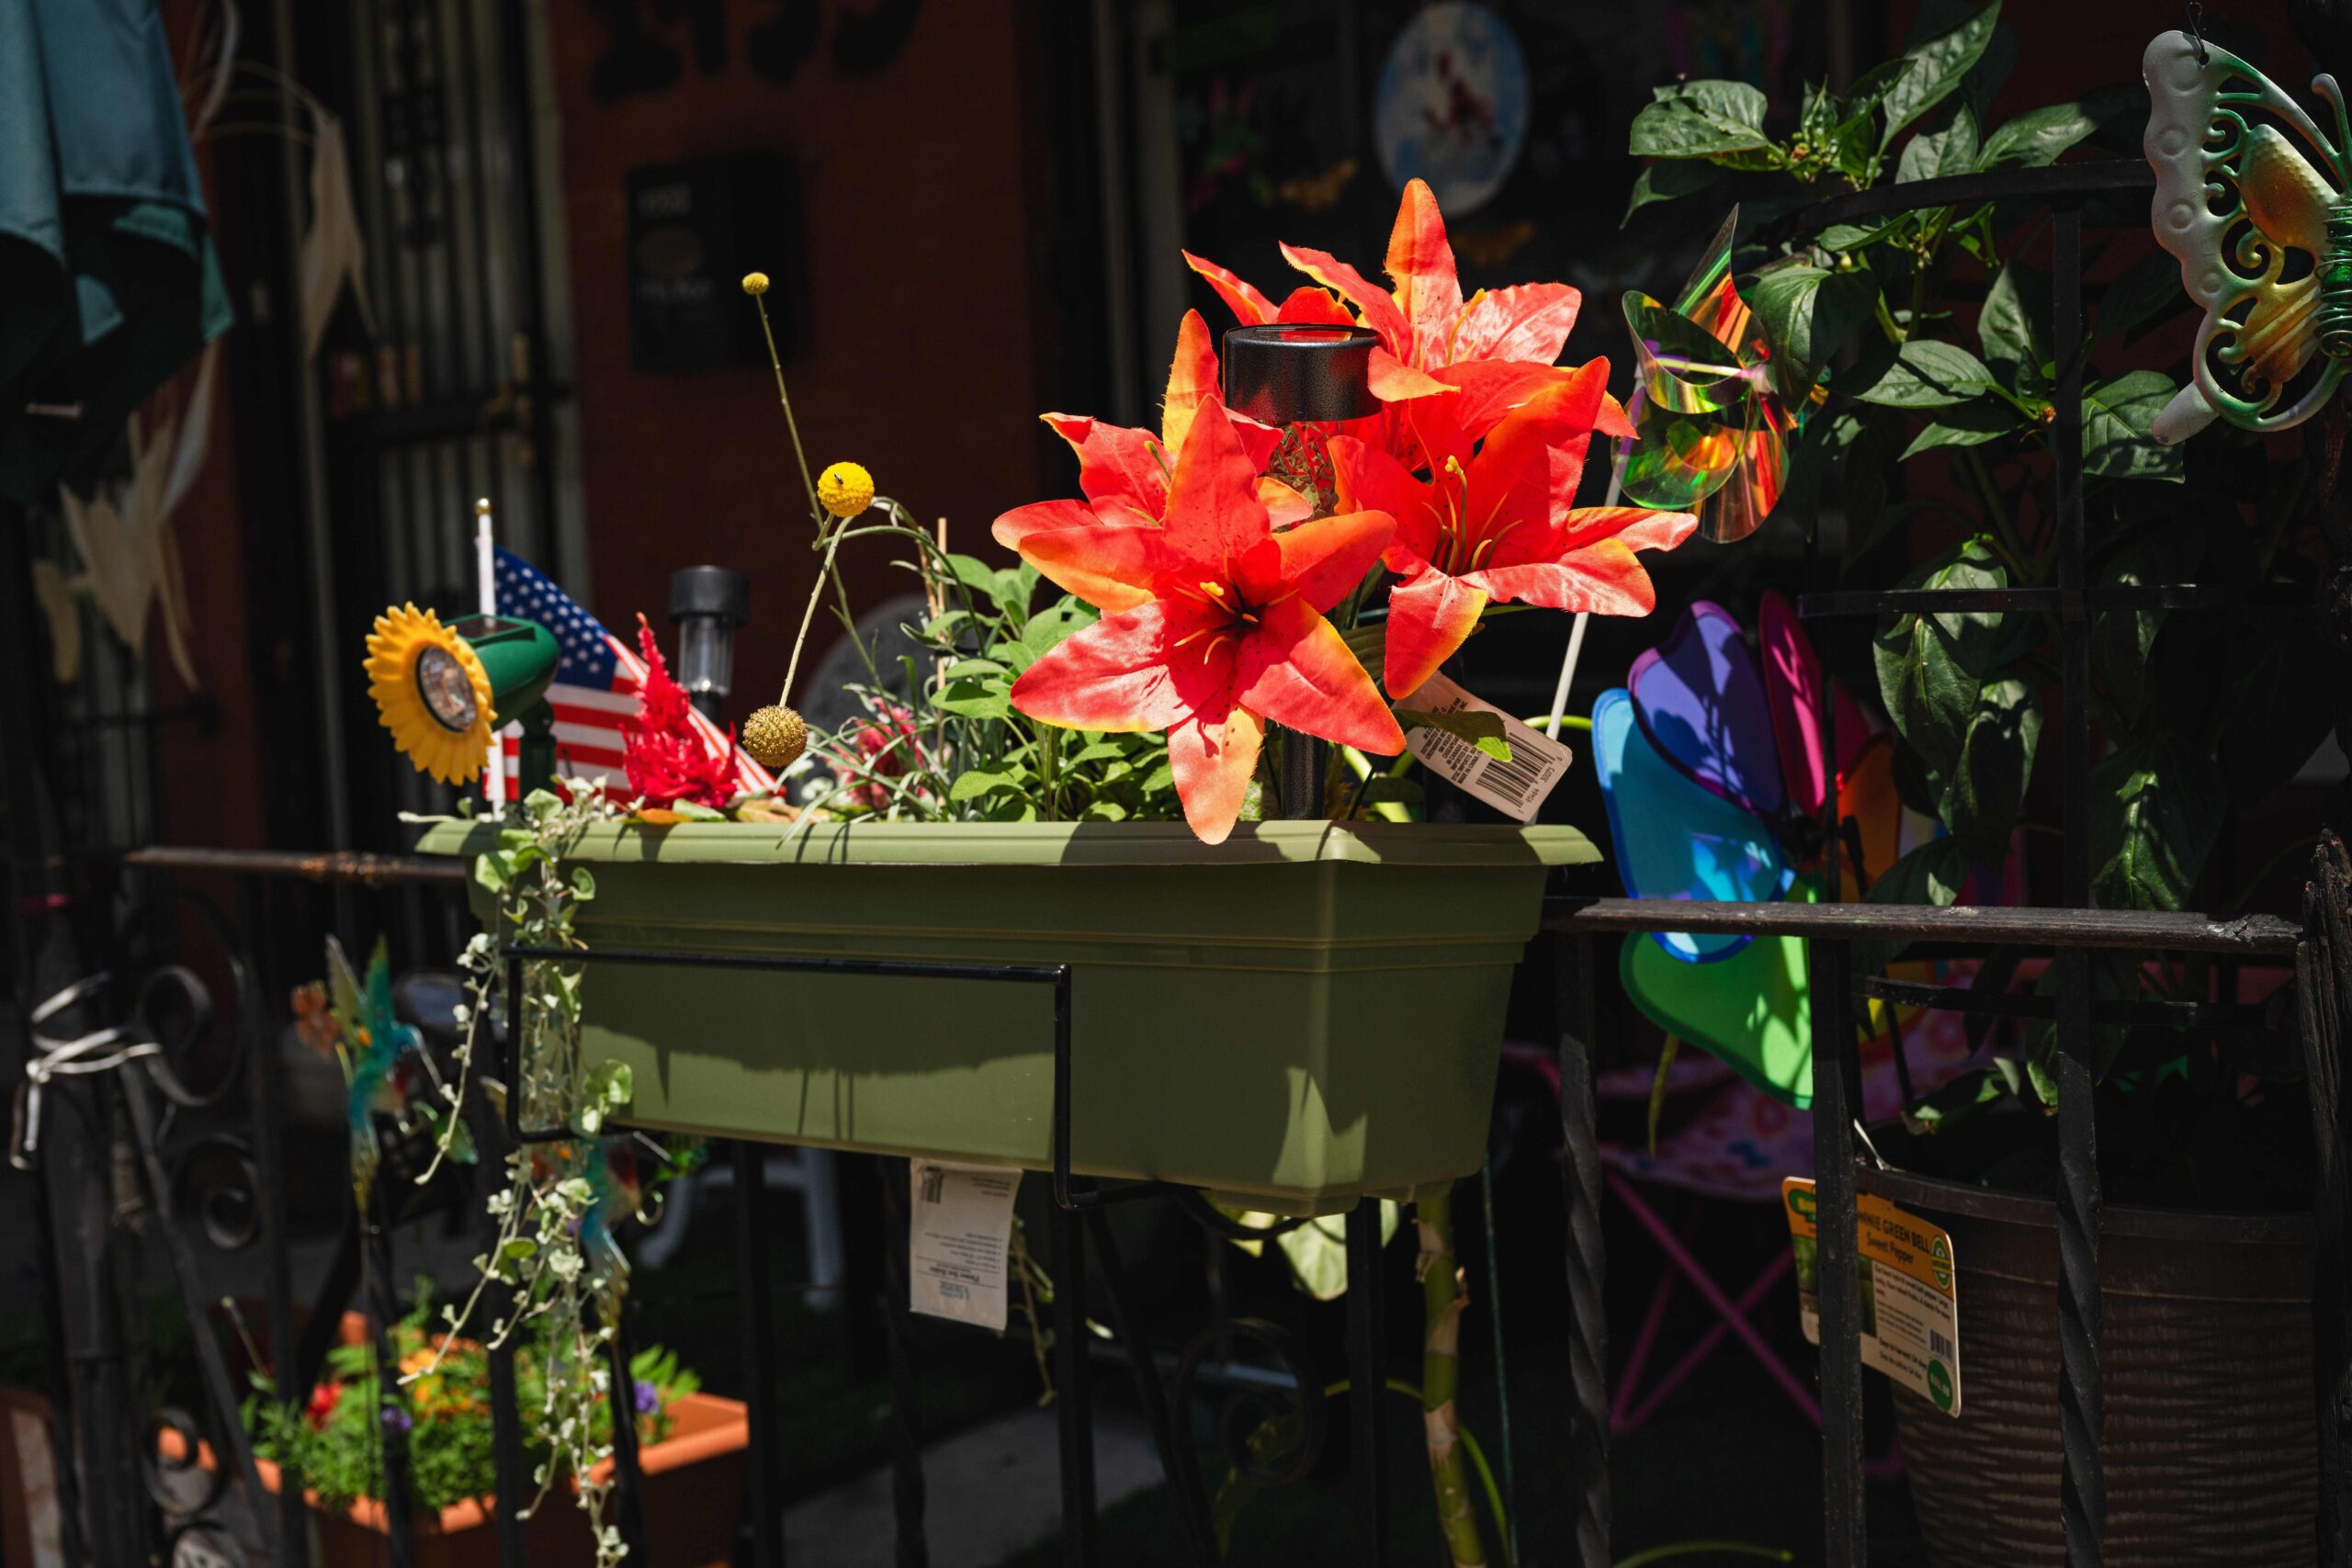
A hanging planter becomes a true focal point when you highlight what makes it unique. Photo credit: Morgan Horell
6. Highlight What Makes Your Garden Unique
Every garden has something special, and your photos should reflect that. Think about what makes your space stand out and look for ways to emphasize it. Morgan notes that small adjustments can make a big difference, especially when highlighting details. Consider:
Making sure vegetables are visible on the plant
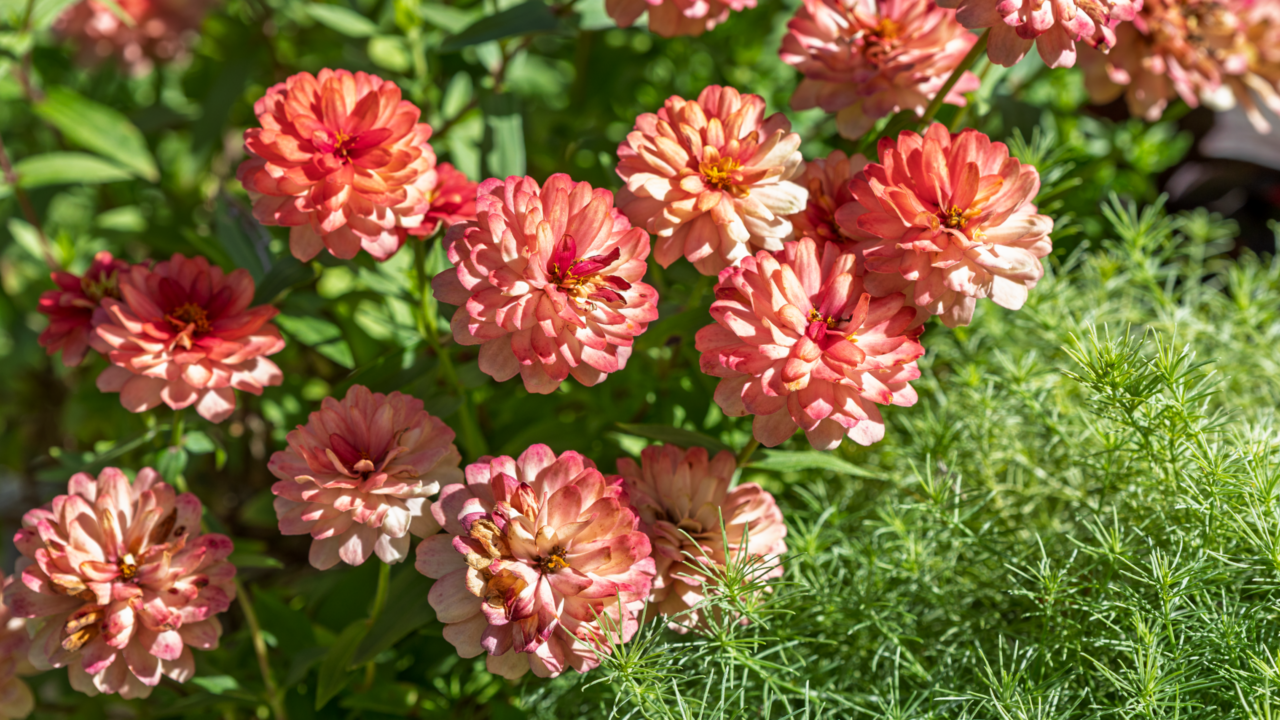
Moving leaves aside to reveal blooms
Capturing pollinators like bees or butterflies
Focusing on standout containers or arrangements
For more advanced shots, using a faster shutter speed can help capture motion, especially when photographing pollinators in action.
A steady hand and a few extra shots help keep your garden photos crisp, clear, and full of detail. Shown here: Andrew Bunting's garden. Photo credit: Rob Cardillo
7. Keep Your Camera Steady and in Focus
A sharp image makes all the difference. Even the best composition can fall flat if the photo is blurry. Rob recommends holding your camera steady and reviewing each shot to ensure it is in focus. A few simple habits can help increase your chances of capturing a crisp, clear image:
Use both hands to stabilize your camera
Brace against a surface if needed
Take multiple shots of the same scene
Photo credit: Rob Cardillo
8. Try Different Camera Settings or Lenses for Garden Photography
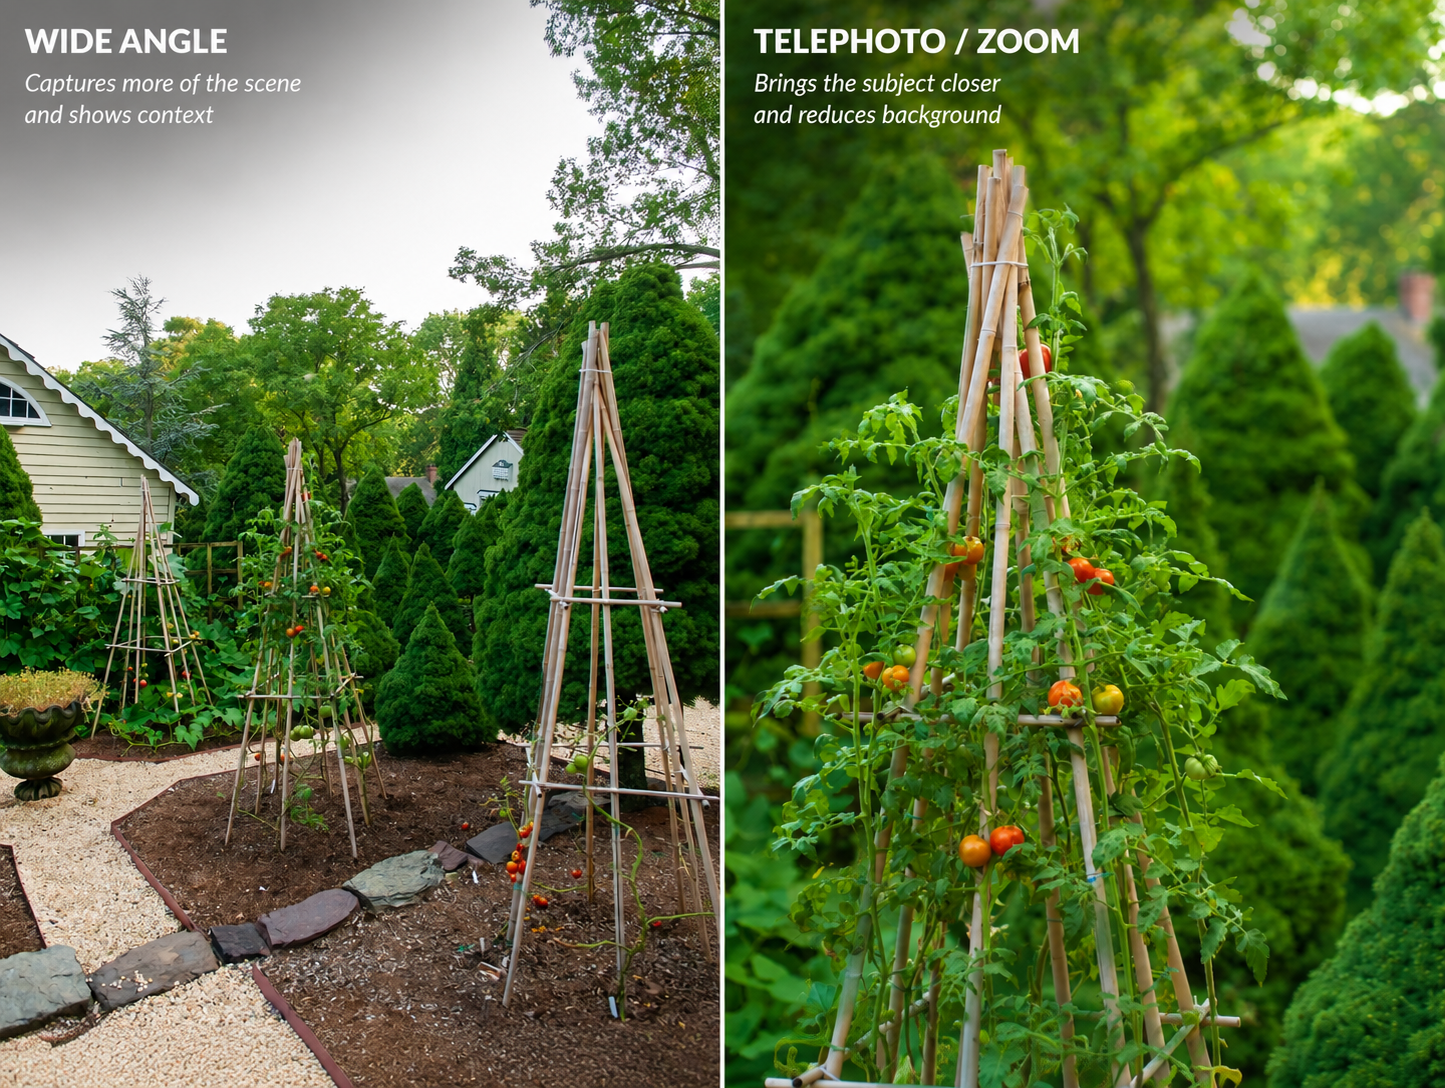
Whether you are using a smartphone or a camera, experimenting with your settings can improve your results. Make sure to adjust your lens depending on the subject:
Use a wide angle for full garden views
Use zoom or telephoto for details
Trying both approaches will give you more variety and flexibility when selecting your final images.
Take multiple shots—different angles, lighting, and details—so you can choose the strongest images that best showcase your garden. Shown here: Reggie and Frank Thomas's garden. Photo credit: Rob Cardillo
9. Take Multiple Garden Photos and Choose the Best
When it comes to garden photography, having options is key.
Make the most of that by capturing:
Different angles of the same space
A mix of lighting conditions
Both wide shots and detailed photos
Reviewing your photos afterward allows you to choose the strongest combination.
How to Improve Your Garden Photography Skills Over Time
Garden photography is a skill that improves with practice. The more you experiment with light, composition, and perspective, the more confident you will become.
Start simple, take your time, and enjoy the process. The most compelling garden photos are the ones that reflect the care and creativity you have put into your space.
Want to grow your gardening skills? Join a PHS Know to Grow webinar and learn practical tips, seasonal advice, and horticultural insights you can use at home.