
Edible Garden
Food Gardening
Vegetables
Vertical Gardening
3 DIY Tomato Trellis Ideas
Try these three tomato trellising methods, including the cage method, stake and weave method, and vertical trellis method.
Sally McCabe, Associate Director of Community Education at PHS
If you’ve spent any time gardening in the Philadelphia region, you know our soil can be a bit unpredictable. Gardeners frequently run into clay, bricks, car parts, cement, and maybe even a little “topsoil” brought in from nearby construction sites.
Rather than renting excavation equipment and/or using dynamite to dig down, it’s generally easier to build up instead of digging down.
That’s where raised garden beds come in. When your native soil is unpredictable or compromised, raised garden beds offer a practical, accessible way to create healthy growing conditions with no heavy machinery required.
Today, we’re focusing on why you should make a wooden raised beds, because they’re quick to build and beginner-friendly. If you’re comfortable using a drill, you can complete this DIY project in just one afternoon.
In its simplest form, a raised garden bed is a frame, usually made of wood, stone, or metal, that holds a mound of soil above the level of the surrounding ground.
While in-ground gardening is traditional, raised beds will allow you to bypass poor soil entirely.
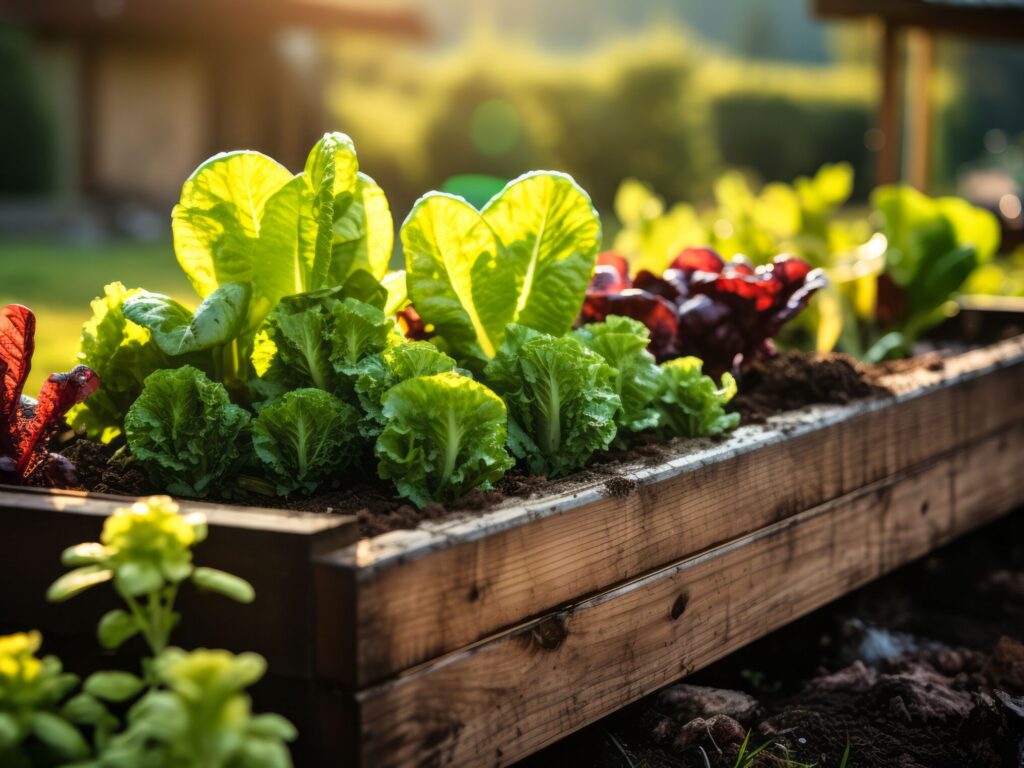
Raised beds are ideal for growing:
They also provide several benefits:
When they are built high enough, raised beds can really reduce strain on your back and knees, making gardening more comfortable and accessible.
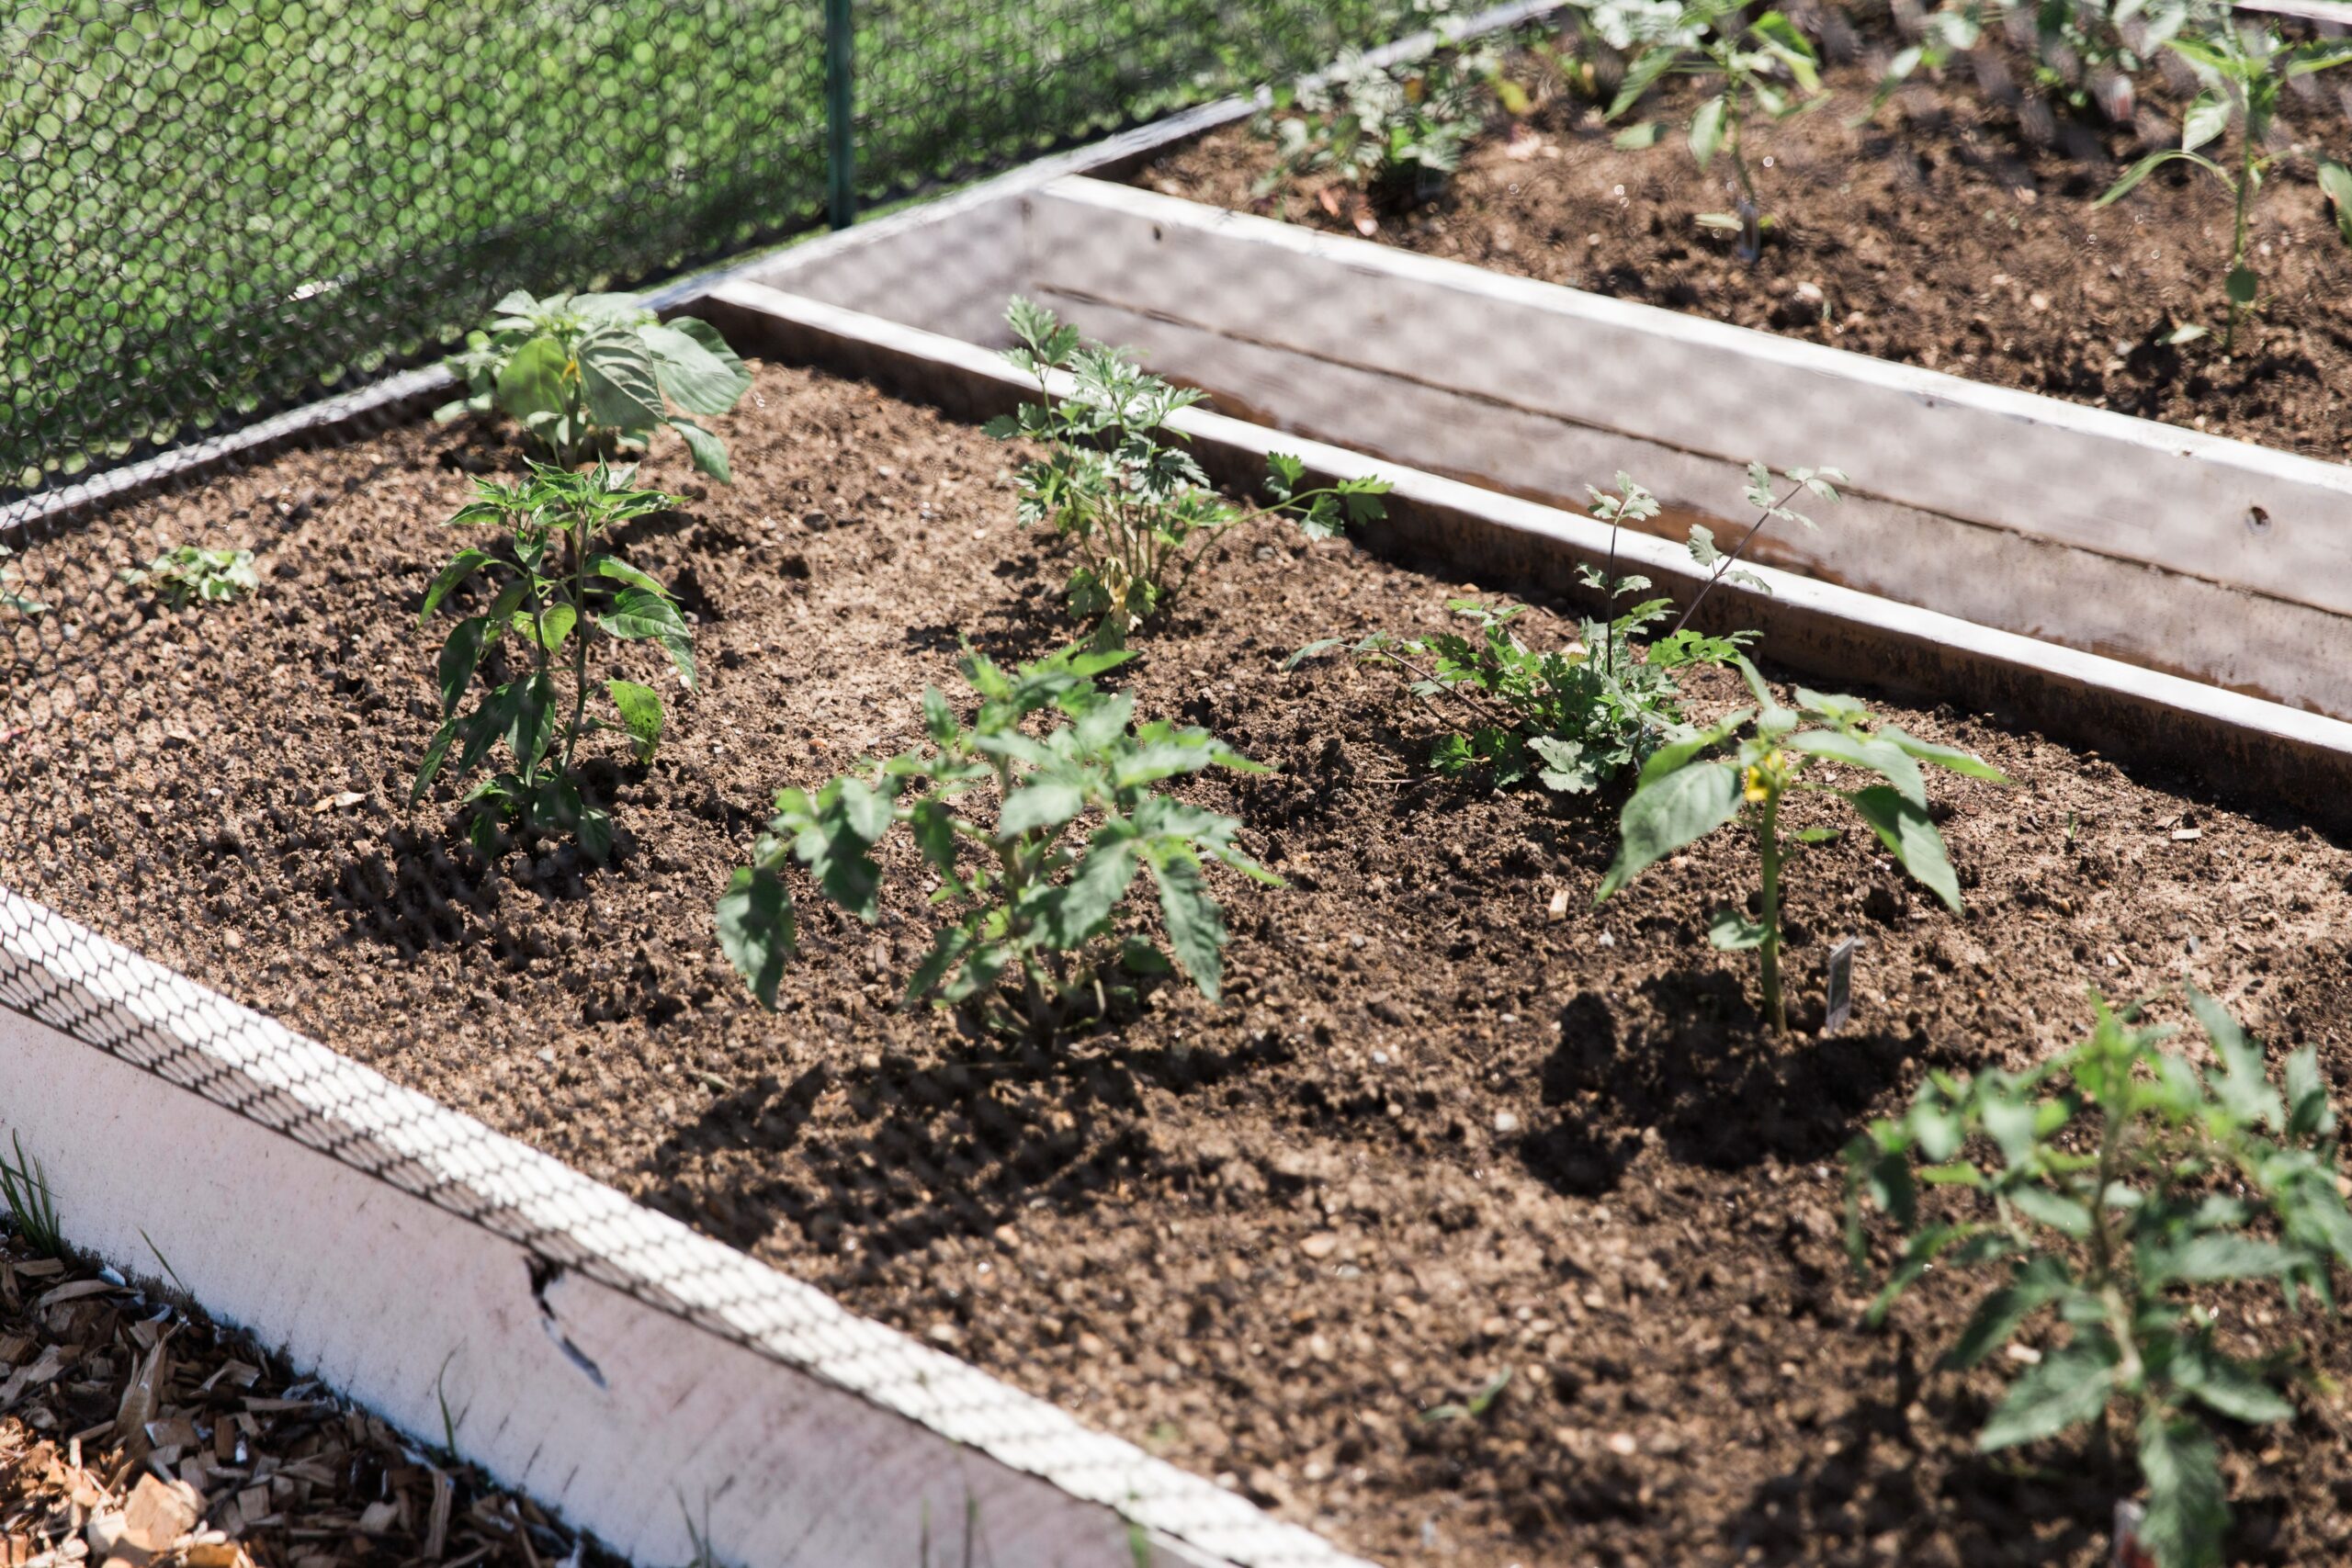
Just like an in-ground garden, the location of your garden bed matters.
Choose a spot that:
Having water nearby saves you from dragging a heavy hose across the yard.
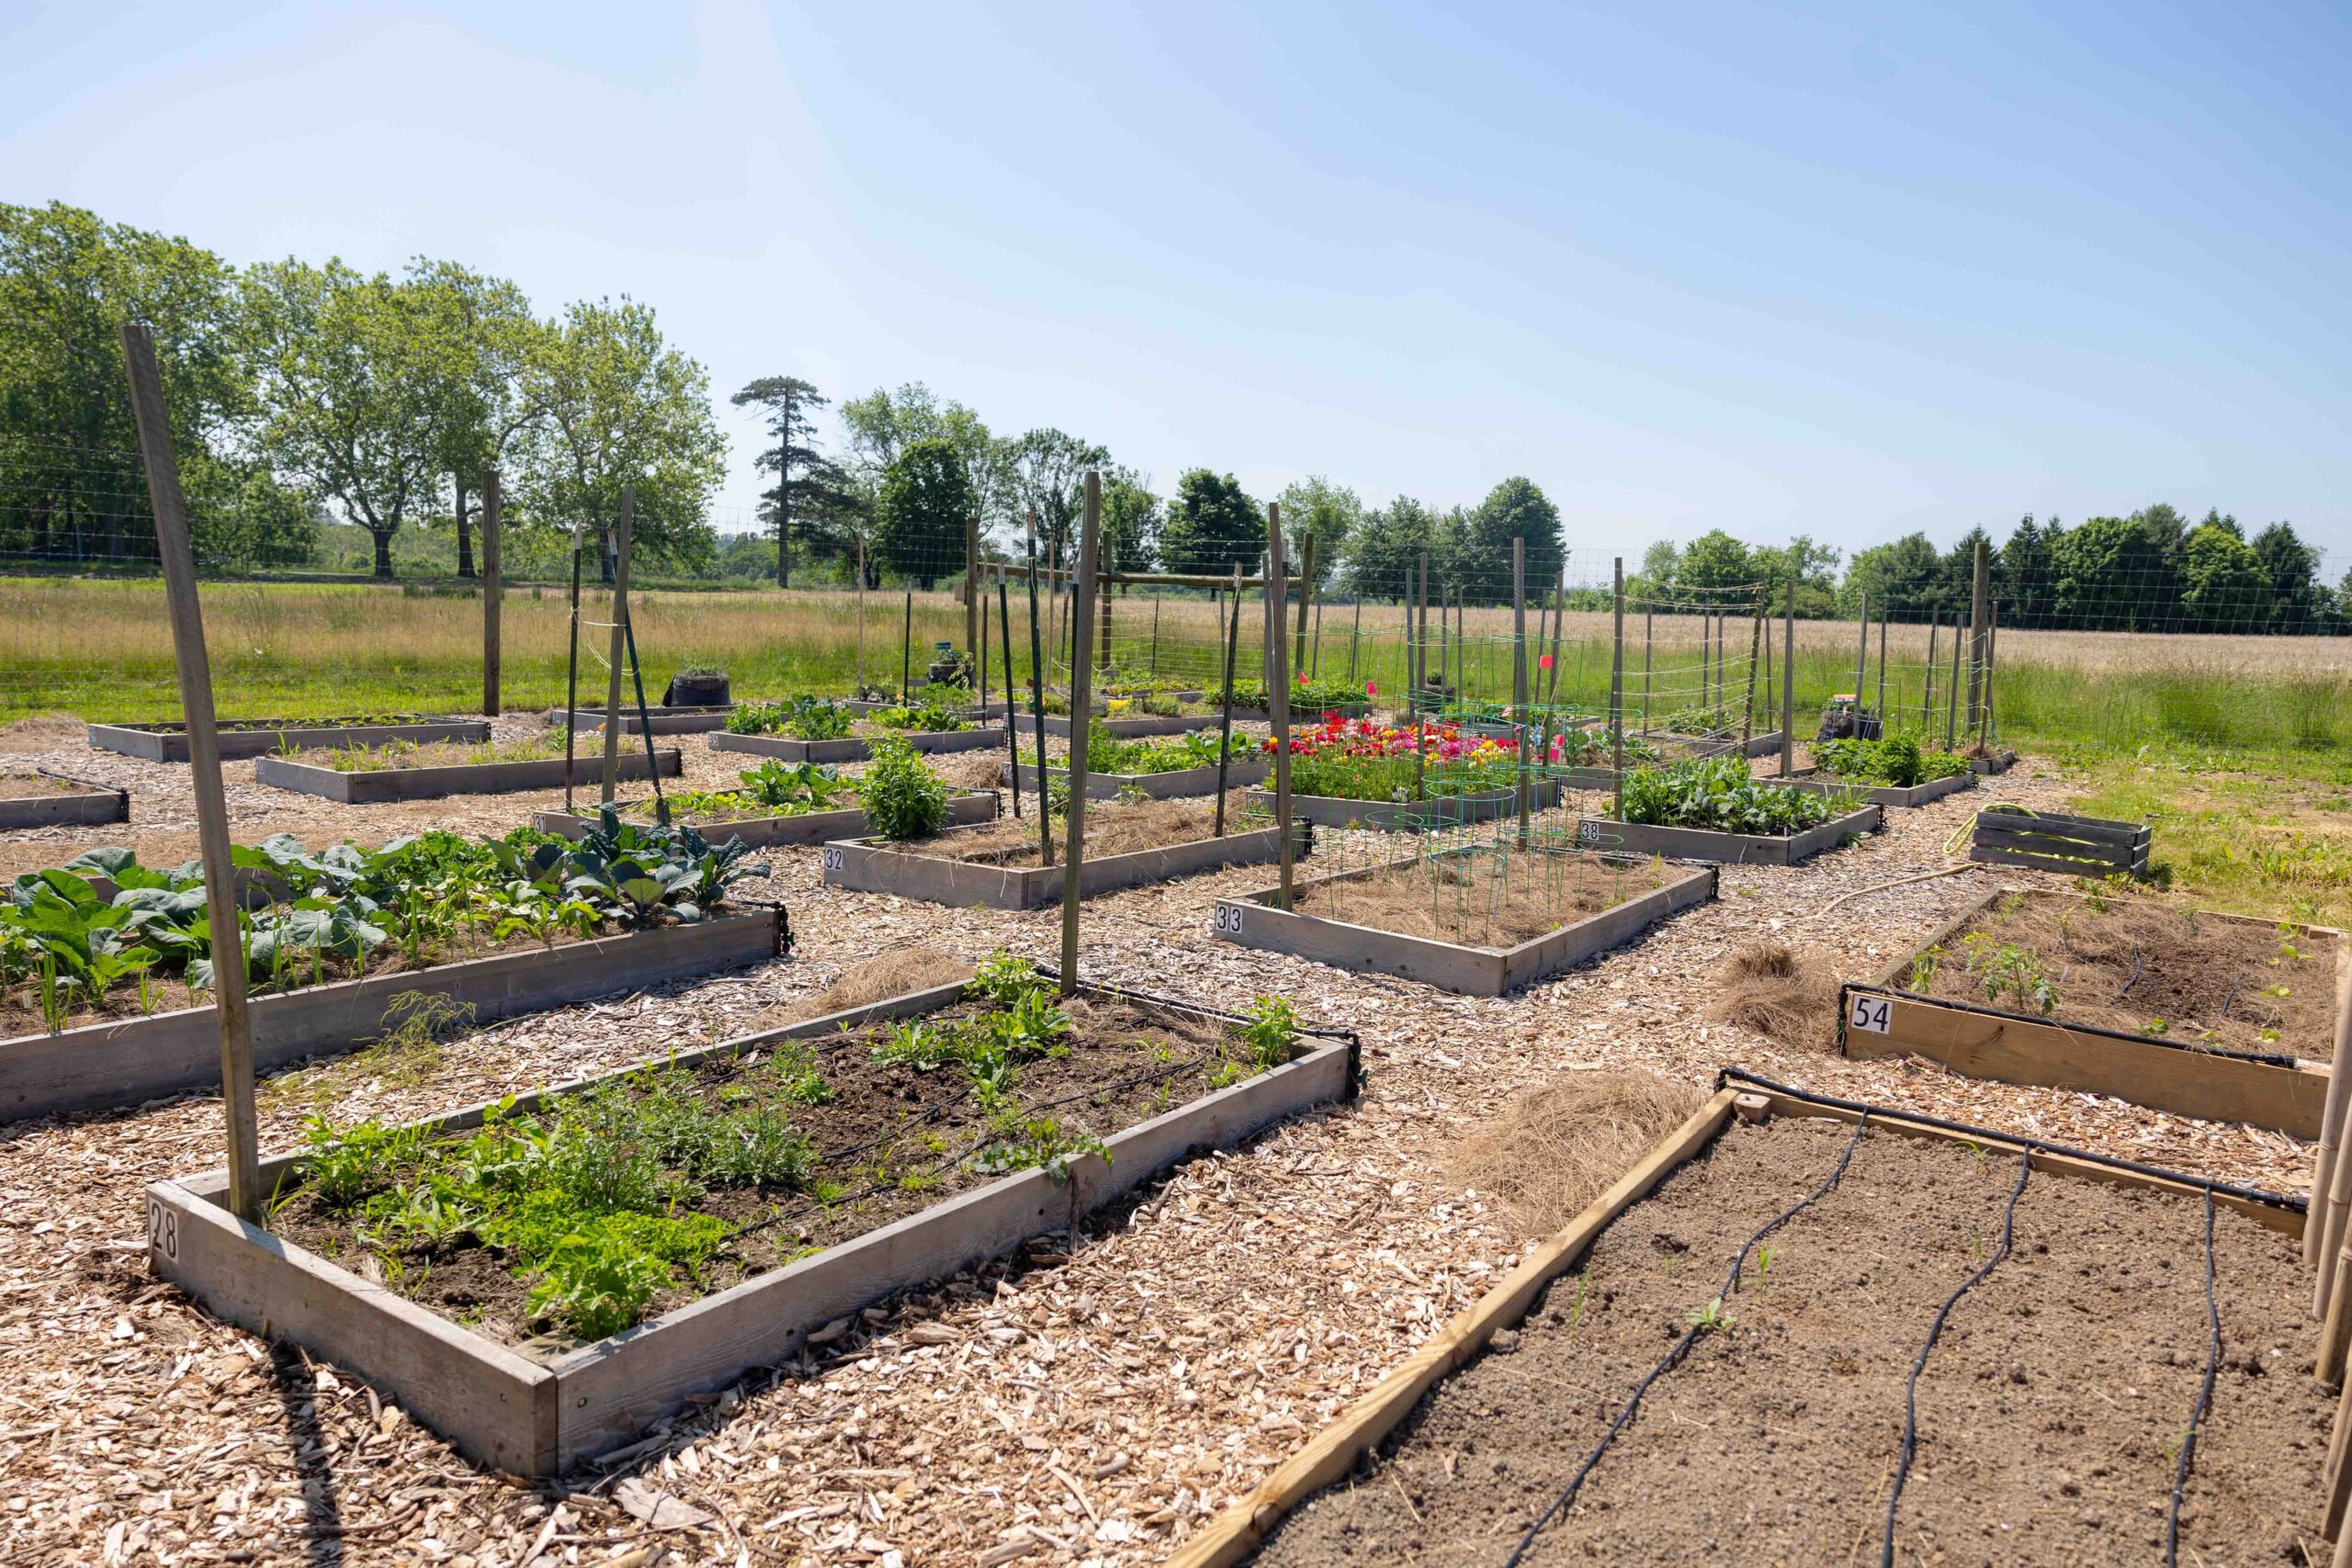
The golden rule of raised bed dimensions is reachability. Remember: NEVER, NEVER, NEVER STEP IN THE BED. Walking on the soil compacts it and damages plant roots.
Keep the width between 3-4 feet. You want to be able to reach the middle from either side without ever stepping into the bed.
Length depends on your available space, but 4-8 feet is standard for stability. Beds longer than 8-10 feet can be inconvenient to walk around.
A 4’ x 8’ raised garden bed is the most popular size. Not because it’s magical, but because most cars can transport 8-foot boards from the hardware store.
Height depends on what you plan to grow and what’s beneath the bed.
8-10 inches if building on decent lawn or garden soil
When deciding on the height of your sideboards, think about what you want to grow. Think about root crops like carrots — your bed needs enough depth to support healthy root growth.
If you have mobility issues or simply want to save your knees, consider building taller raised beds. Beds 24–30 inches high create a comfortable, table-height gardening experience. To save on soil costs, fill the bottom half with:
Other non-toxic organic materials
Then add 10–12 inches of high-quality soil and compost on top for planting.
To build a standard 4’ x 8’ x 12” bed, you will need:
Clear any tall weeds or large rocks. You don’t need to remove the grass, but it helps to scalp it short.
On a flat surface:
Secure everything with exterior screws.
Move the frame into place. Check to see if it’s level and adjust by removing a little soil beneath the higher side if needed.
Line the bottom with hardware cloth to block burrowing pests. You can also add cardboard to smother the grass underneath.
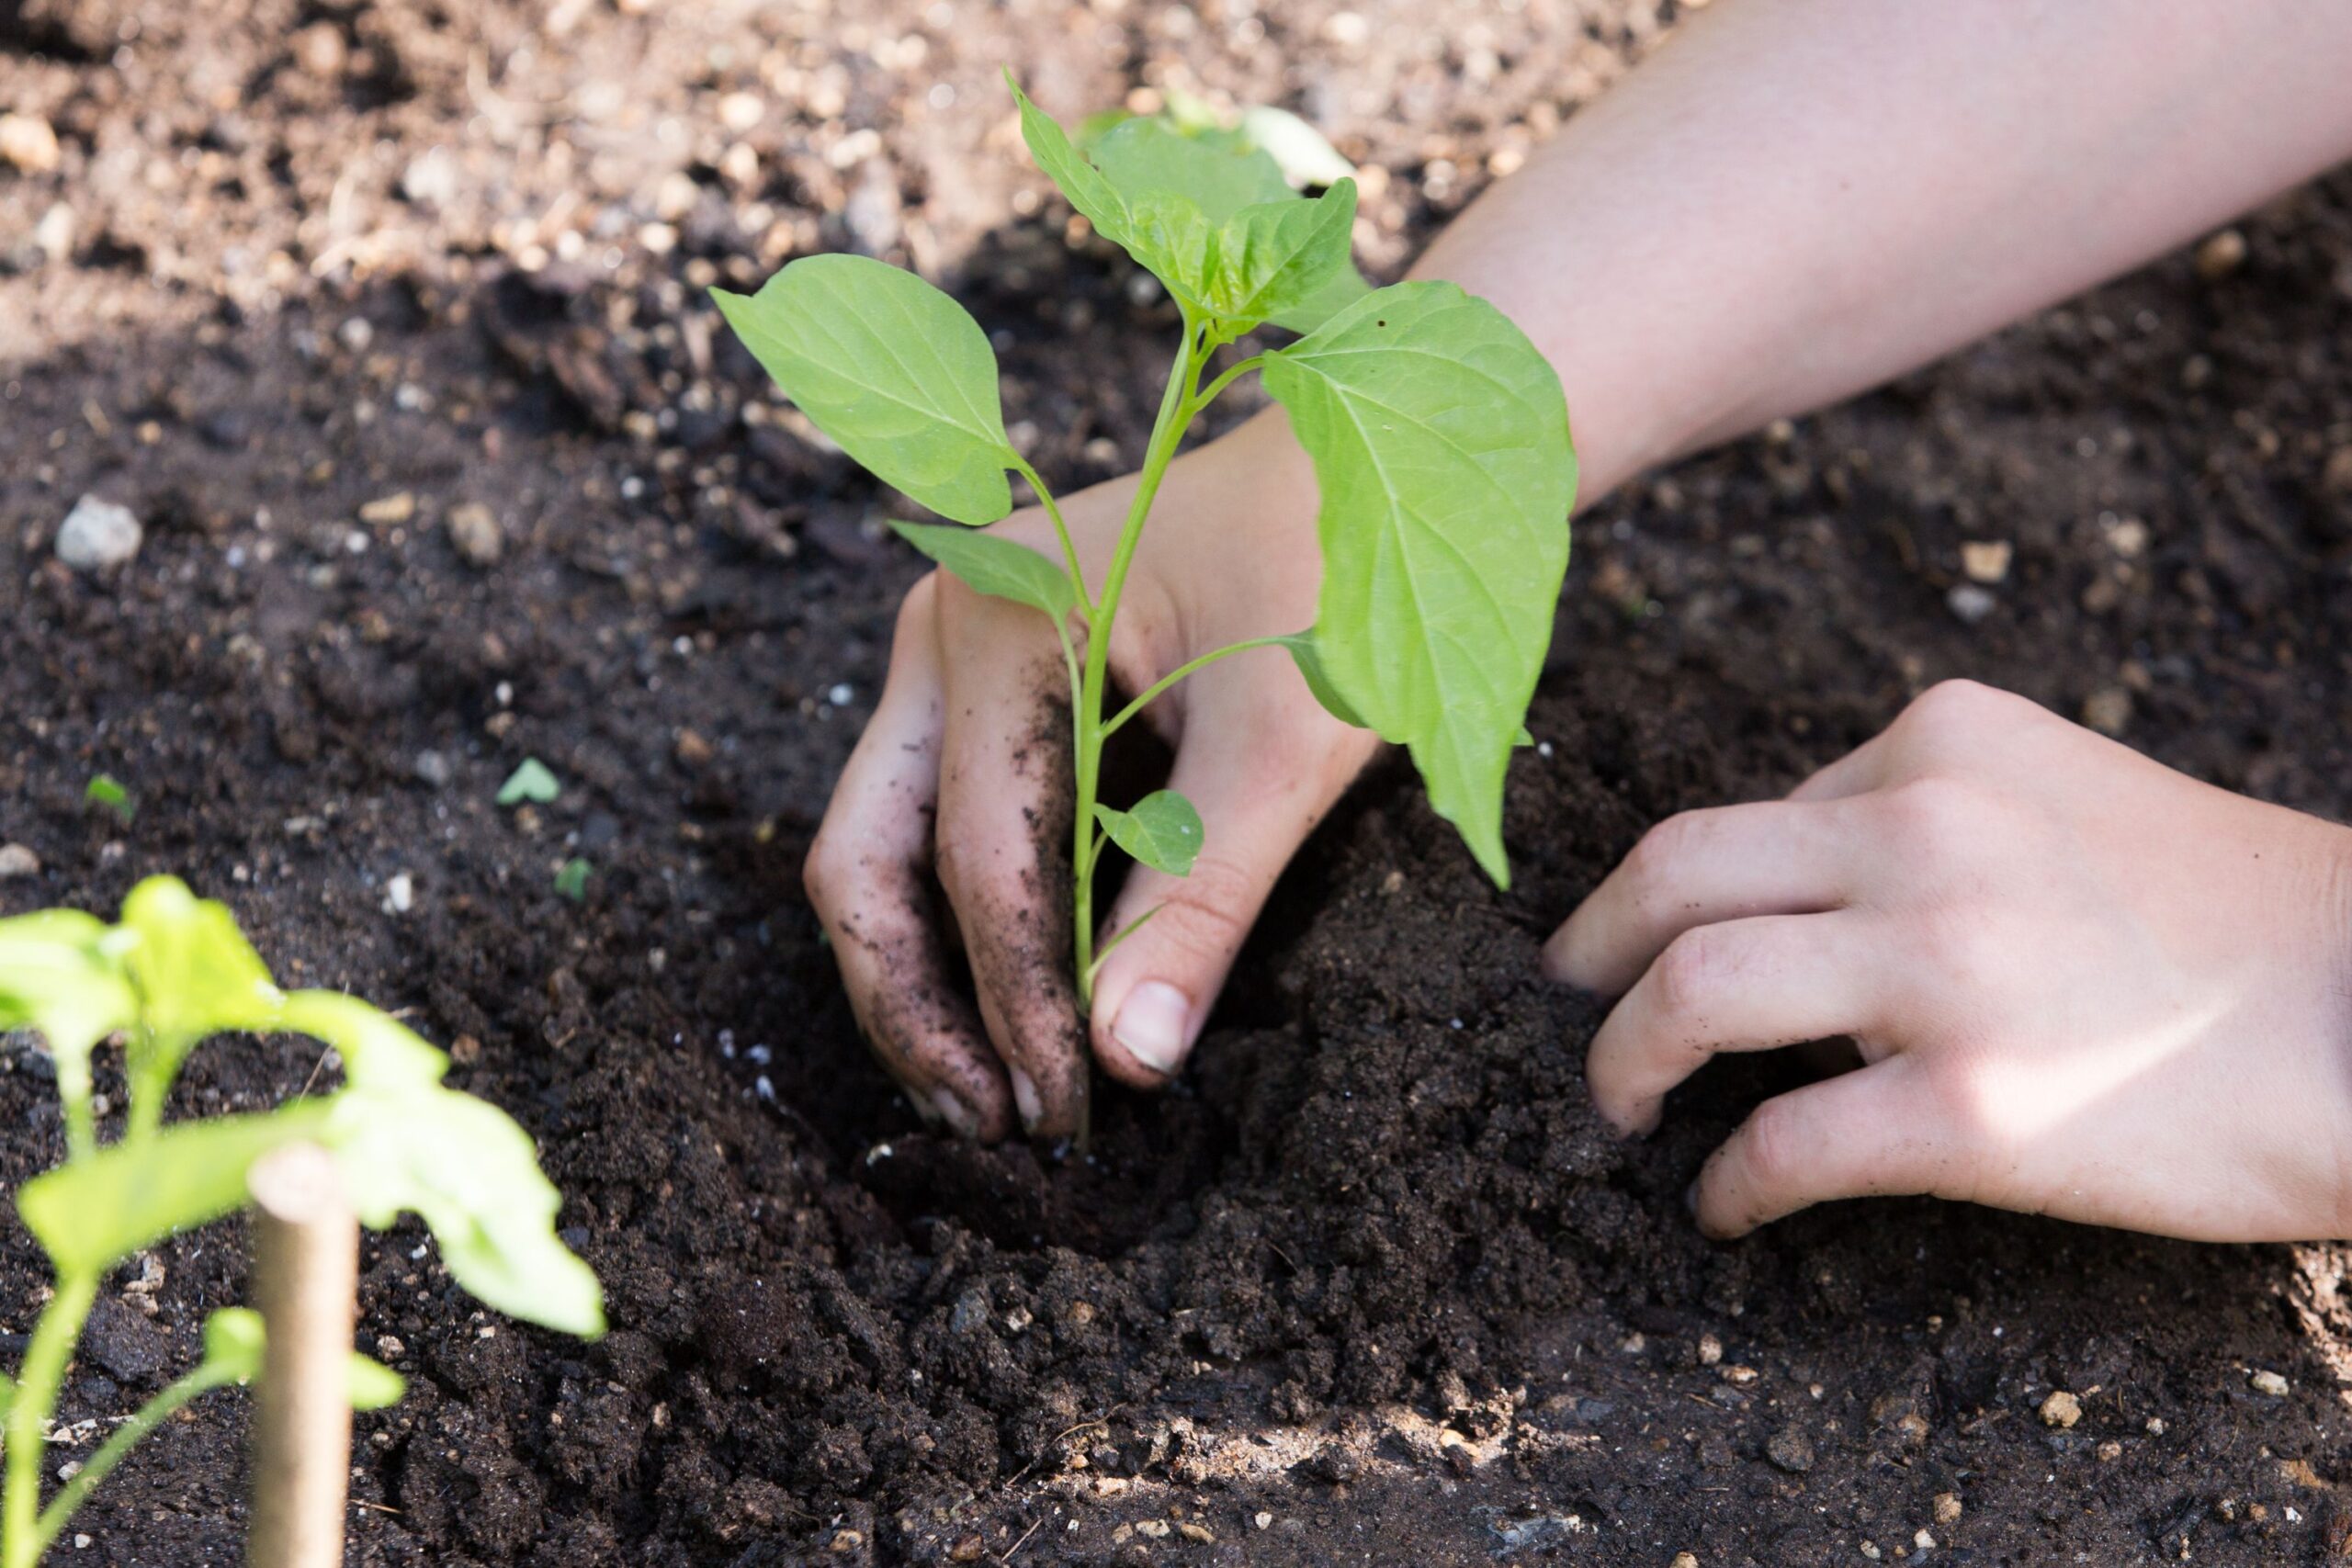
One of the biggest advantages of raised beds is having complete control over your soil mix. Avoid filling the bed with dirt from your yard. The secret sauce is to use a raised-bed soil mix. In the Philadelphia region, we recommend: 70% compost + 30% topsoil
Why this works:
Compost supplies nutrients and beneficial biology
Together, they do a good job supporting our crops. Over time, the compost will break down and feed your plants. Each season, simply add more compost to maintain soil depth and fertility. Remember, you went to all this trouble so you could have control over the soil. Do not just fill your bed with dirt from your yard!
The lifespan depends on the type of wood being used.
Heat-treated pine can last 5 -7 year
To extend the life of your raised bed, avoid using pressure-treated wood from decades ago, which often contained arsenic. Modern ACQ-treated wood is generally considered safer, but many organic gardeners still prefer naturally rot-resistant woods.
Cedar can be expensive, though. I’ve been experimenting with a layer of pressure-treated 2x4s along the ground, pressure-treated 4x4s for the corners, and building the rest of the bed with 2x10s made from heat-treated pine. Since most rot happens at the corners and along the soil line, reinforcing those areas has helped extend the life of my beds by at least two additional years.
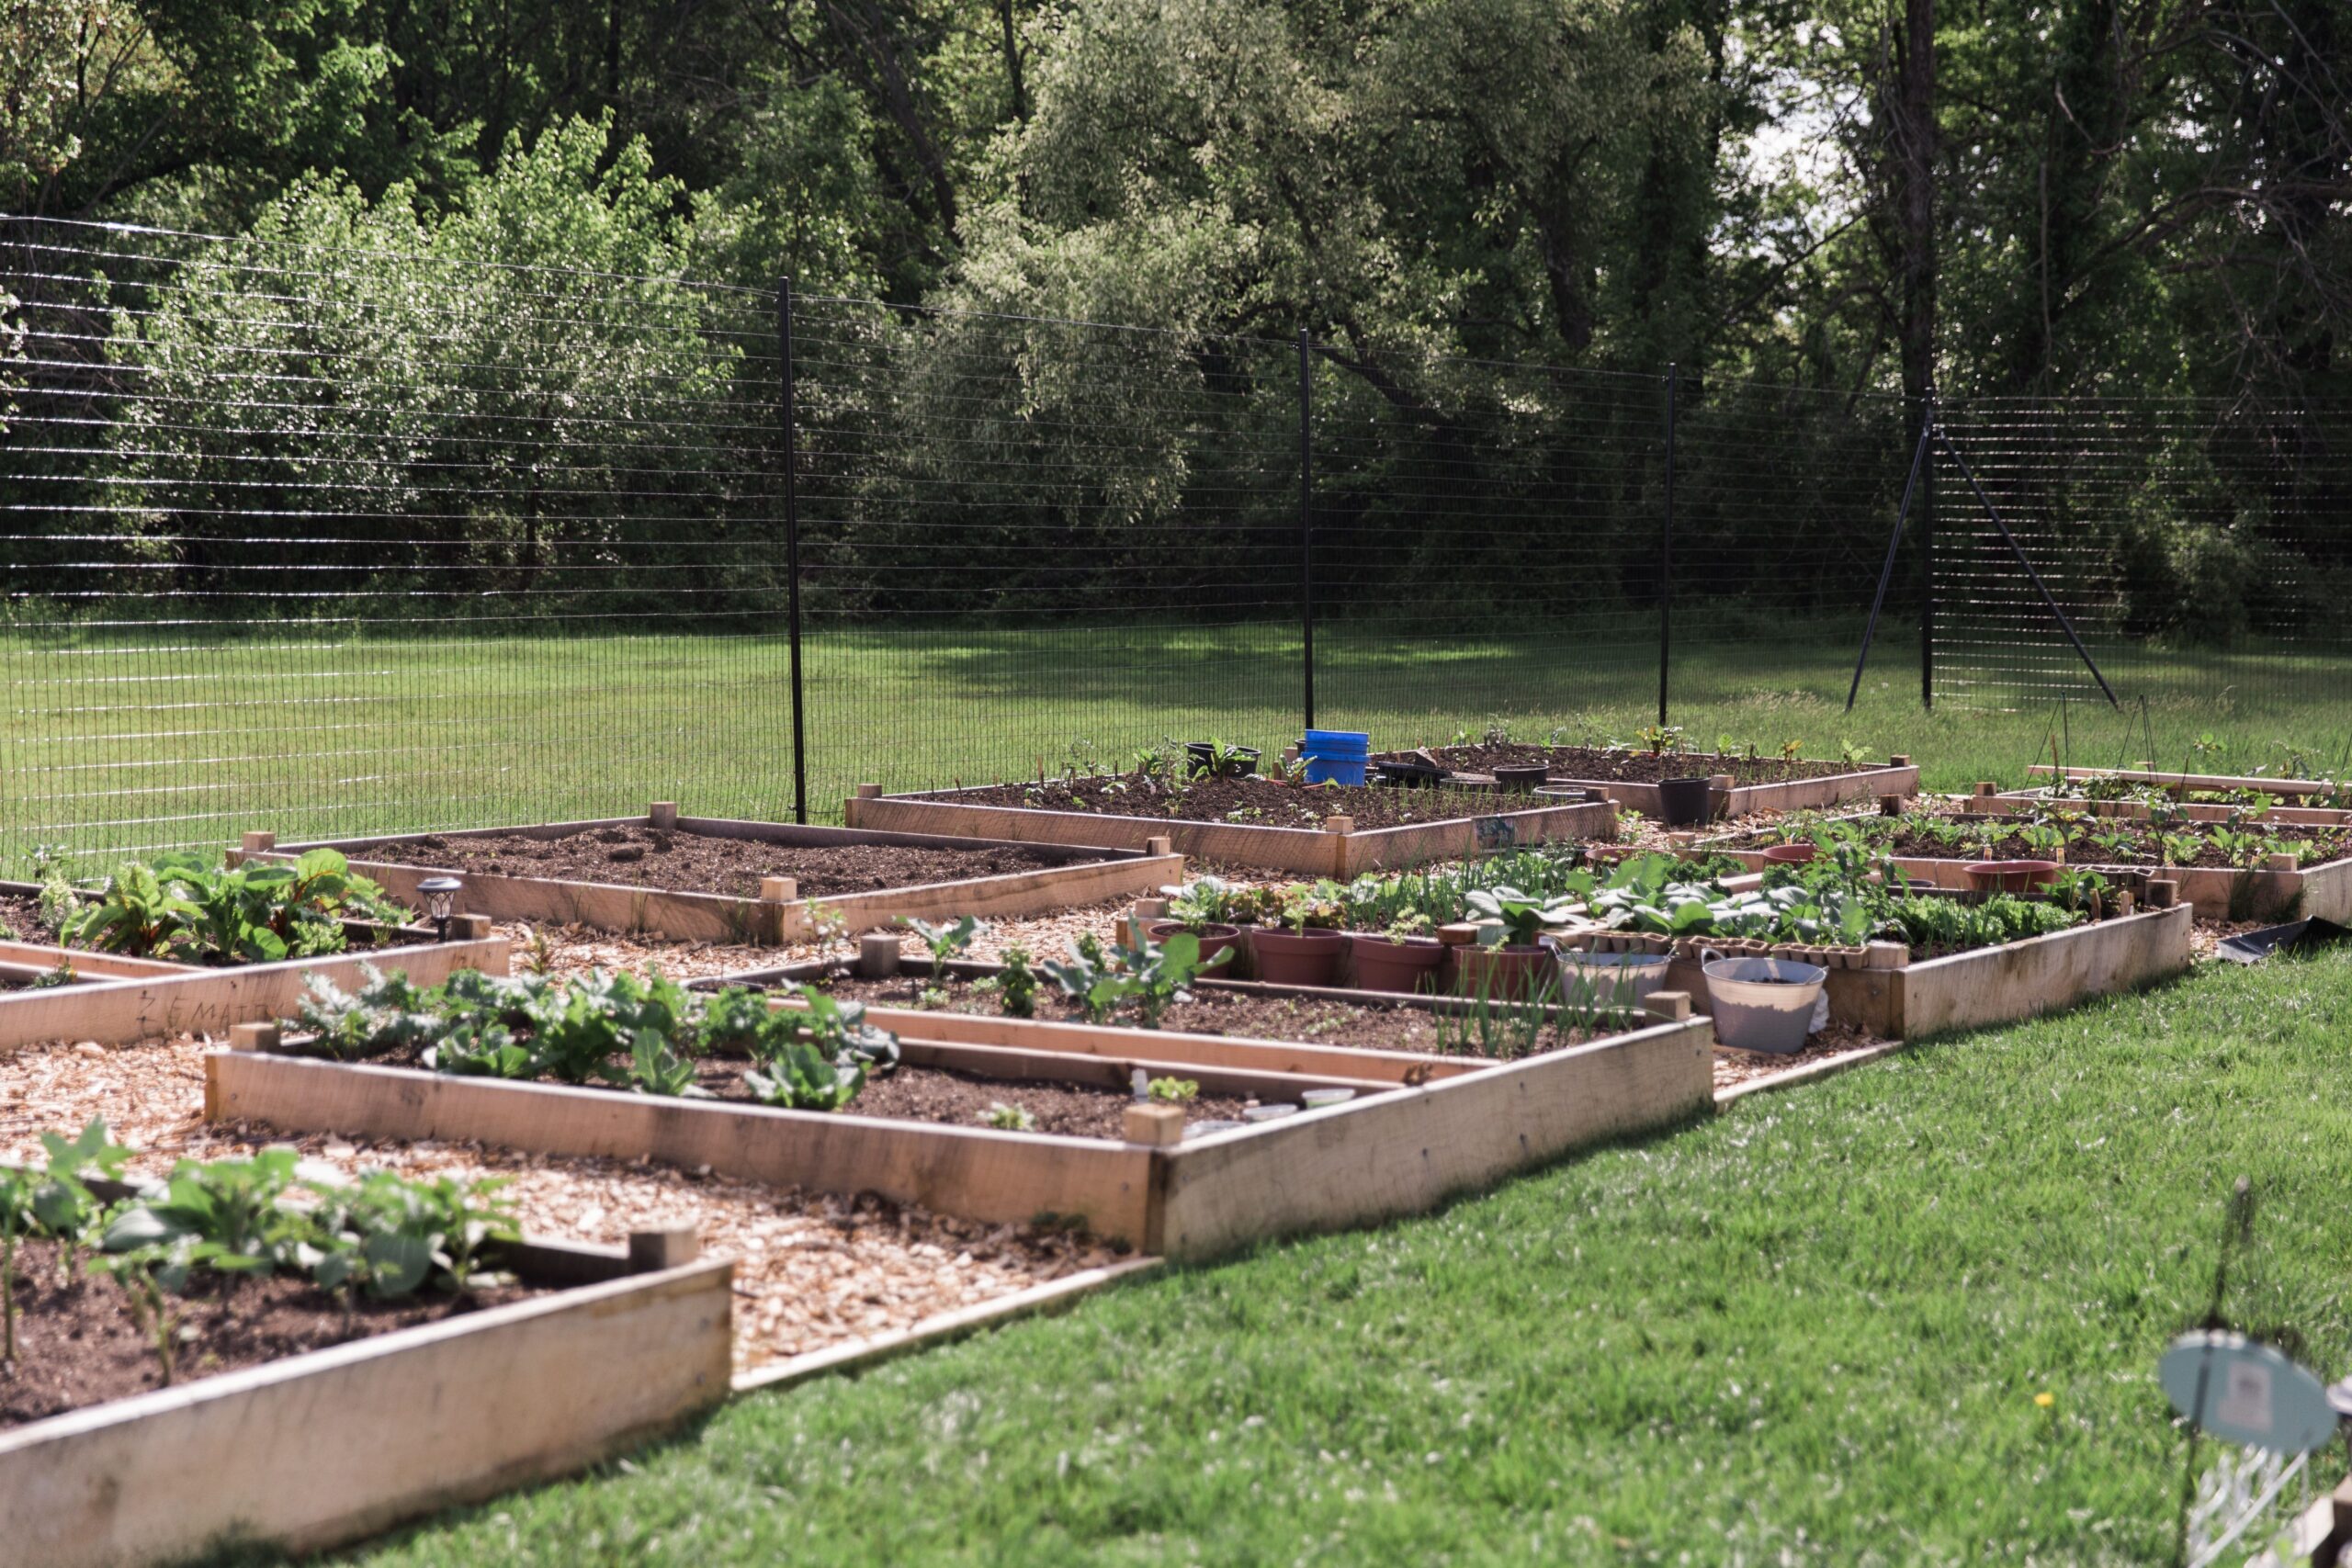
Absolutely. While the initial setup takes a bit of sweat and a small investment in materials, the benefits last for years:
More comfortable gardening
At PHS, our mission is to grow confident, successful gardeners, and there is no better way to start your journey than with a bed you built yourself.
Happy building. See you in the garden!