Gardening Projects & DIY
Plant Care & How-To
Starting Seeds Indoors
Explore the benefits of growing seeds indoors during the winter months.
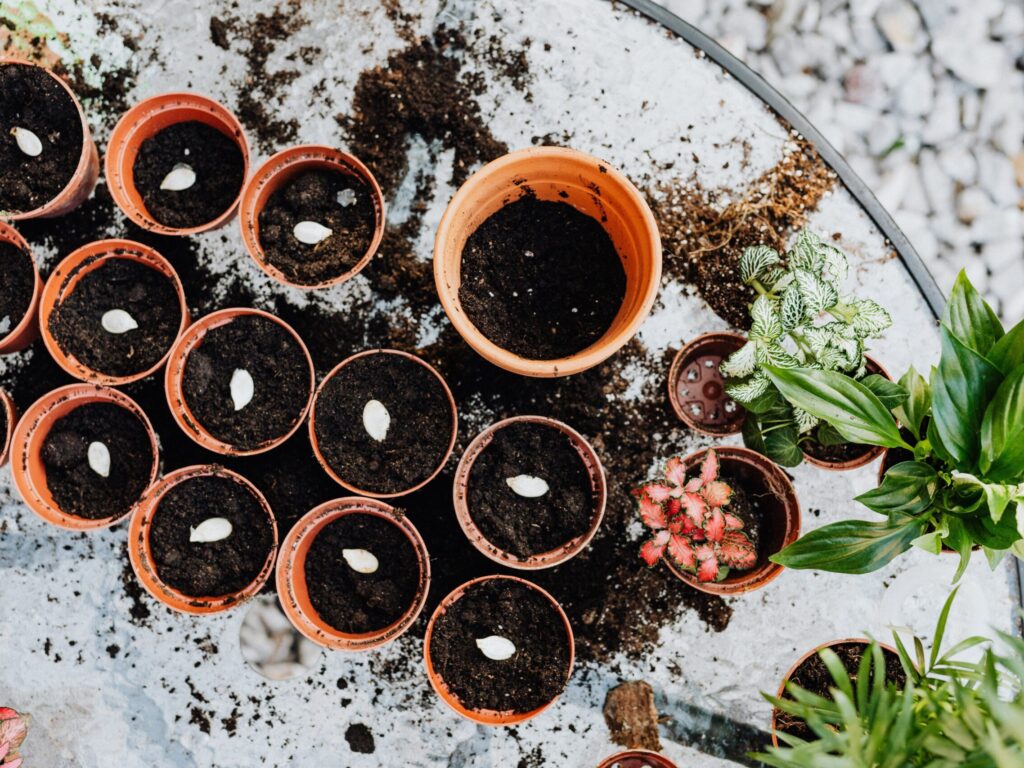
Growing plants from seed can be a very rewarding process. Many types of seeds can be started on windowsills, in a greenhouse, or under grow lights at home. Seeds of perennials, annuals, and vegetables can be propagated by seed in the winter and then planted into the garden in the spring.
Follow these step-by-step instructions to get started growing your own plants from seed today!
First, you should decide where you will be starting seeds. Most homeowners don’t have a greenhouse, so a west-facing windowsill can be ideal, as can grow lights. You will also need good soil for germinating seeds. Many types of soil can be purchased at your local garden center or hardware store for specifically starting seeds. In addition to your soil and container, you’ll need labels and a selection of seeds to get started.
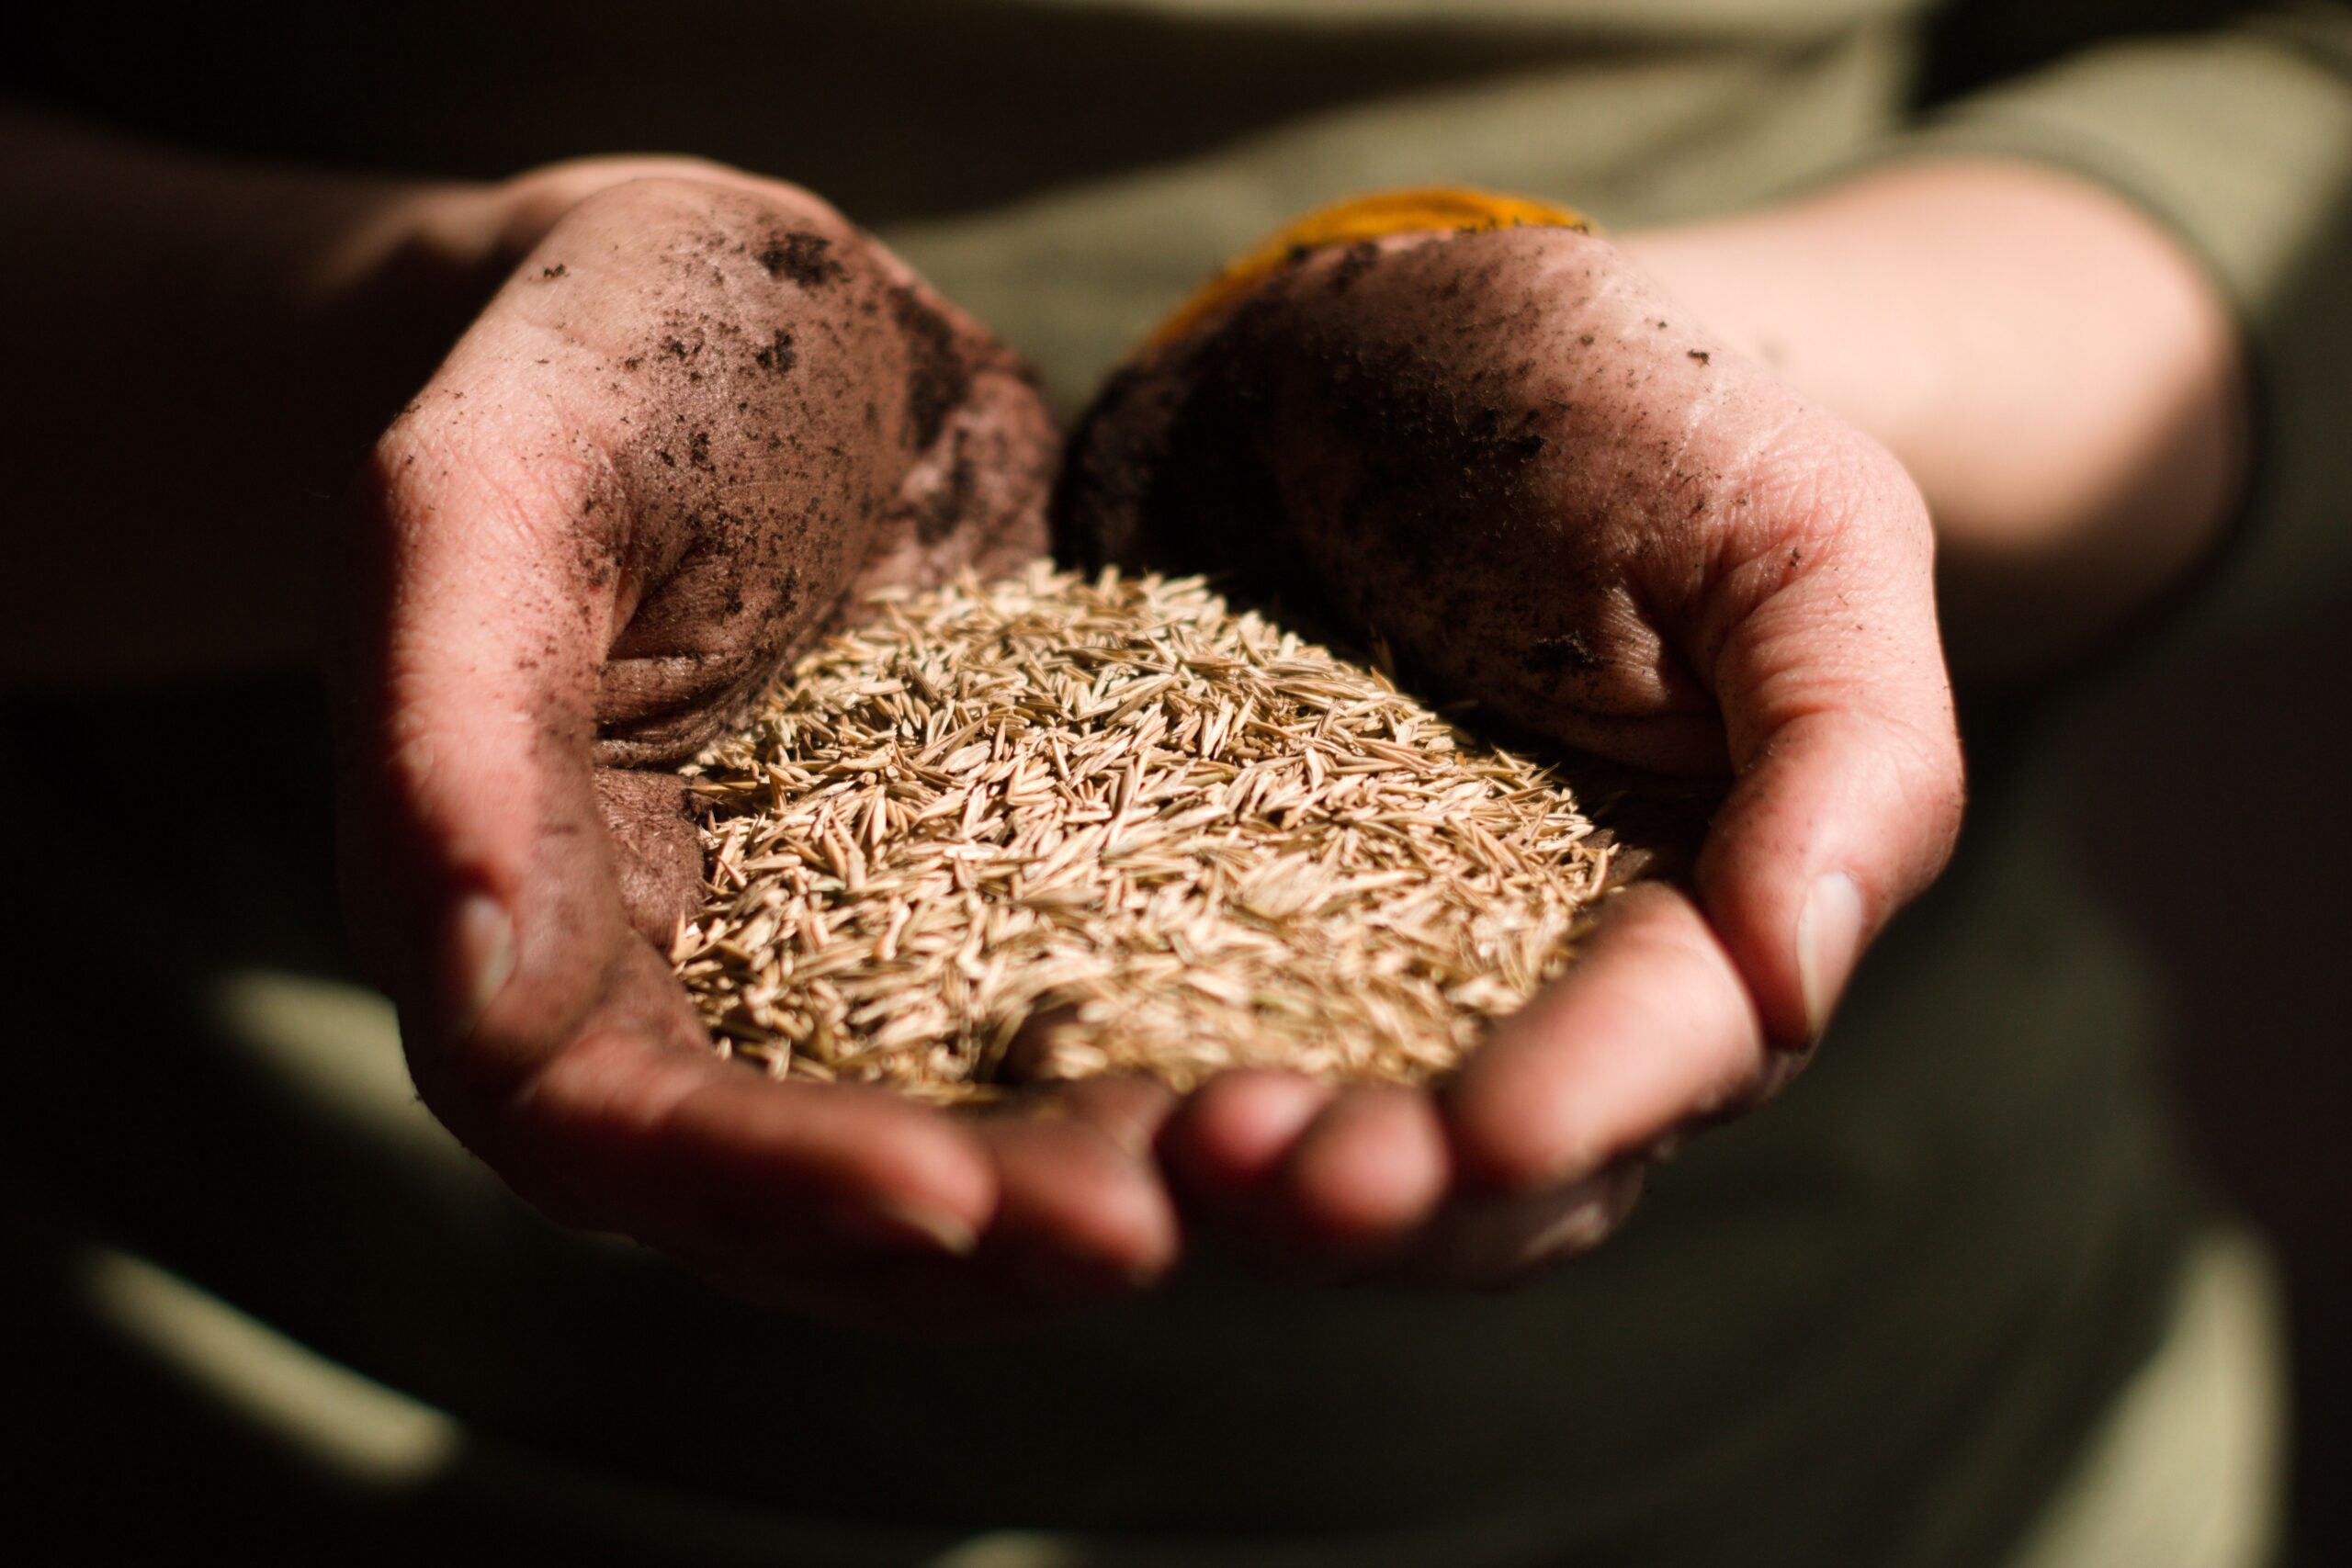
Starting seeds from home can be a fairly simple process. You’ll want to start seeds where you want to install a young plant into the flower or vegetable garden. These would be vegetables like tomato, pepper, eggplant, basil, etc., or flowers such as zinnia, marigold, cosmos, salvia, vinca, begonias, etc. Many vegetables can be directly sown into the garden like carrots, beets, radishes, corn, cucumbers, squash, etc. Early crops such as kale, broccoli, and Swiss chard need to be started much earlier in the season, so growing young plants from seed will allow the gardener to plant young plants outside early in the spring. Many perennials can also be started from seed, such as coneflowers, hellebores, coreopsis, etc.
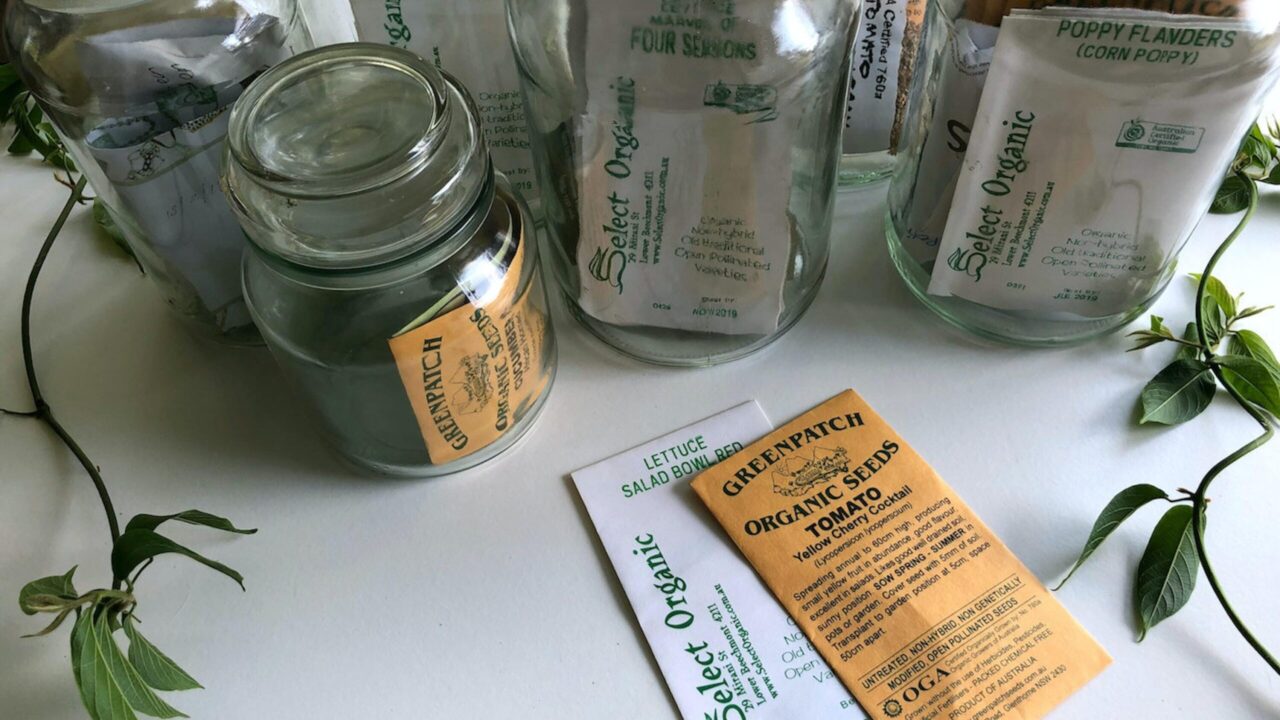
Seeds can be purchased at almost any garden center or hardware store. Many excellent purveyors of seed can be found online, and many societies like the North American Rock Garden Society and the Hardy Plant Society have seeds available as a benefit of membership.
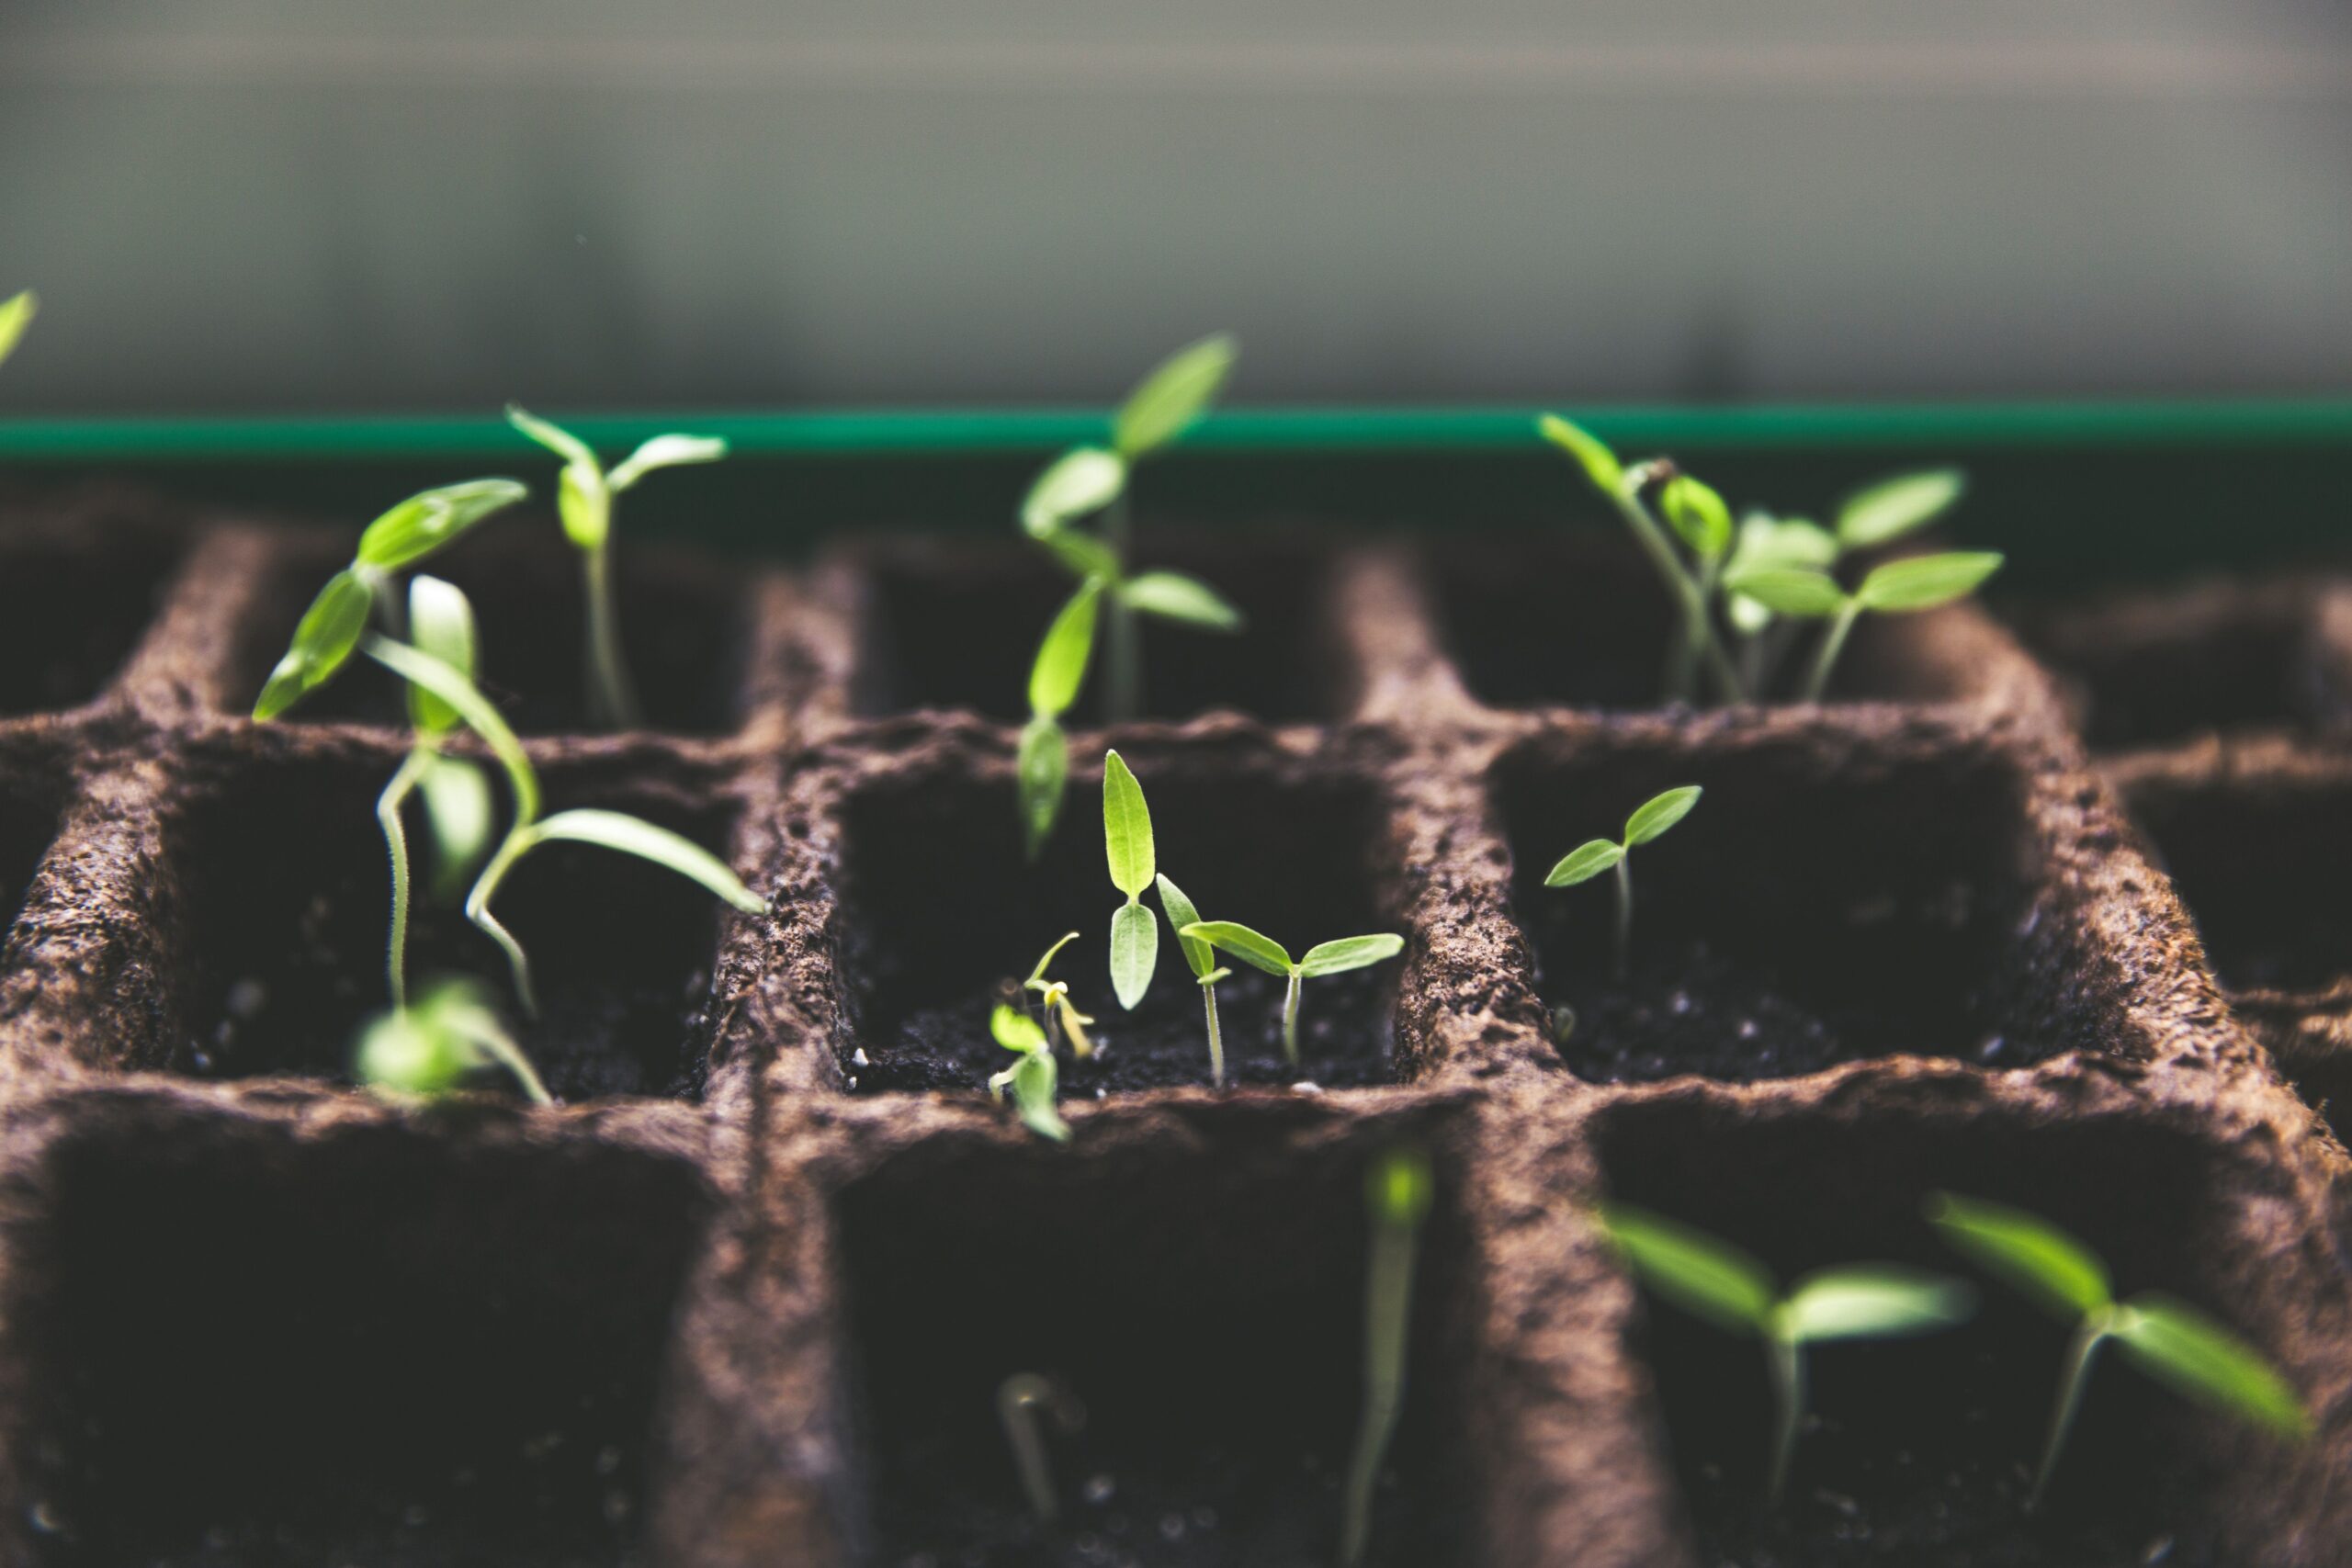
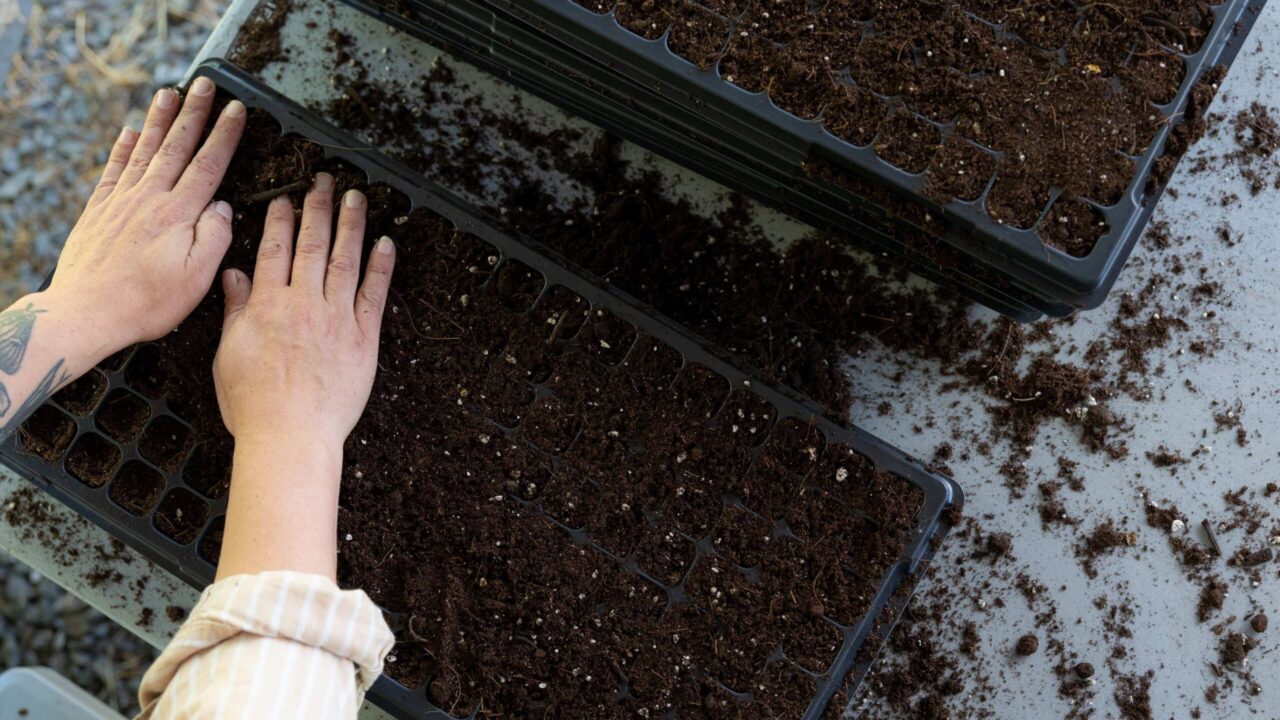
There are many containers that can be used for starting seeds. Cell packs are a consideration because they keep the individual seedlings separated. Small flats can also be used. Small circular or square pots that are three to four inches wide with drain holes in the bottom are a good choice too. Plastic containers, such as yogurt containers or milk jugs, can be retrofitted for use in growing seedlings. They need to be cleaned out thoroughly, and holes should be poked in the bottom so the soil freely drains. Labeling each container with the date of seed sowing as well as the name of the plant will be helpful for record keeping.
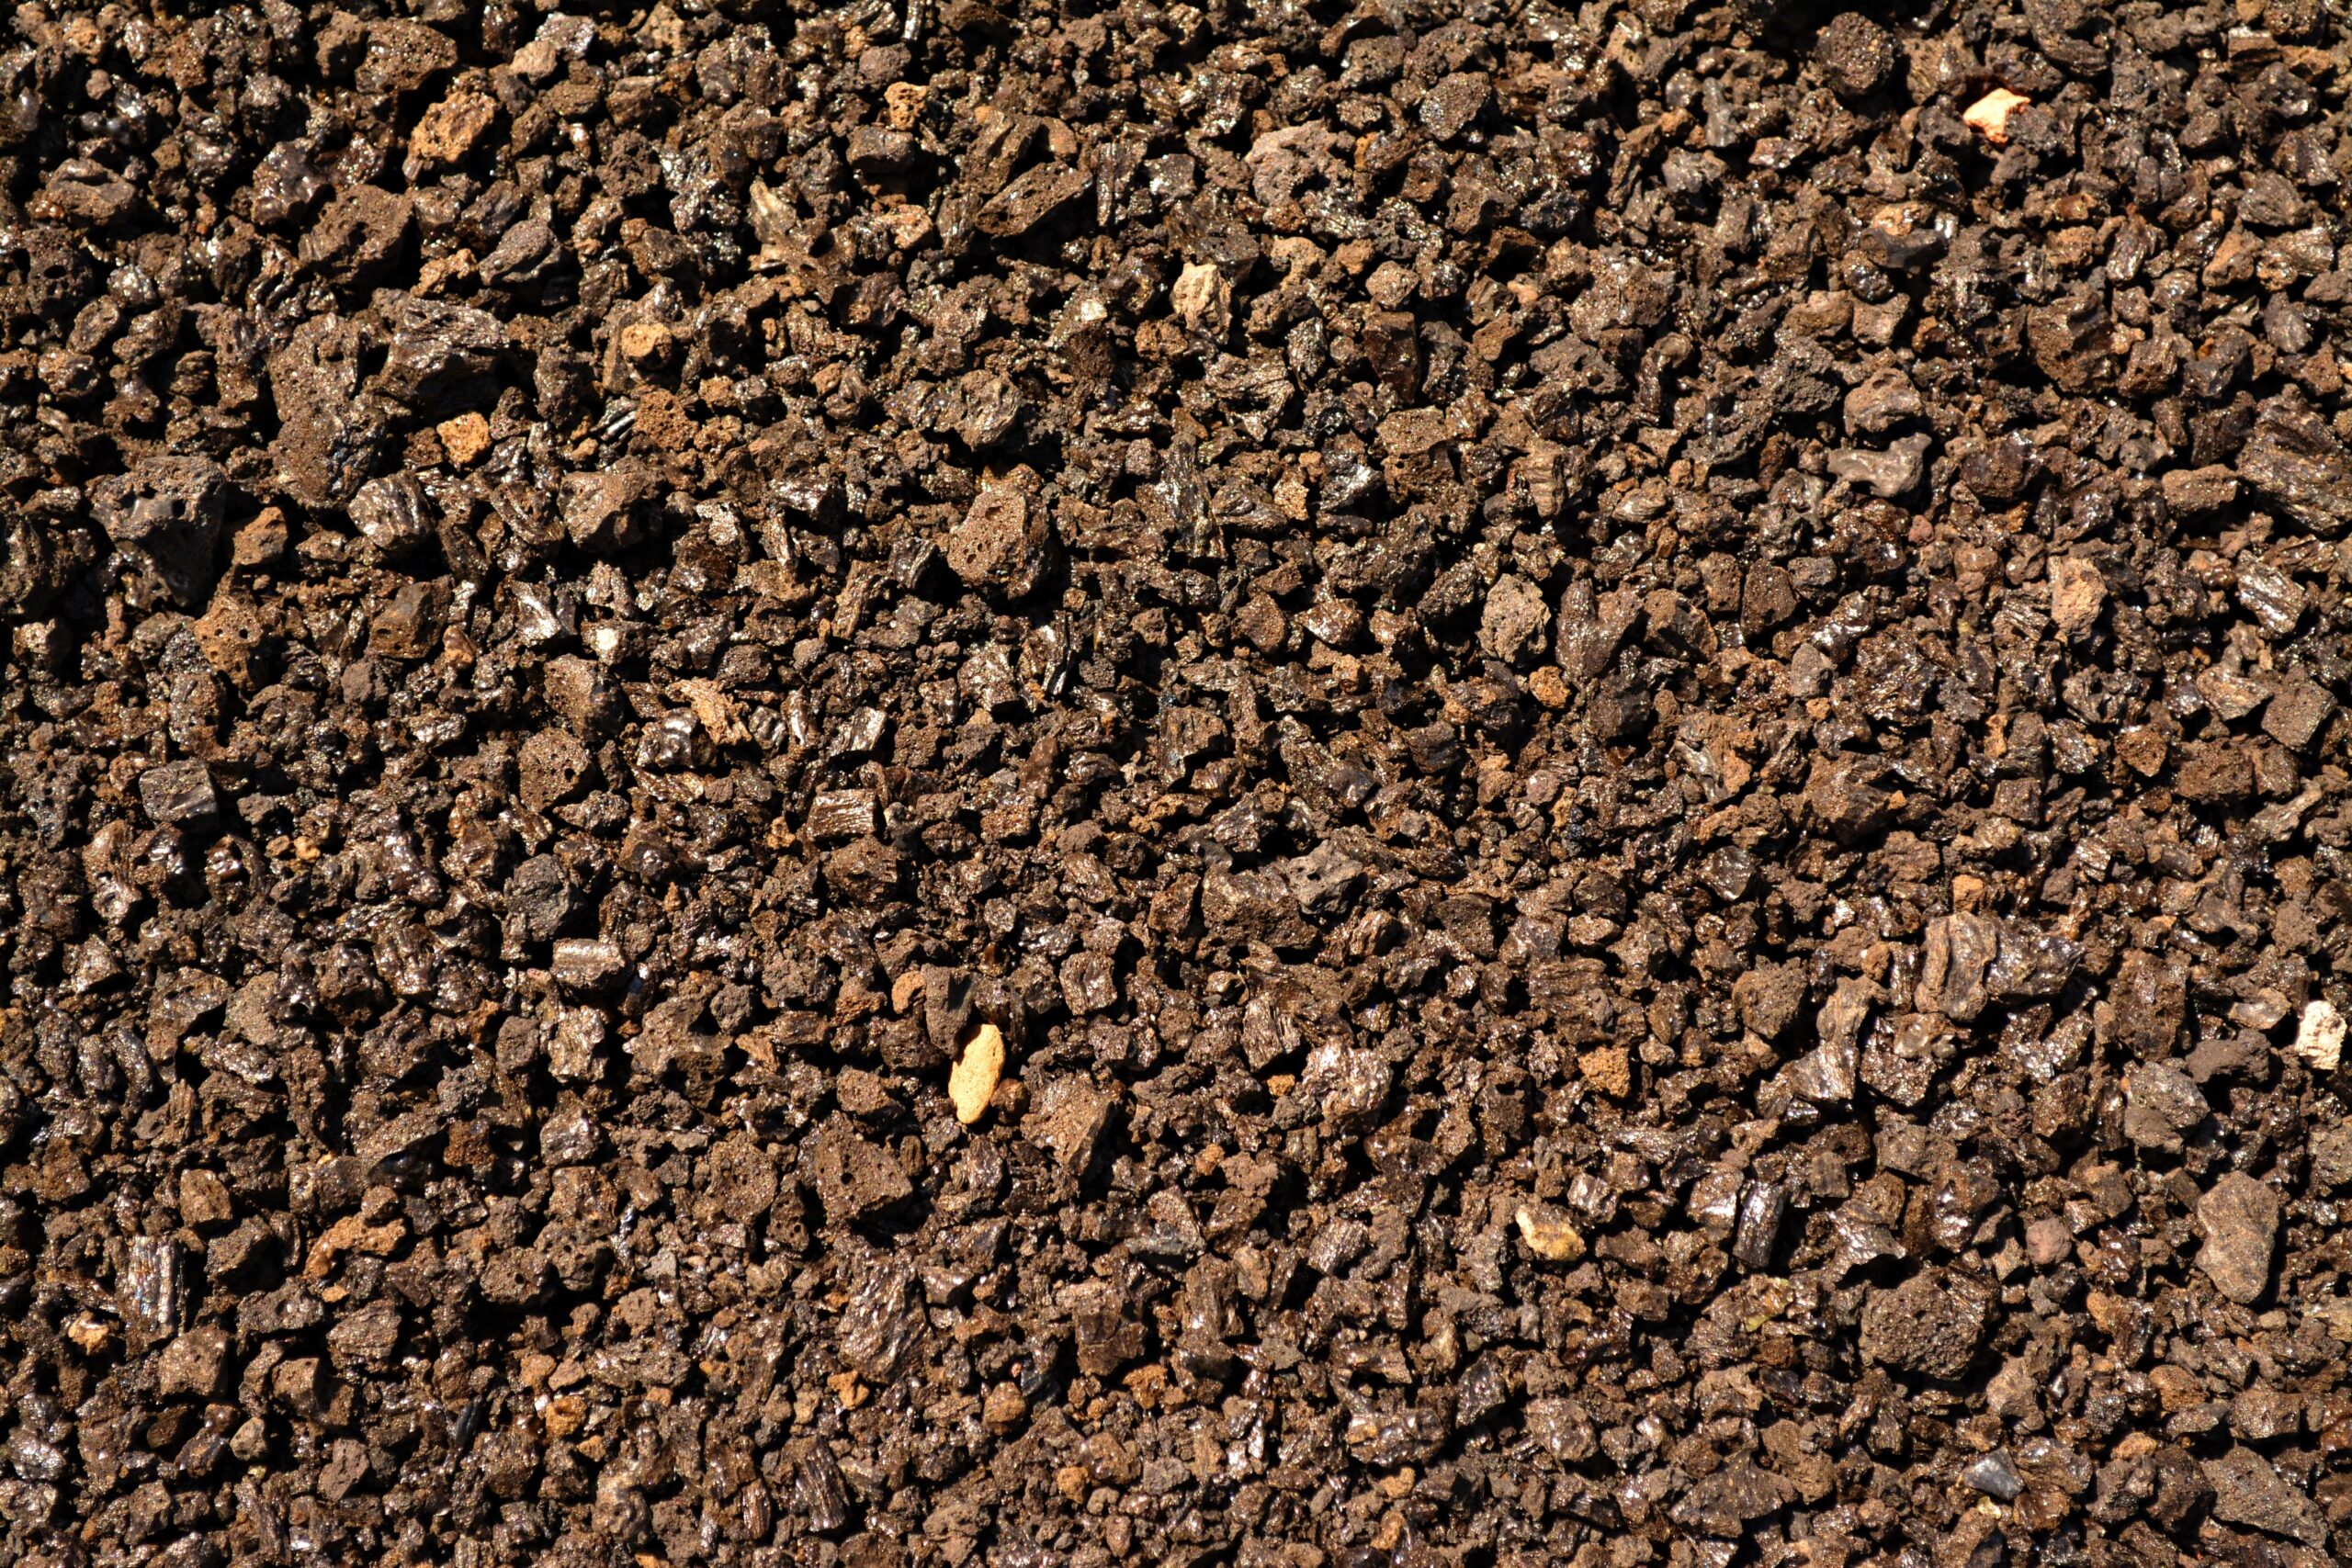
Any selection of seed starting soil needs to be lightweight so that the seedlings can easily germinate. It should also be sterile so it is free of potential pests and diseases. The soil should have some sort of organic matter that will make the soil retentive of moisture, but it also must be free draining. Mixes sometimes have perlite in them which helps promote good drainage. Selecting an organic-based soil that does not have peat is a good environmentally-friendly approach.
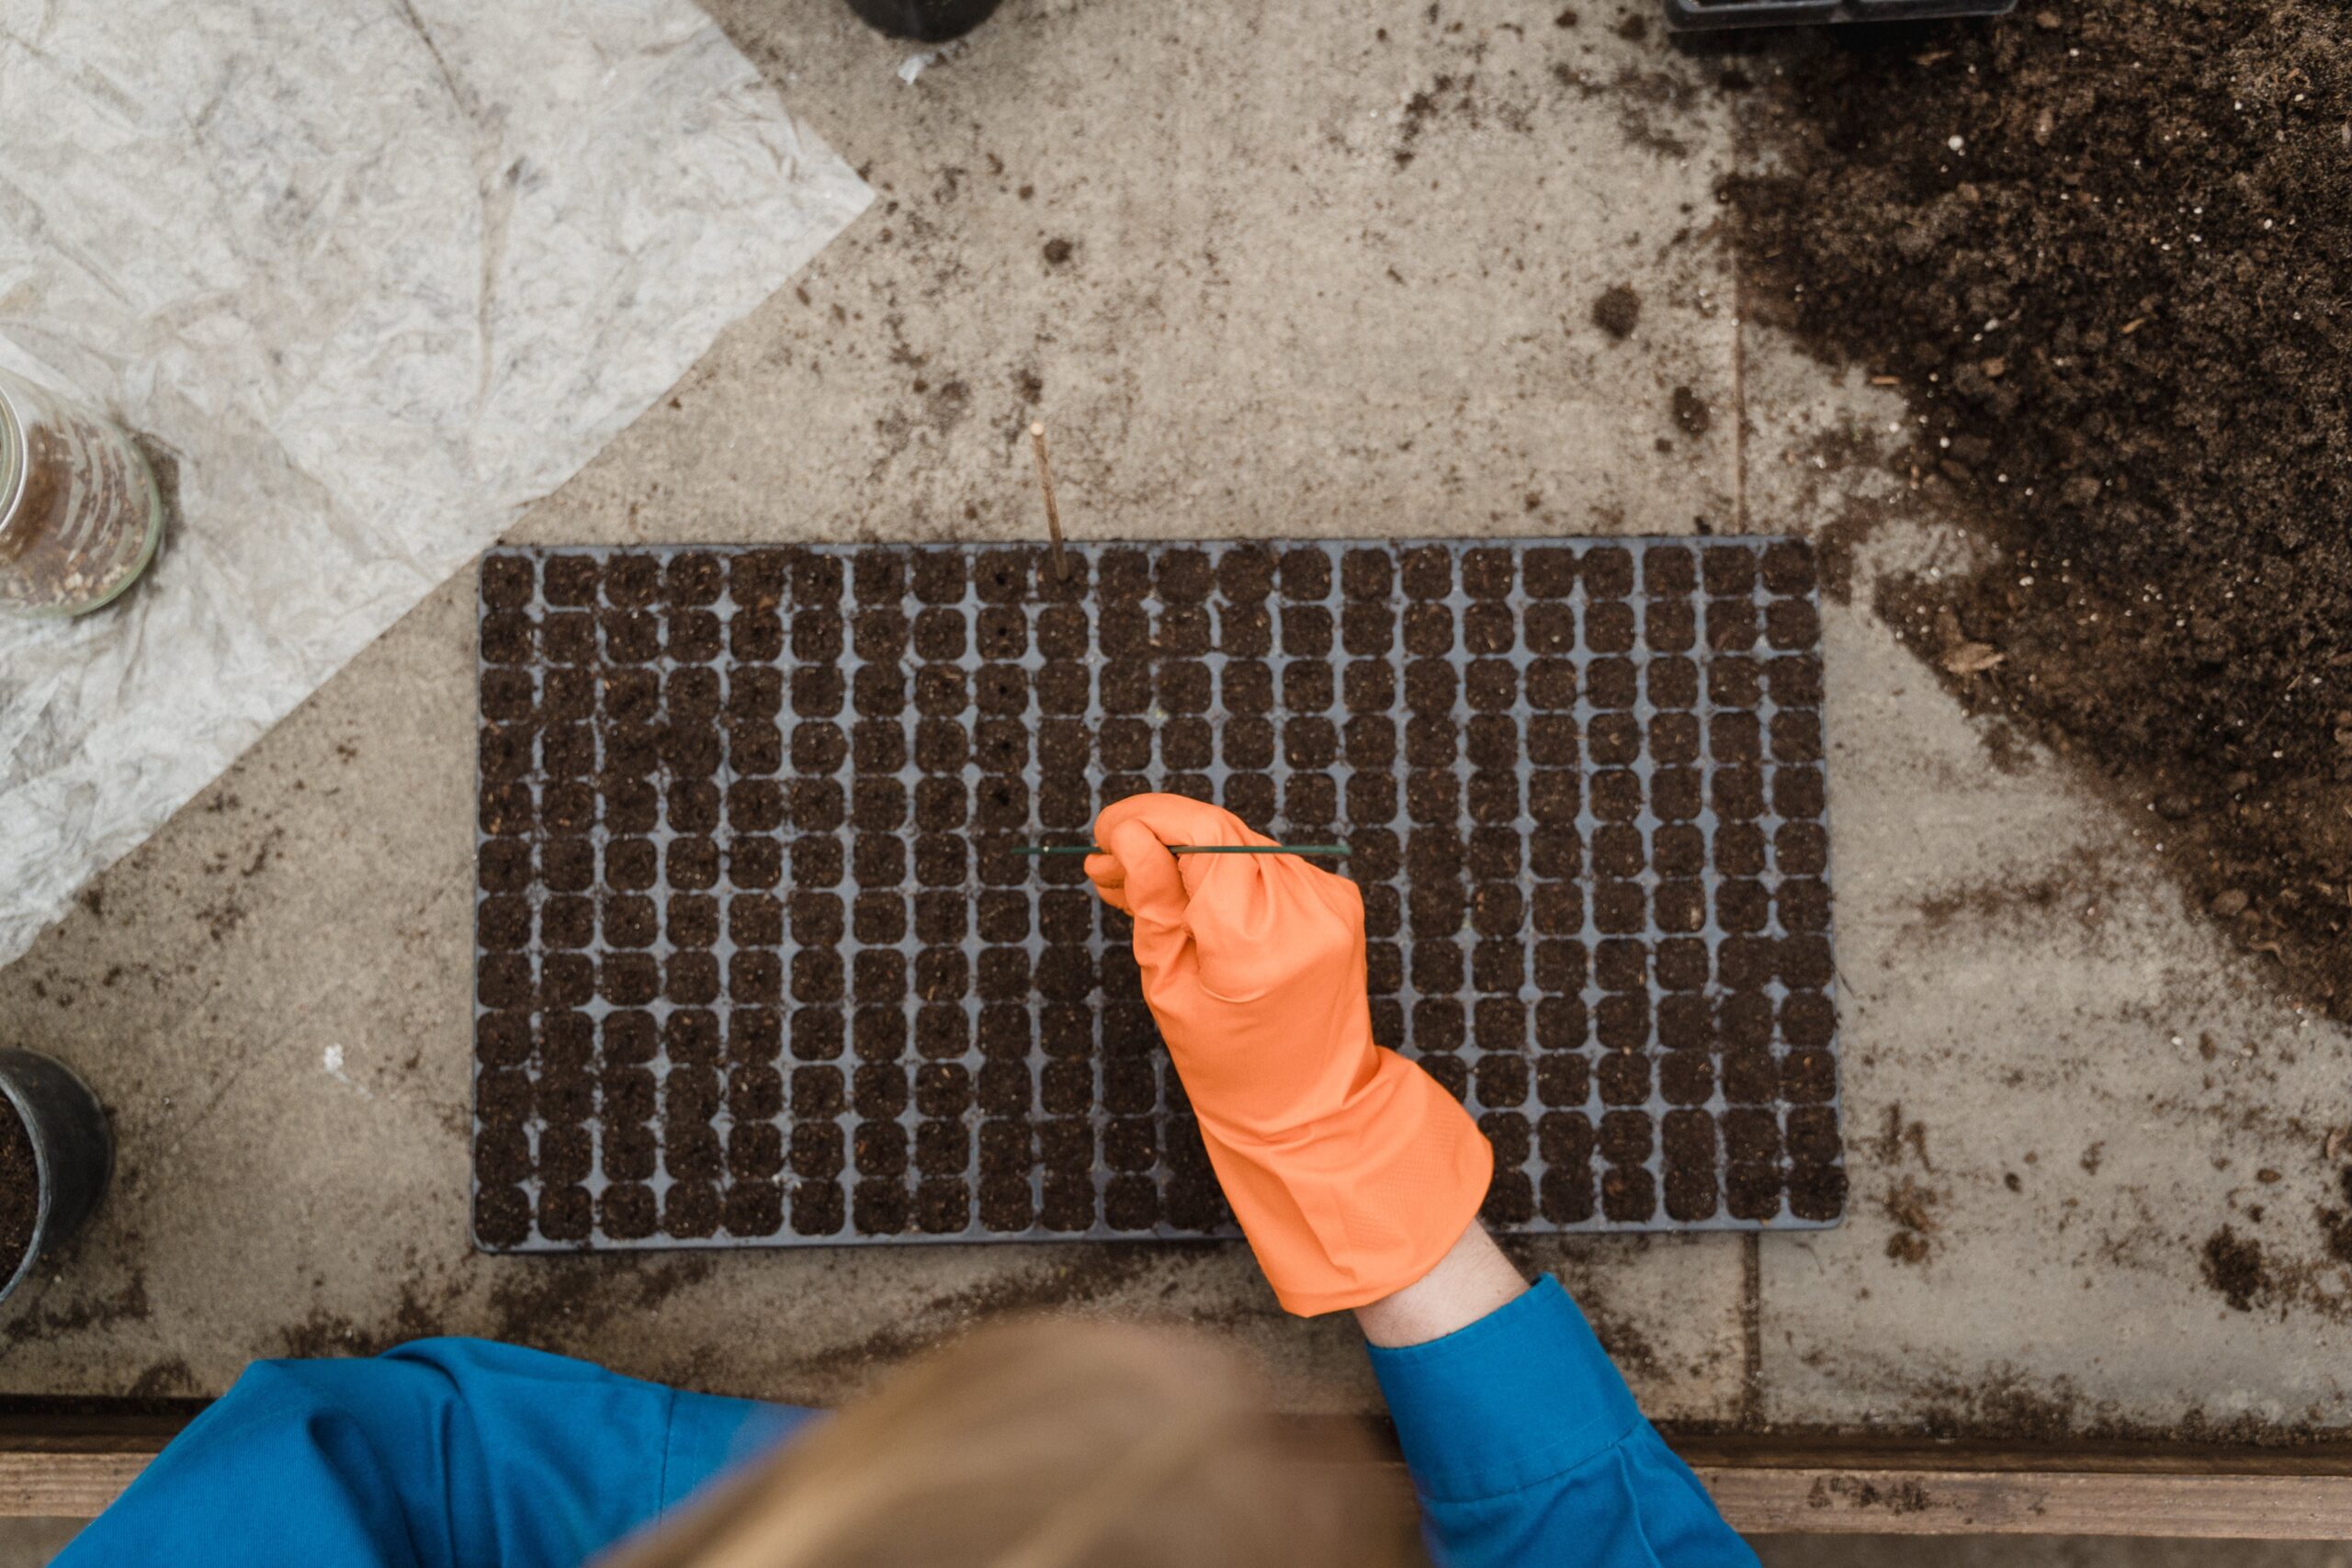
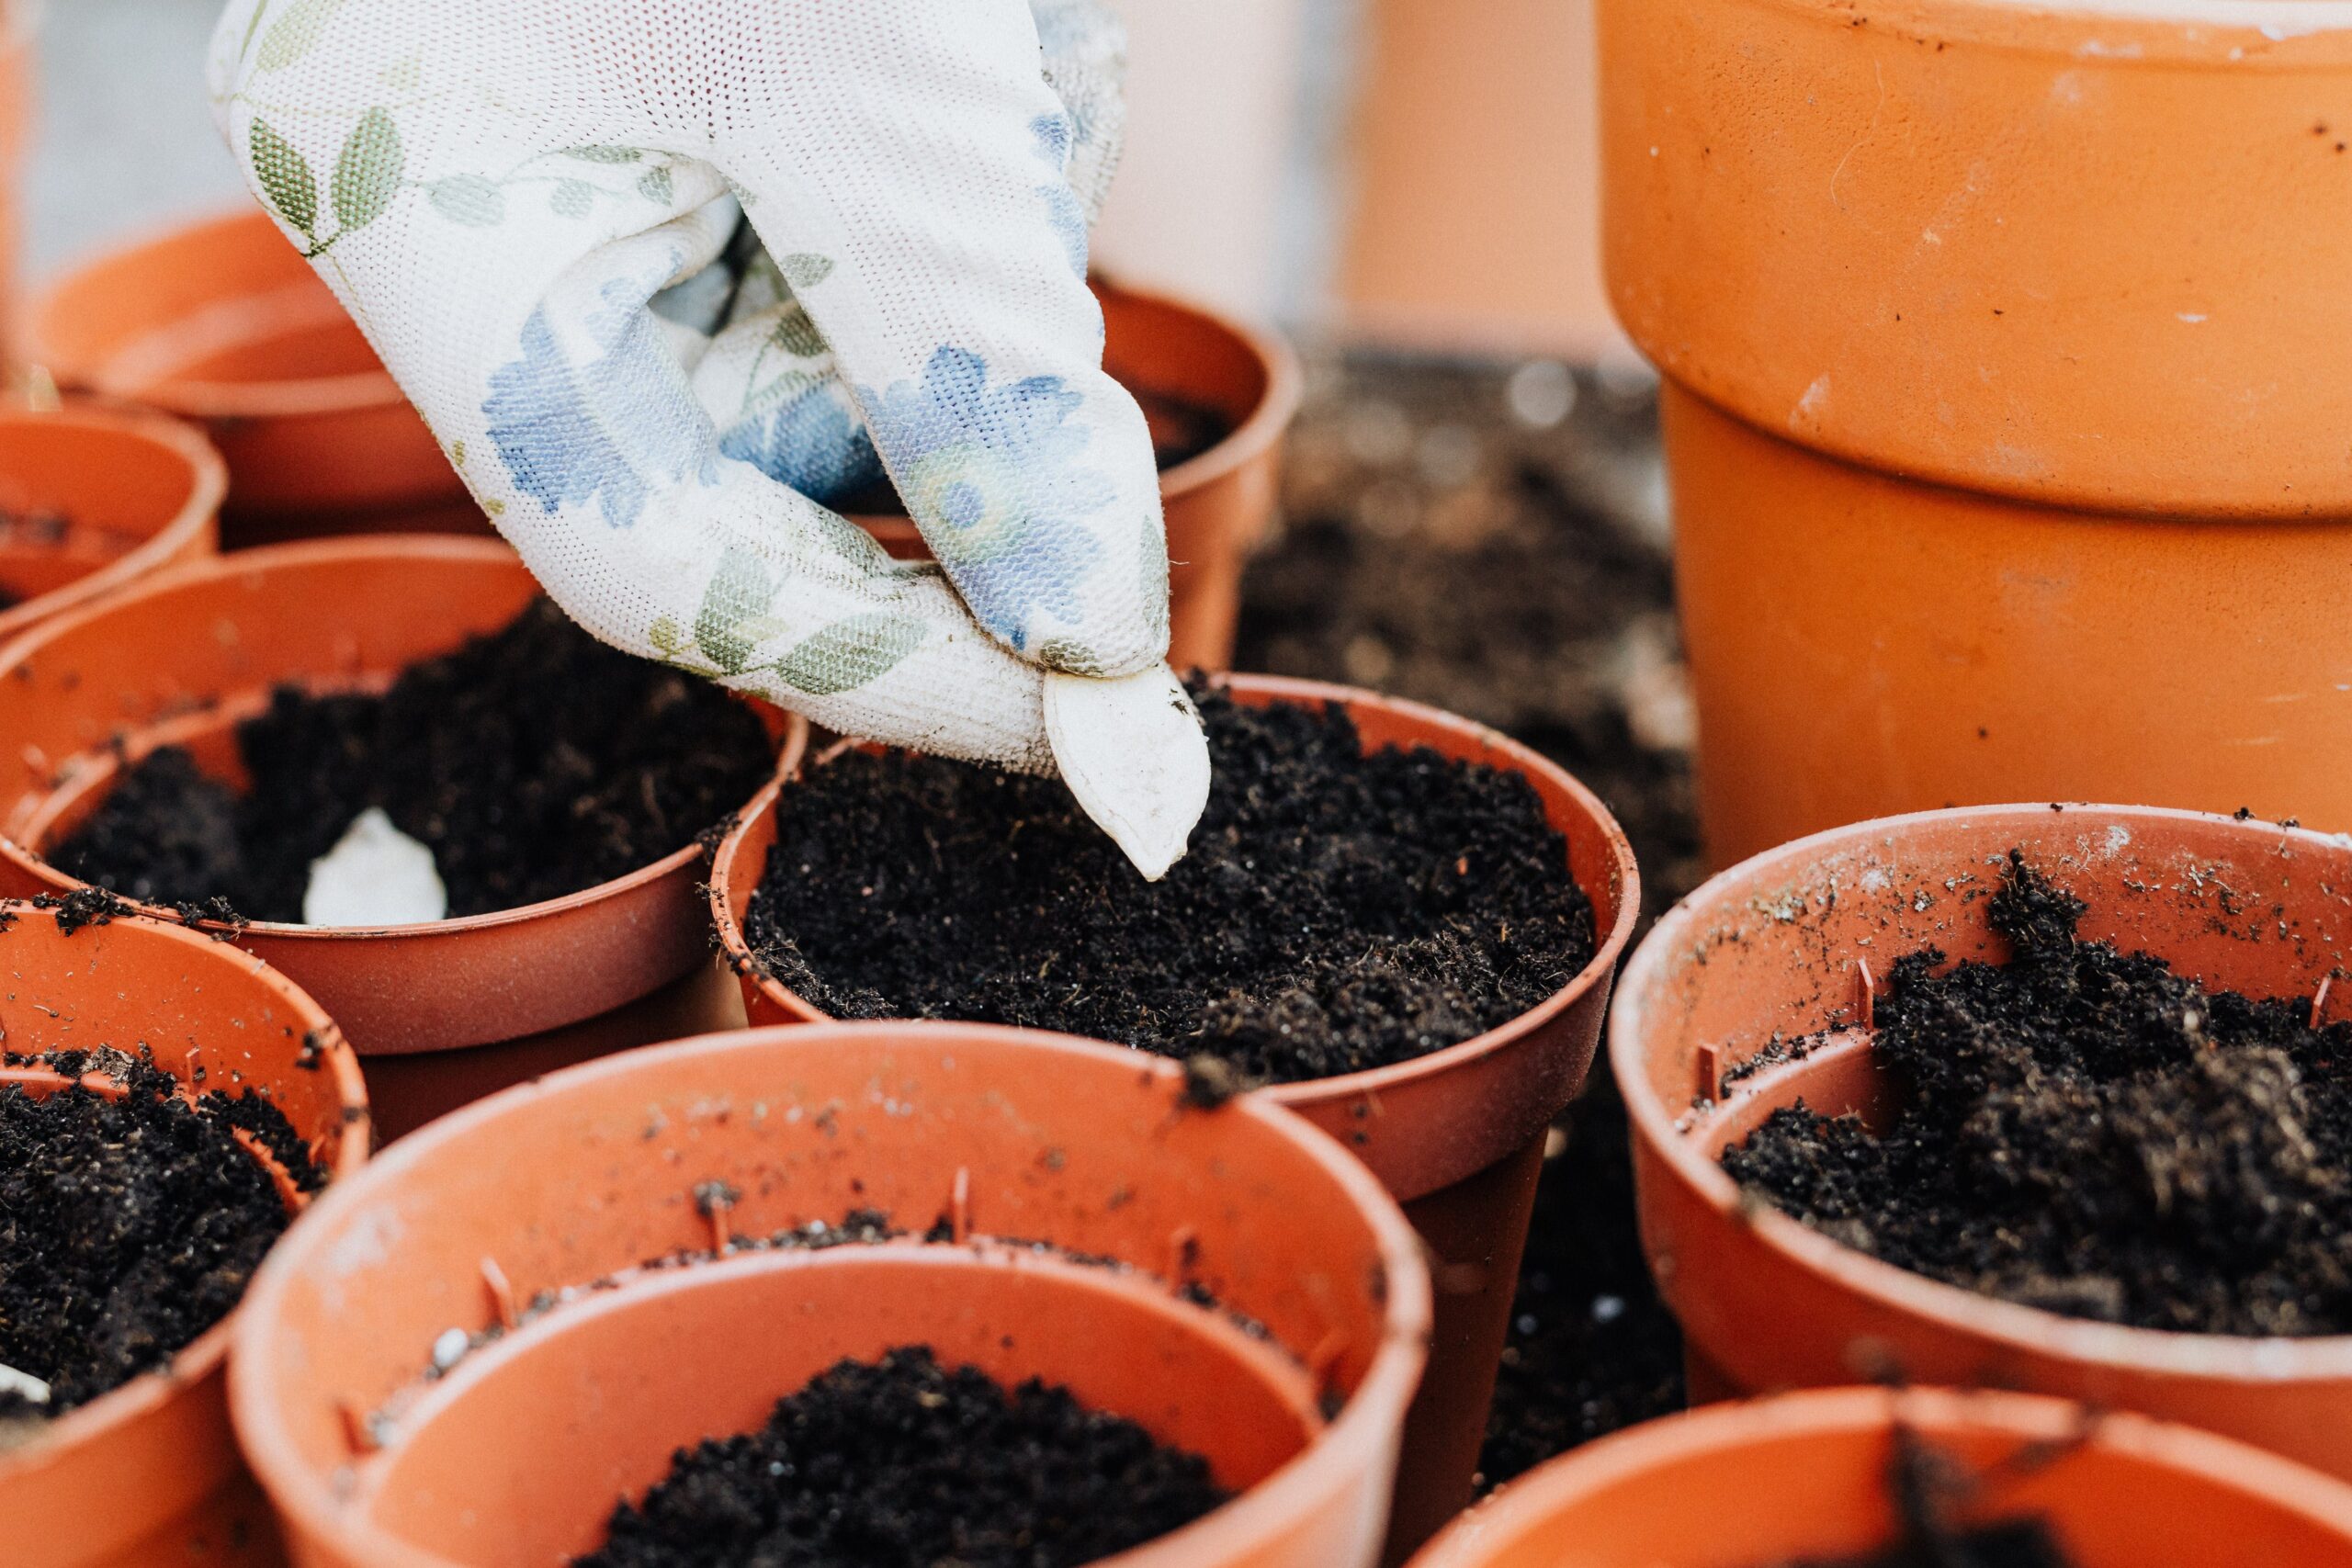
The depth at which the seeds should be planted is often outlined on the packet. Very tiny seeds such as petunia seed can be lightly spread over the surface of the soil and only ever so lightly covered with additional soil. Other plants with large seeds like the Mexican sunflower, Tithonia, or the hyacinth bean, Lablab purpureus should have the seeds planted significantly below the soil surface.
Most home gardeners do not have access to a greenhouse to provide ample light and humid conditions for seed germination. These conditions can easily be replicated! A round or square plastic pot can be covered with a clear plastic bag and secured with a rubber band after watering the seedlings. A plastic bag will help hold in moisture while keeping the emerging seedlings in a humid environment. Large bags or pieces of translucent plastic can be used for the same effect. For large pots or planting trays, sometimes it is necessary to install sticks or dowels to keep the plastic propped above the soil surface.
Setting these pots or flats in a west-facing window will provide enough light. Southern-facing windows can get too hot and might be detrimental to the germination of the seedlings. Grow-lights are another option that will provide ample light for seed germination, as well as using a spray bottle to mist the plants to provide adequate humidity.
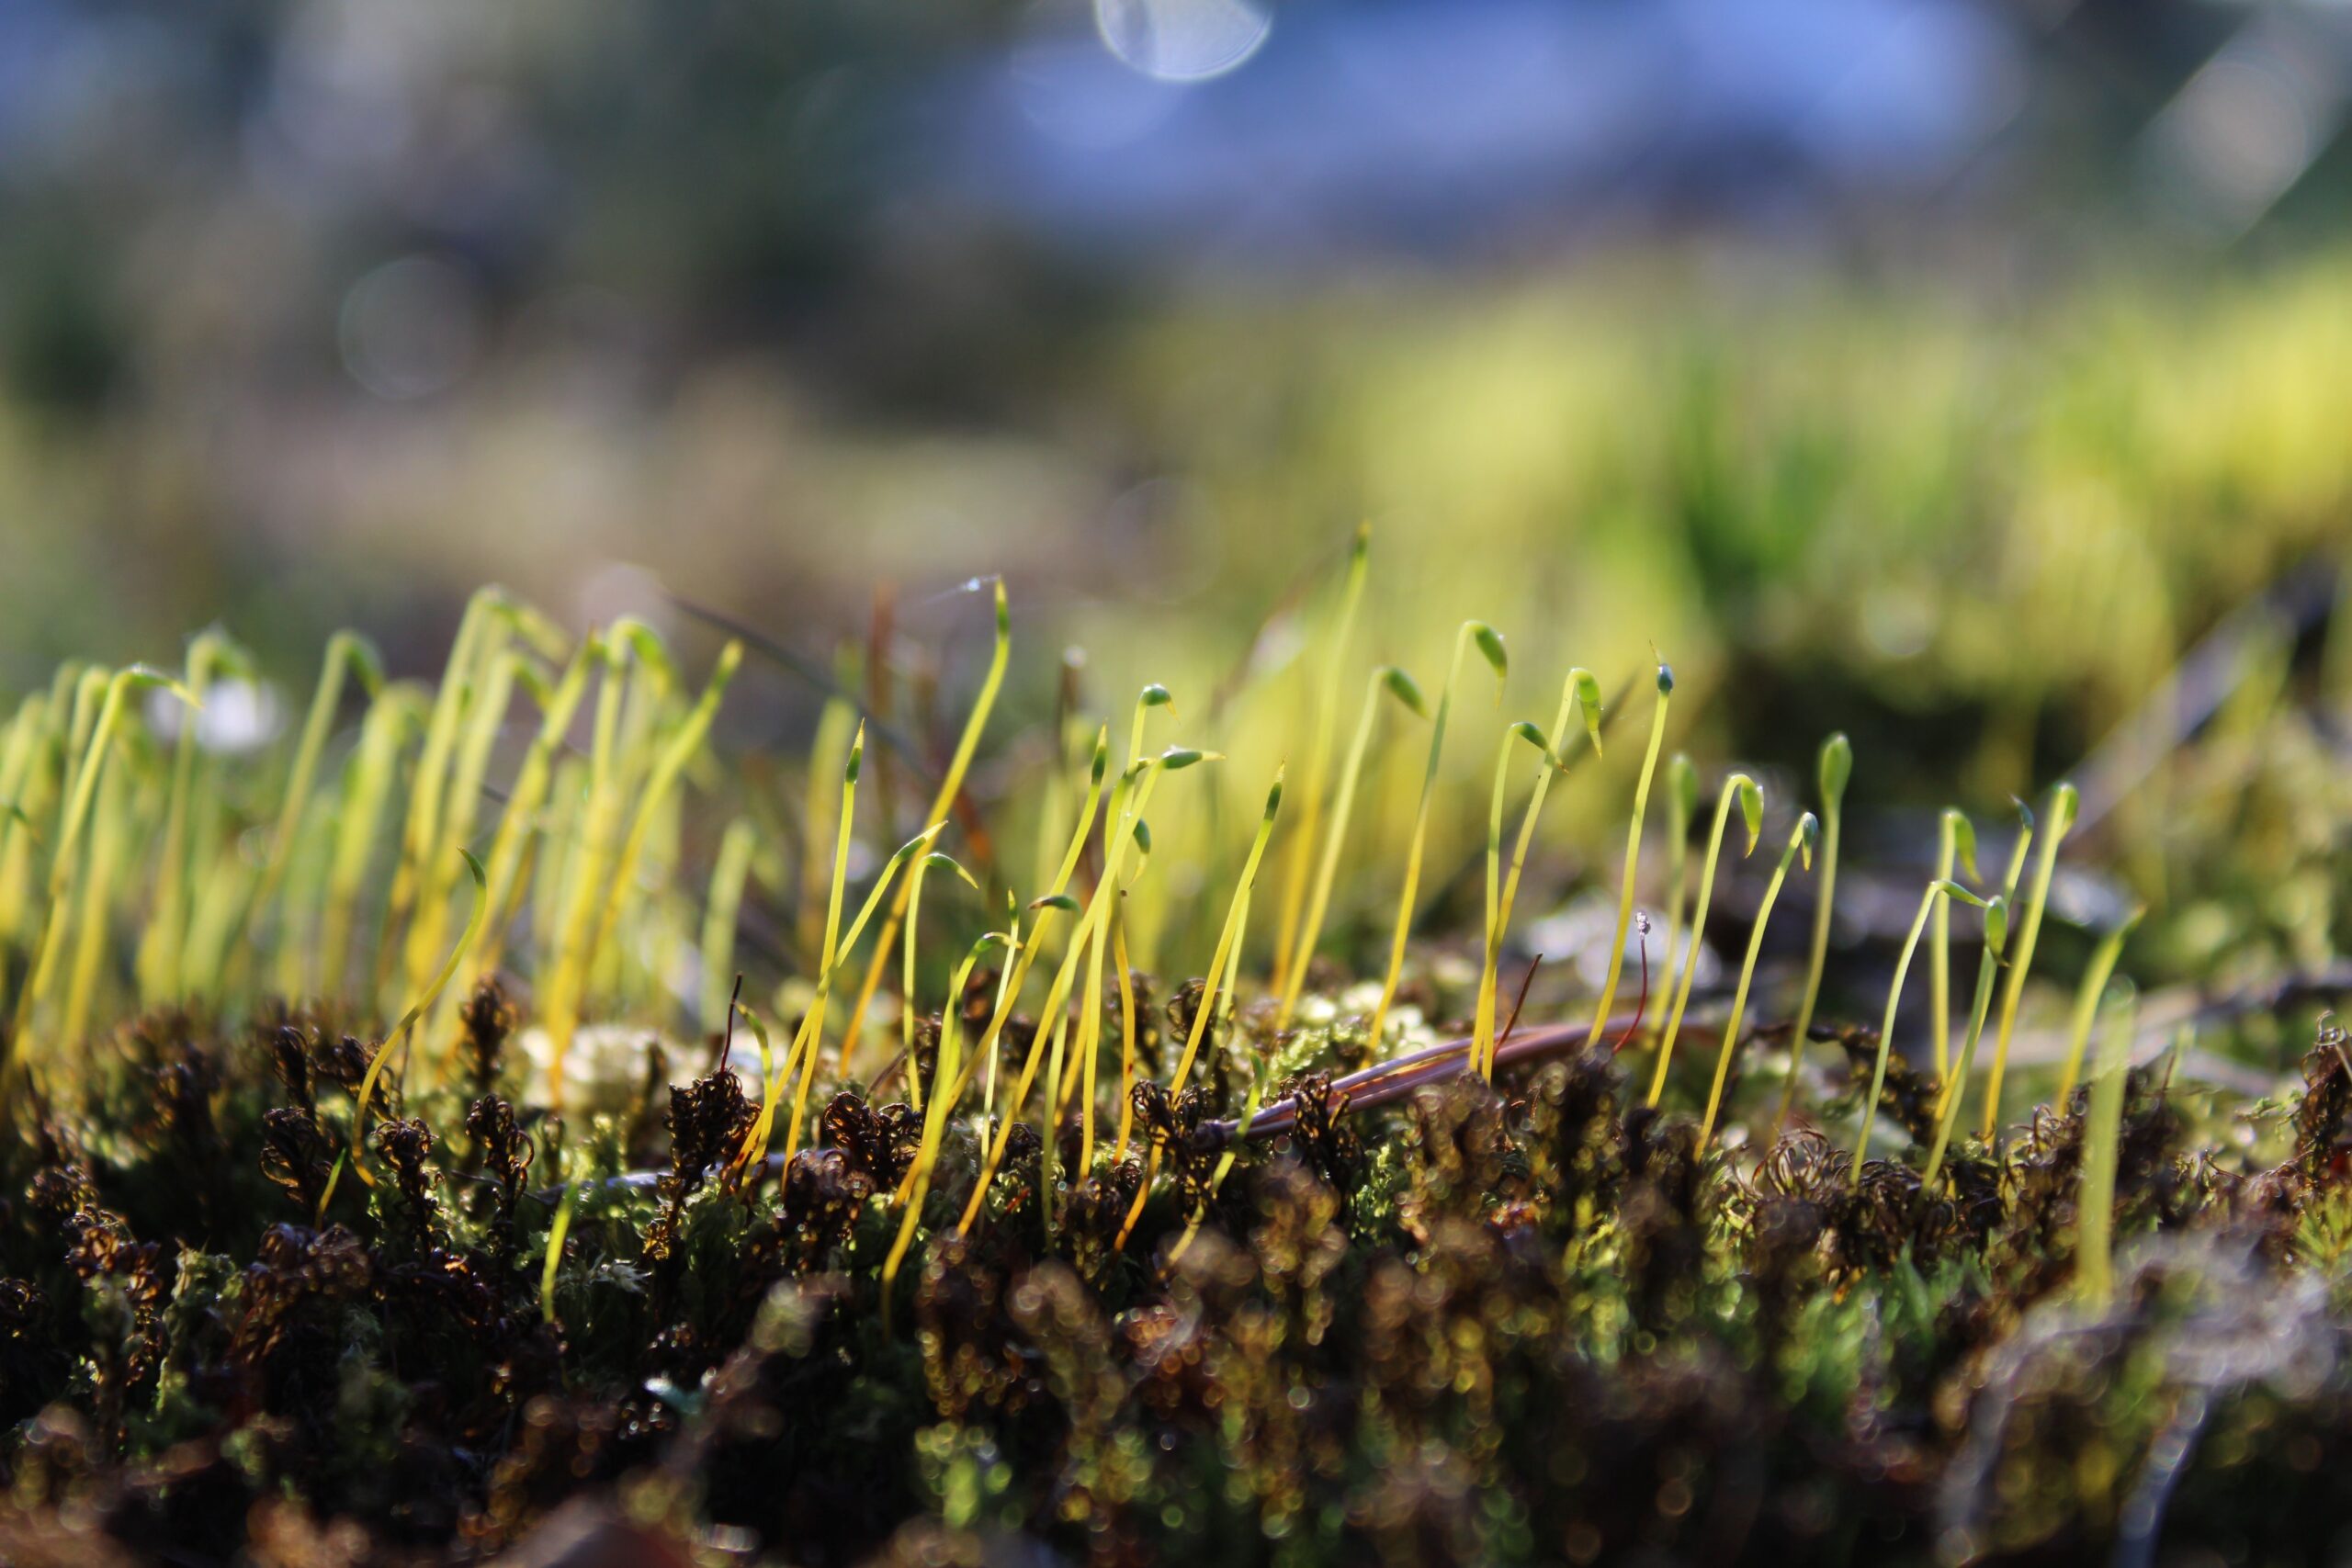
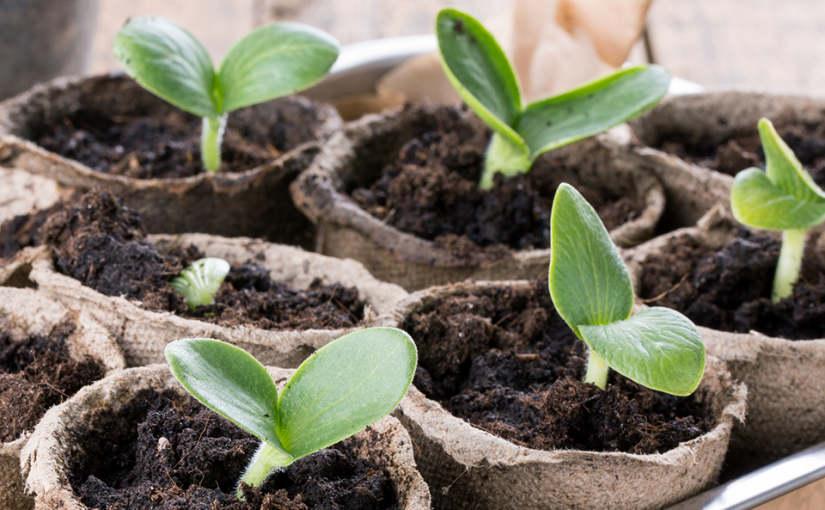
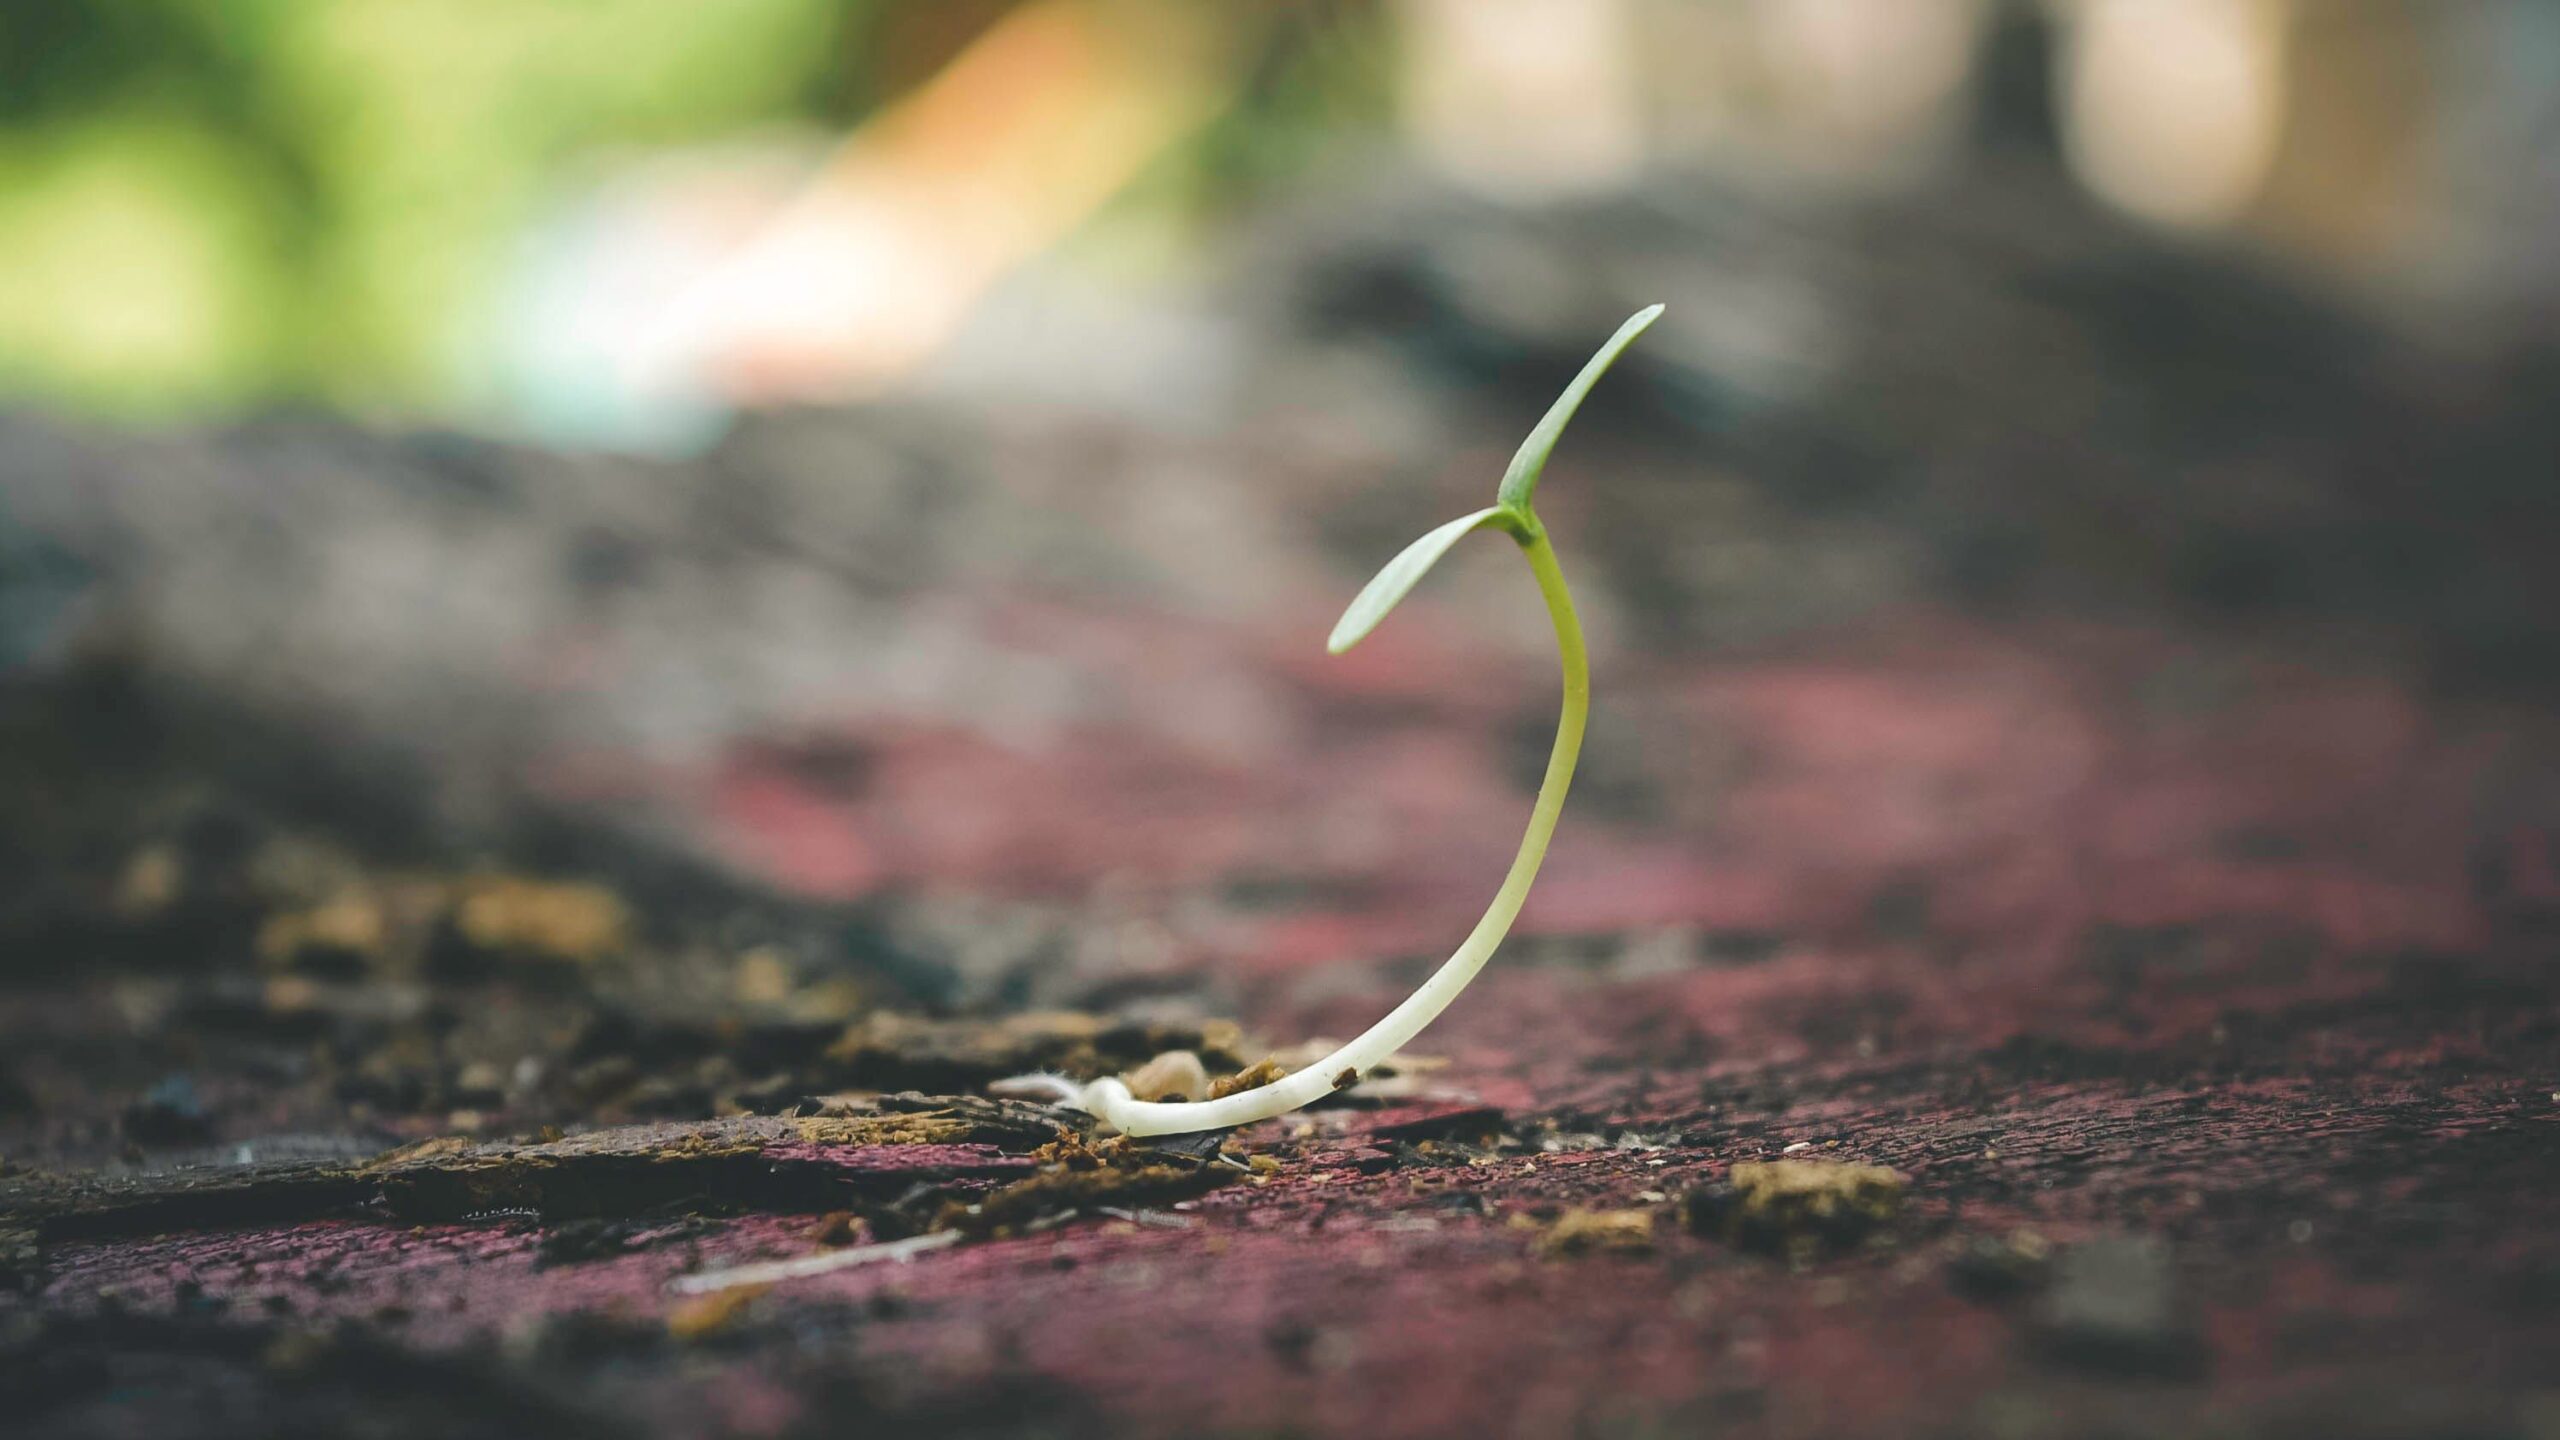
Depending on the types of plants, germination will occur sometimes in less than seven days, or up to several weeks from the time you plant your seedlings. It is important to try to adequately space the seeds when planting them, or the seedlings will germinate in crowded conditions. This is often harder to do with plants with fine seed and easier to do with plants with large seeds like marigolds and zinnias. The first leaves to emerge are called the cotyledons. After the emergence of the cotyledons, true leaves which look like the actual leaves of the plant will start to emerge.
Once the seedlings are sturdy and have several true leaves established, it is time to consider transplanting them from the seedling containers. This process is often called “teasing out” or “pricking out” of seedlings. Using a pencil, fork, or any type of instrument that can aid in the loosening of the soil will help in the transplanting process. Carefully separate the seedlings. Only select those seedlings that are robust and look healthy.
Each seedling can be planted into small individual containers which can either be small pots or cell flats. A well-drained potting soil should be used. The seedlings can remain on the windowsill or under the grow-lights. It is important to keep them moist, but also to let them dry out between waterings. Too much water can lead to rotting when the seedlings are young and vulnerable.
Once the seedlings are growing and established as healthy, young plants, they can then be planted in the garden. For early spring crops, like kale and Brussels sprouts, planting should be done when the temperatures are conducive to planting; for summer crops and annuals, plant after the last frost-free date has passed.
Starting plants from seeds doesn’t have to be a complicated process for a home gardener. A west-facing window can become a greenhouse for seeds, and even a recycled yogurt container can become a pot. With the above tips in mind, try your hand at seed starting this season and prepare to be rewarded with thriving plants in your garden this Spring.